-
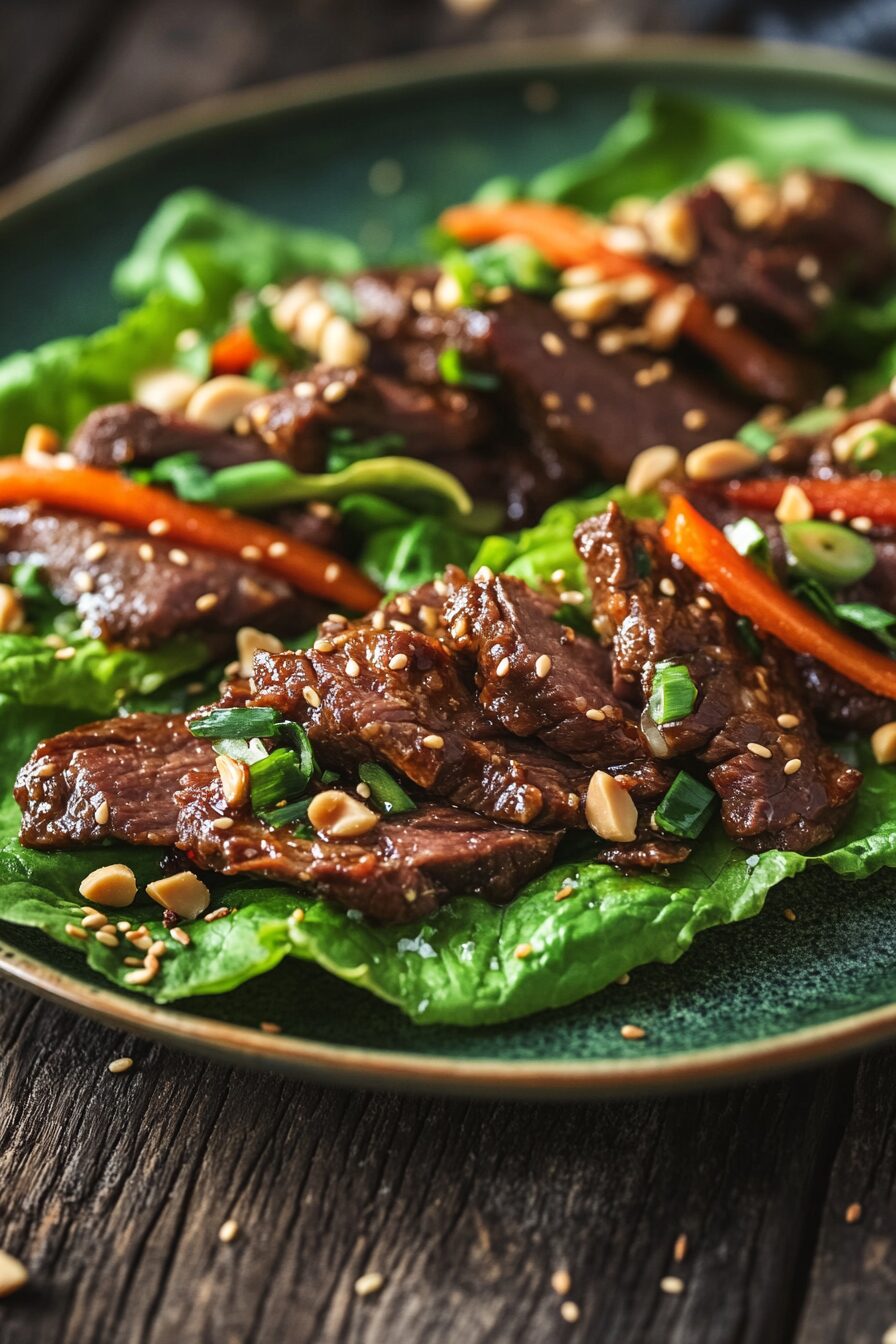
Korean-Inspired Beef Lettuce Rolls
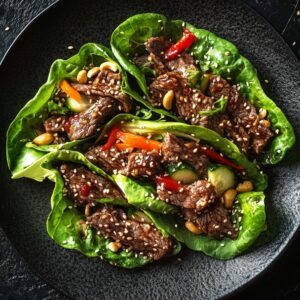
Korean-Inspired Beef Lettuce Rolls bring together tender slices of bulgogi beef, marinated in a sweet and spicy sauce, and wrapped in crisp lettuce leaves for a fresh, flavorful bite. This dish is perfect for a light and satisfying meal, offering all the vibrant flavors of Korean BBQ in a handheld wrap, ready in under an hour.
How to Make It
- Prepare the Beef: Start by placing the steak in the freezer for about 30 minutes to firm it up slightly, making it easier to slice thinly. Then, using a sharp knife, slice the steak thinly against the grain.
- Marinate the Beef: In a large bowl, combine the sliced steak with dark soy sauce, gochujang paste, minced ginger, light brown sugar, mirin, minced garlic, black pepper, grated apple, and toasted sesame oil. Mix well, cover, and refrigerate for 3-4 hours to let the flavors develop.
- Cook the Beef: Heat neutral oil in a large frying pan over medium-high heat. Using a slotted spoon, lift the steak slices from the marinade, allowing the excess to drip off. Fry the beef in the hot oil, using tongs to separate the slices. Cook for about 5 minutes, until the beef is cooked through and caramelized.
- Assemble the Lettuce Rolls: Lay out the lettuce leaves on a large platter. Fill each leaf with a portion of the bulgogi beef, then top with carrot strips, cucumber, bell peppers, and spring onions. Sprinkle sesame seeds and chopped peanuts over the top for added crunch.
- Serve: Serve the lettuce rolls immediately, adding a spoonful of cooked rice to each wrap if you prefer a heartier meal.
Korean-Inspired Beef Lettuce Rolls
Tender slices of bulgogi beef, marinated in a sweet and spicy sauce, wrapped in crisp lettuce leaves and topped with fresh veggies. These Korean-style lettuce rolls are perfect for a light and flavorful meal that’s ready in under an hour.Equipment
- 1 Large frying pan (skillet)
- 1 Sharp knife
- 1 Large bowl
- 1 Slotted spoon
- 1 Tongs
Ingredients
- Bulgogi Beef:
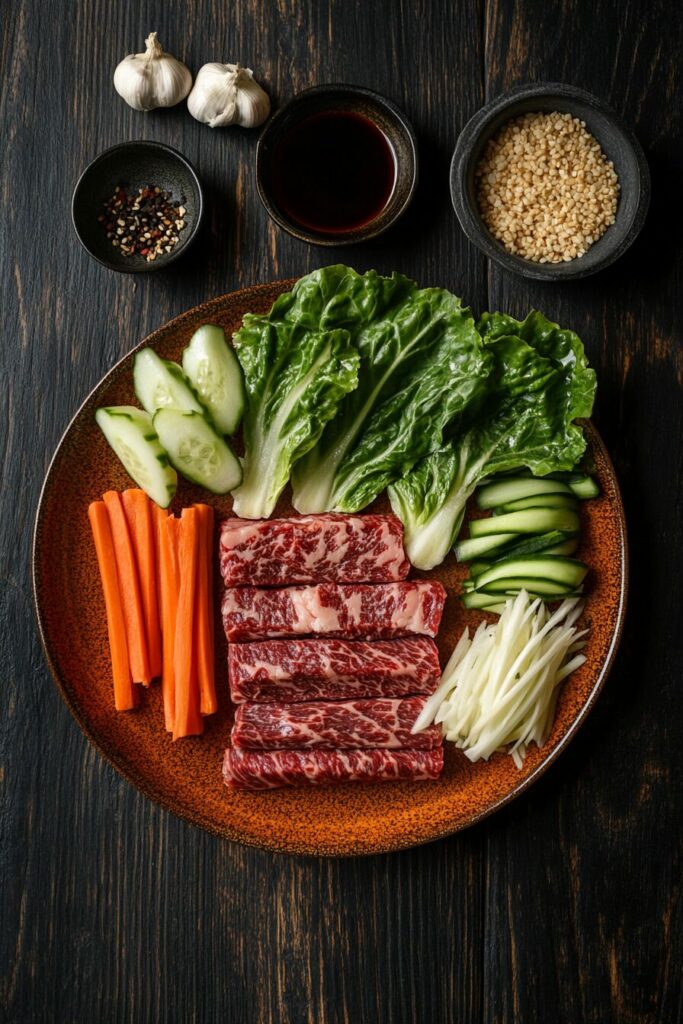
- 2 medium Sirloin or ribeye steaks thinly sliced (about 500g/1.1lb-600g/1.3lb)
- 2 tbsp Dark soy sauce
- 2 tbsp Gochujang paste
- 1 tbsp Minced fresh ginger
- 2 tbsp Light brown sugar
- 2 tbsp Mirin
- 2 cloves Garlic, peeled and minced
- ½ tsp Freshly ground black pepper
- 1, Grated sweet apple no need to peel
- 1 tbsp Toasted sesame oil
- To Assemble:
- 1 large Carrot, sliced into thin strips
- ⅓ Cucumber chopped into small chunks
- 1 Red bell pepper seeded and chopped into small chunks
- 3, Spring onions scallions, sliced into thin strips
- 1 tsp Sesame seeds
- 2 tbsp Unsalted toasted peanuts roughly chopped (optional)
Instructions
- Prepare Beef: Place the steak in the freezer for 30 minutes to firm up slightly. Then, using a sharp knife, slice the steak thinly against the grain.
- Marinate: In a large bowl, mix the sliced steak with dark soy sauce, gochujang paste, minced ginger, light brown sugar, mirin, minced garlic, black pepper, grated apple, and toasted sesame oil. Cover and refrigerate for 3-4 hours.
- Cook Beef: Heat the neutral oil in a large frying pan over medium-high heat. Use a slotted spoon to scoop out the steak from the marinade, allowing excess sauce to drip off. Fry the steak in the hot oil, using tongs to separate the slices. Cook for approximately 5 minutes, until the beef is cooked through and caramelized.
- Assemble Wraps: Place the lettuce leaves on a large platter. Fill each with bulgogi beef, carrot, cucumber, bell peppers, and spring onions. Sprinkle with sesame seeds and chopped peanuts if desired.
- Serve: Serve the lettuce rolls immediately, optionally adding a spoonful of cooked rice to each wrap for a more substantial meal.
Notes
- Lettuce: Crispy lettuce leaves, such as romaine, work best for these wraps as they hold together better.
- Tip: Add a spoonful of cooked rice or cauliflower rice to each wrap to make them more filling.
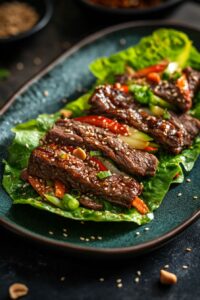
Final Flavor
These Korean-Inspired Beef Lettuce Rolls are a delightful combination of textures and flavors, from the tender, caramelized beef to the crisp, fresh vegetables. The sweet and spicy marinade infuses the beef with rich flavors, making these wraps a light yet satisfying option for any meal. Perfect for a quick dinner or a fun party dish, they bring the essence of Korean BBQ to your table in a simple, delicious way.
-
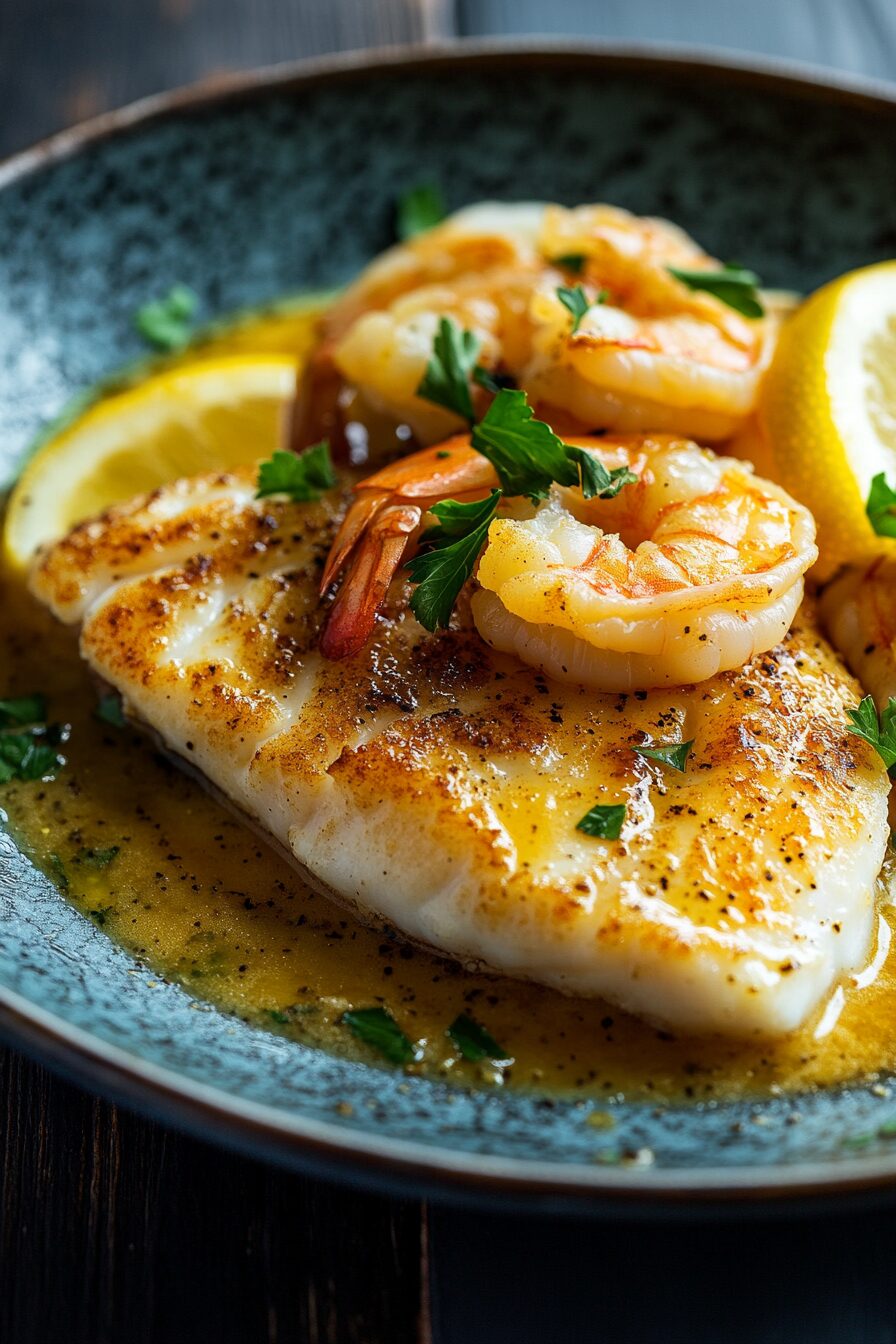
Lemon-Infused Plaice with Brown Shrimp
Lemon-Infused Plaice with Brown Shrimp is a quick yet elegant dish that brings together the delicate flavors of plaice fillets with succulent brown shrimp in a rich, lemony butter sauce. Ready in under 20 minutes, this sophisticated dinner option is perfect for those nights when you want something special without spending hours in the kitchen.
How to Make It
- Heat the Pan: Begin by heating olive oil and butter in a frying pan over medium-high heat. Wait until the butter melts and starts to bubble, signaling that the pan is ready.
- Season the Fish: While the pan heats up, season the plaice fillets with salt, pepper, and paprika. Place the fillets in the pan, skin-side up, and cook for 2-3 minutes until they’re nicely browned. Flip the fillets over to cook the other side.
- Add Shrimp: Add the minced garlic and brown shrimp to the pan, stirring them gently into the butter. Let them cook for another 2-3 minutes until the shrimp are heated through and infused with the butter and garlic.
- Finish the Dish: Turn off the heat, then drizzle lemon juice over the fish. Stir in half of the fresh parsley, allowing the herbs to add a burst of freshness to the dish.
- Serve: Plate the fish fillets, spooning the shrimp and any remaining pan juices over the top. Sprinkle with the remaining parsley for a bright finish. For a complete meal, serve alongside baby new potatoes and green vegetables like broccoli, cabbage, or peas.
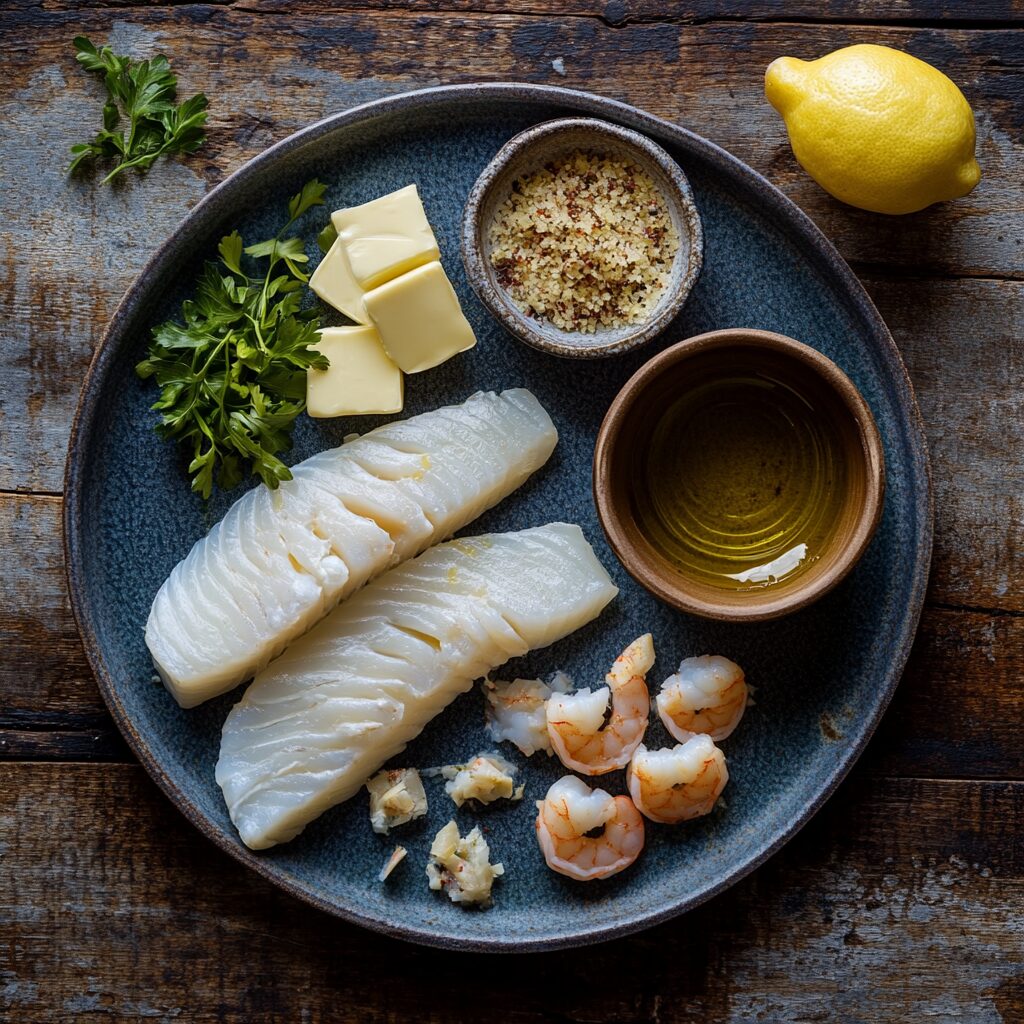

Lemon-Infused Plaice with Brown Shrimp
Delicate plaice fillets, pan-seared to perfection, topped with succulent brown shrimp and a rich, lemony butter sauce. This elegant dish is ready in under 20 minutes, making it perfect for a quick yet sophisticated dinner.Equipment
- 1 Frying pan (skillet)
- Spatula
Ingredients
- 1 tbsp Olive oil
- 2 tbsp Unsalted butter
- 2, Plaice Flounder fillets
- ¼ tsp Salt
- ¼ tsp Ground black pepper
- ¼ tsp Paprika
- 1 clove Garlic peeled and minced
- 70g 2 ½ oz Tiny brown shrimp
- 1 tbsp Lemon juice
- 3 tbsp Finely chopped flat-leaf parsley
To Serve (optional):
- Baby new potatoes
- Green vegetables such as broccoli, cabbage, and peas
Instructions
- Heat Pan: Heat the olive oil and butter in a frying pan over medium-high heat until the butter melts and starts to bubble.
- Season Fish: Season the plaice fillets with salt, pepper, and paprika. Add the fillets to the pan, skin-side up, and cook for 2-3 minutes until browned. Turn the fillets over.
- Add Shrimp: Add the minced garlic and brown shrimp to the pan, stirring them into the butter. Cook for another 2-3 minutes until the shrimp are hot throughout.
- Finish: Turn off the heat, then drizzle the lemon juice over the fish and stir in half of the fresh parsley.
- Serve: Arrange the fish on plates, spoon over the shrimp and any pan juices, and sprinkle with the remaining parsley. Serve with baby new potatoes and green vegetables if desired.
Notes
- Make Ahead: This dish is best served immediately after cooking. Reheating may cause the fish to dry out.
- Ingredient Swaps: If plaice is unavailable, lemon sole, skate, or sea bass can be used as substitutes.
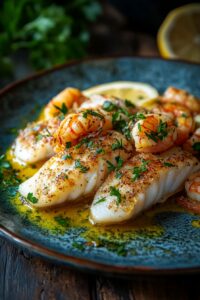
Final Touches
This Lemon-Infused Plaice with Brown Shrimp is an exquisite balance of flavors, combining the lightness of fish with the richness of a lemony butter sauce. The brown shrimp add a delicate texture, making this dish a delightful and satisfying choice for any occasion. Quick, easy, and bursting with flavor, it’s a recipe that brings elegance to your dinner table in no time.
-
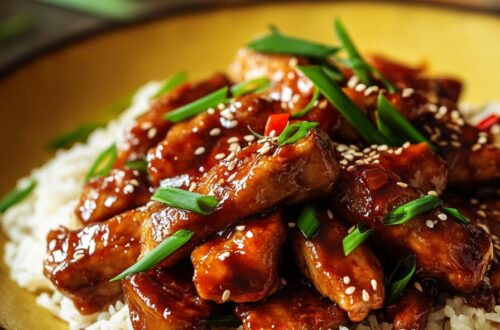
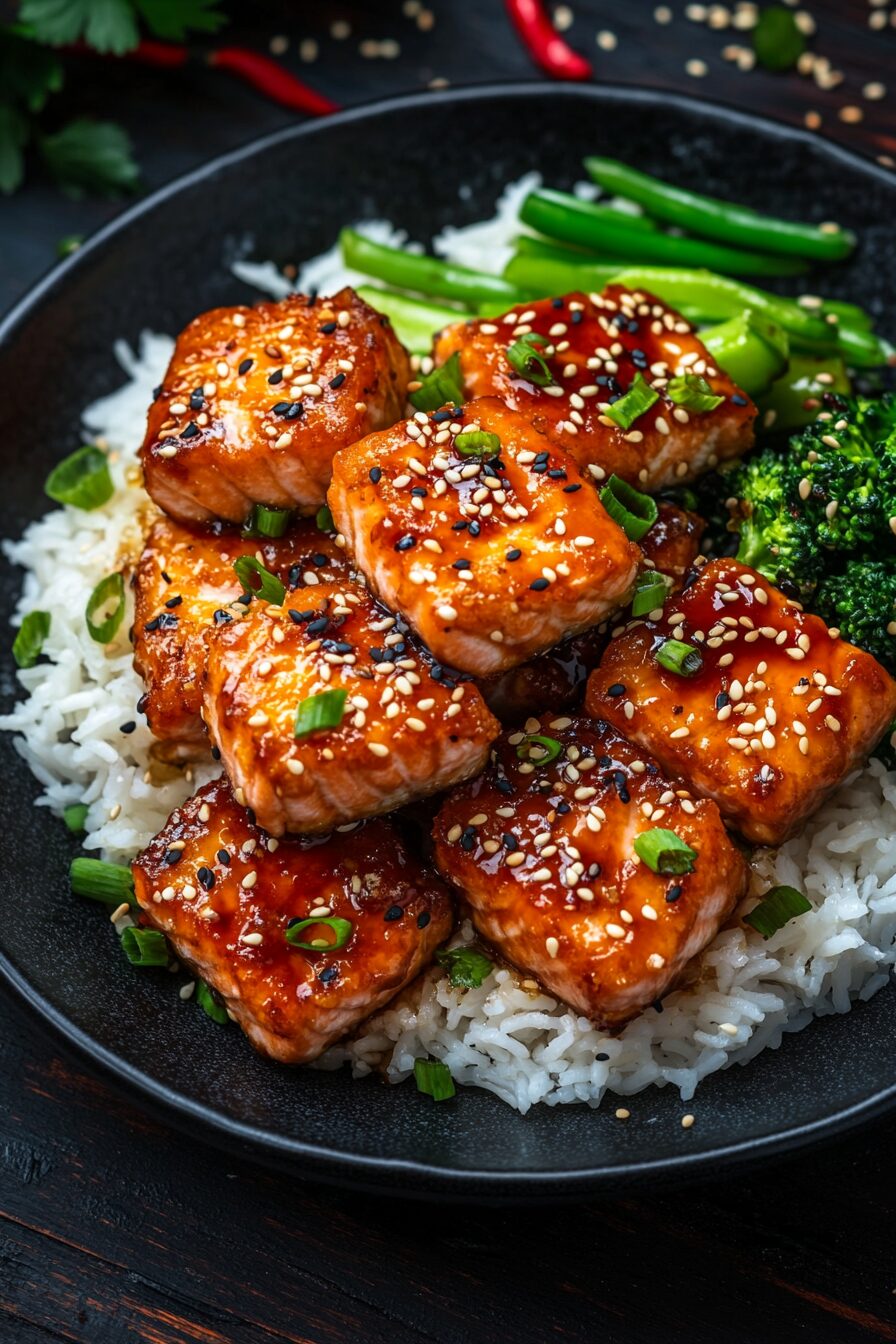
Crispy Teriyaki Salmon Nuggets
Crispy Teriyaki Salmon Nuggets are the perfect blend of sweet and savory, offering tender, bite-sized pieces of salmon with a crispy edge, all glazed in a delicious teriyaki sauce. Ready in just 16 minutes, this dish is ideal for a light dinner or a satisfying lunch, served over fluffy rice with a sprinkle of sesame seeds and a touch of chili flakes.
How to Make It
- Prepare the Teriyaki Sauce: Mix the light soy sauce, dark soy sauce, and cornflour in a bowl until smooth. Then, add sake, mirin, sesame oil, brown sugar, minced ginger, garlic, and white pepper, stirring everything together.
- Marinate the Salmon: Toss the salmon chunks in a separate bowl with 2 tablespoons of the prepared teriyaki sauce. Cover and let the salmon marinate for 10 minutes to absorb the flavors.
- Air Fry the Salmon: Place the marinated salmon pieces in a single layer in the air fryer basket. Drizzle with oil and air fry at 200°C/400°F for 6-7 minutes until the salmon is cooked through and has a slight crisp on the edges.
- Heat the Sauce: While the salmon cooks, warm the remaining teriyaki sauce. You can do this in a microwave-safe bowl for 2 minutes, stirring halfway, or on the stovetop in a small saucepan until it simmers.
- Serve: Carefully remove the salmon nuggets from the air fryer and place them over bowls of boiled rice. Drizzle with the heated teriyaki sauce and garnish with spring onions, sesame seeds, and chili flakes. Pair with steamed green vegetables and sriracha mayo for extra flavor if desired.
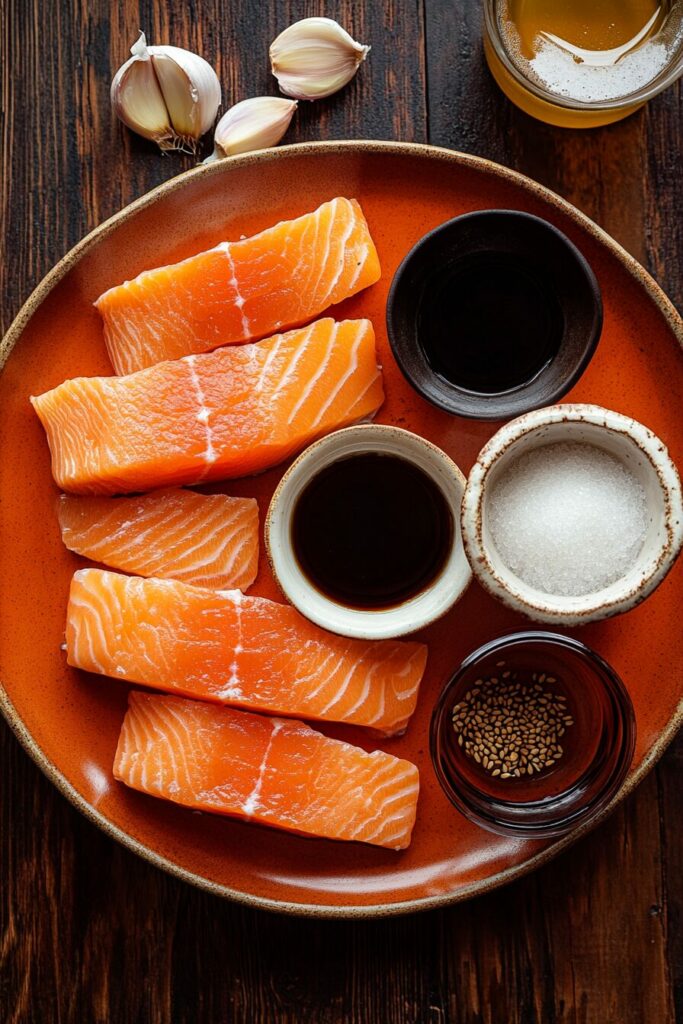
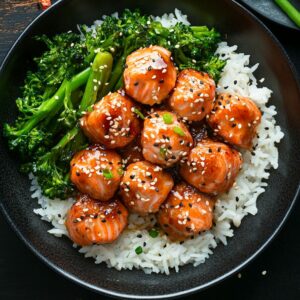
Crispy Teriyaki Salmon Nuggets
Bite-sized pieces of tender, flaky salmon, air-fried to perfection and glazed in a sweet and savory teriyaki sauce. This dish is quick, easy, and perfect for a light dinner or a satisfying lunch. Serve over fluffy rice with a sprinkle of sesame seeds and a dash of chili flakes for an extra kick.Equipment
- 1 Air fryer
- 1 Microwave-safe bowl or small saucepan
- 1 Spatula
Ingredients
Teriyaki Sauce:
- 2 tbsp Light soy sauce
- 2 tbsp Dark soy sauce
- 1 tsp Cornflour (cornstarch)
- ½ tbsp Sake or dry sherry
- 3 tbsp Mirin
- 1 tsp Sesame oil
- 2 tbsp Brown sugar
- 1 tsp Minced ginger
- 2, Garlic cloves peeled and minced
- ½ tsp White pepper
Salmon:
- 4 Salmon fillets approx. 480g/17oz altogether, skin removed, fillets sliced into 2.5cm/1” chunks
- 1 tbsp Oil (neutral, such as avocado or vegetable)
To Serve (optional):
- Boiled rice
- Spring onions scallions, finely sliced
- Sesame seeds
- Chili flakes red pepper flakes
- Steamed green vegetables like broccoli or green beans
- Sriracha mayo 3 tbsp mayonnaise mixed with 1 tbsp sriracha
Instructions
- Prepare Sauce: In a bowl, mix the light soy sauce, dark soy sauce, and cornflour until the cornflour is completely dissolved. Add the remaining sauce ingredients and stir together.
- Marinate Salmon: Place the salmon pieces in a separate bowl and add 2 tablespoons of the teriyaki sauce. Mix to coat the salmon, then cover and let it marinate for 10 minutes.
- Air Fry Salmon: Place the salmon pieces in the air fryer basket in a single layer, drizzle with oil, and air fry at 200°C/400°F for 6-7 minutes until the salmon is cooked through and slightly crispy on the edges.
- Heat Sauce: While the salmon cooks, heat the remaining teriyaki sauce in a microwave-safe bowl for 2 minutes, stirring once halfway through, or in a small saucepan over medium heat until it comes to a gentle boil.
- Serve: Carefully remove the salmon bites from the air fryer using a spatula and serve over bowls of boiled rice. Drizzle with the hot teriyaki sauce and top with spring onions, sesame seeds, and chili flakes. Serve with steamed green vegetables and a drizzle of sriracha mayo if desired.
Notes
- Make Ahead: While best served fresh, you can prepare the sauce and chop the salmon ahead of time. When ready to serve, simply cook the salmon and heat the sauce.
- Leftovers: Leftover salmon can be chilled and served cold in a salad the next day.
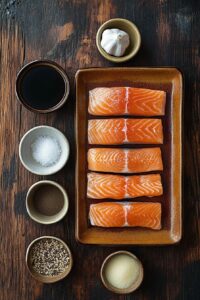
Final Touches
These Crispy Teriyaki Salmon Nuggets bring a satisfying crunch and a burst of flavor to your meal. The combination of tender salmon with the rich, homemade teriyaki sauce makes this dish both comforting and exciting. Whether you’re cooking for a quick weeknight dinner or a relaxed weekend lunch, this recipe offers a delightful balance of simplicity and taste.
-
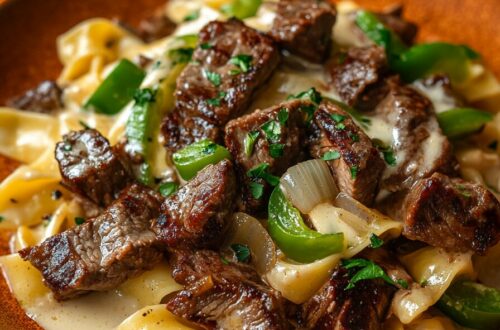
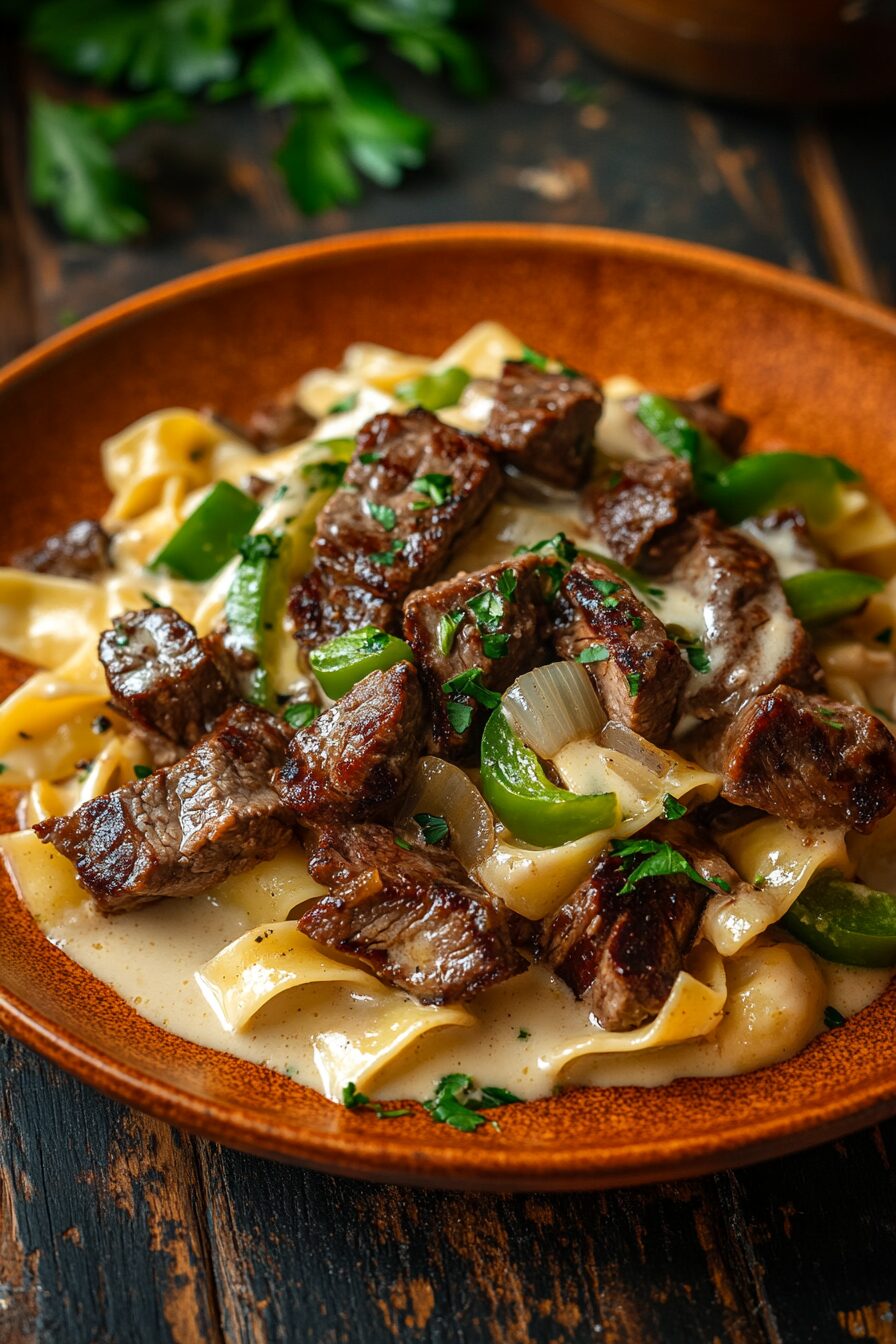
Steak & Pepper Cheesy Pasta
Steak & Pepper Cheesy Pasta is a delicious fusion of Philly cheesesteak flavors with the comfort of creamy pasta. Juicy steak strips, sautéed onions, and peppers are tossed with pappardelle in a rich cheese sauce, creating a hearty dish perfect for family dinners or a cozy night in.
How to Make It:
Cook the Pasta: Begin by boiling the pappardelle in a large pot of salted water according to the package instructions, typically for 10-12 minutes. Once cooked, drain the pasta, keeping aside a cup of the cooking water.
Sear the Steak: While the pasta cooks, heat oil in a large frying pan over high heat. Add the steak strips, seasoning them with salt and pepper, and sear for 3-4 minutes until browned. Remove the steak from the pan and set it aside.
Sauté the Vegetables: Lower the heat to medium-high, add butter to the same pan, and let it melt. Add the sliced onions and green bell peppers, sautéing for about 3 minutes until they soften but still have a slight crunch.
Add Flavor: Stir in the minced garlic and cook for about 30 seconds until fragrant. Pour in the cream and Worcestershire sauce, bringing the sauce to a gentle simmer.
Combine Everything: Return the seared steak and any juices to the pan, stirring to coat it in the sauce. Add the cooked pasta, tossing everything together. If the sauce becomes too thick, gradually mix in the reserved pasta water until it reaches the desired consistency.
Finish with Cheese: Sprinkle the grated mozzarella into the pan, stirring until it’s melted and the sauce is smooth and creamy. Serve the pasta immediately with a fresh grind of black pepper.
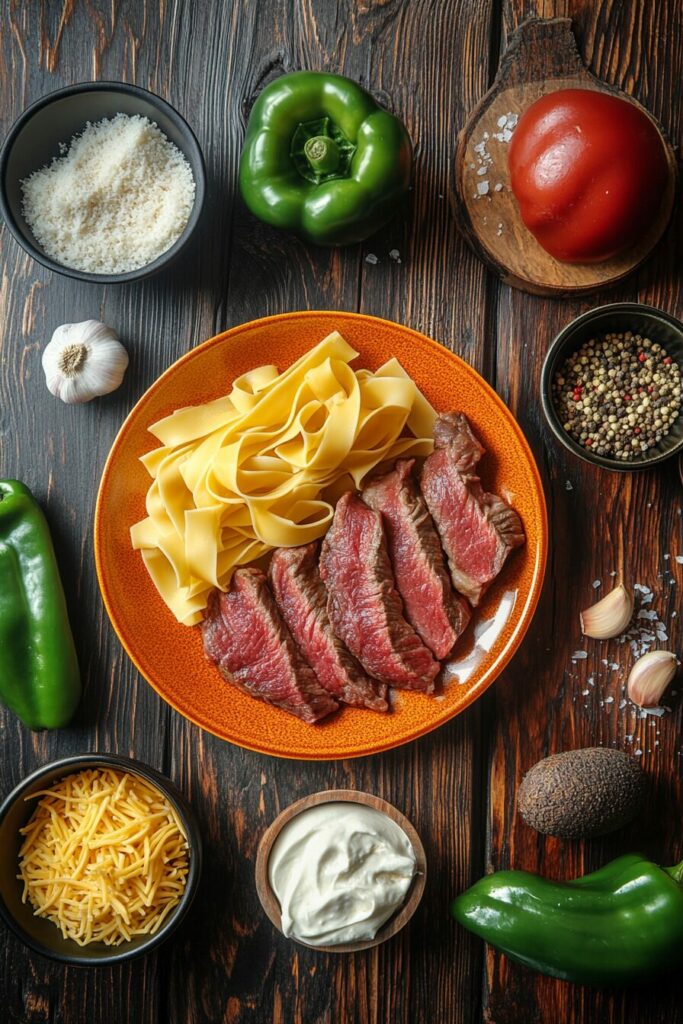
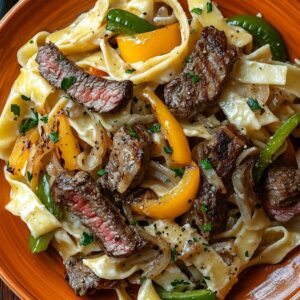
Steak & Pepper Cheesy Pasta
Juicy strips of steak, sautéed onions, and green bell peppers tossed with pappardelle pasta in a rich, creamy cheese sauce. This comforting dish brings the iconic flavors of a Philly cheesesteak to your dinner table, perfect for family dinners or a cozy date night.Equipment
- 1 Large pan for boiling pasta
- 1 Large frying pan skillet
- 1 Tongs or a spoon for tossing
Ingredients
- 300g 10.5 oz Dried pappardelle pasta (or tagliatelle/spaghetti/fettuccine)
- 2 tbsp Neutral oil (such as avocado or rapeseed)
- 400g 14 oz Fillet or ribeye steak sliced into 1cm thick strips
- ½ tsp Salt
- ½ tsp Black pepper
- 1 tbsp Salted butter
- 1, Onion peeled and thickly sliced
- 1, Green bell pepper thickly sliced
- 2 cloves Garlic Peeled and minced
- 240ml 1 cup Double (heavy) cream
- 1 tbsp Worcestershire sauce
- 100g 1 packed cup Ready-grated mozzarella cheese
To Serve:
- Black pepper freshly ground
Instructions
- Cook Pasta: Boil the pasta in a large pan of salted water according to the package instructions (usually 10-12 minutes). Drain, reserving 1 cup of pasta cooking water.
- Sear Steak: While the pasta cooks, heat the oil in a large frying pan over high heat. Add the steak strips, season with salt and pepper, and fry for 3-4 minutes until browned. Remove from the pan and set aside.
- Sauté Veggies: Lower the heat to medium-high and add butter to the pan. Once melted, add the onion and green bell pepper, sautéing for about 3 minutes until they start to soften but retain some crunch.
- Flavor: Stir in the minced garlic and cook for 30 seconds until fragrant. Add the cream and Worcestershire sauce, bringing the mixture to a gentle simmer.
- Combine: Return the steak and any juices to the pan, stirring to coat in the sauce. Add the cooked pasta, tossing everything together. If the sauce is too thick, gradually add the reserved pasta water to reach your desired consistency.
- Finish: Sprinkle in the grated mozzarella, stirring until melted and well combined. Serve immediately with a generous grind of black pepper.
Notes
- Cheese: Provolone is traditional for Philly cheesesteaks, but mozzarella, Edam, or Gouda work well as substitutes.
- Best Cut of Steak: Ribeye or sirloin are ideal for this dish due to their flavor and tenderness when cooked quickly over high heat.
- Make Ahead: This dish is best served fresh, as reheating can compromise the juiciness and tenderness of the steak.
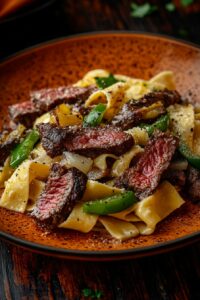
Final Notes
This Steak & Pepper Cheesy Pasta is a hearty, indulgent dish that combines the rich flavors of a Philly cheesesteak with the comforting texture of creamy pasta. The juicy steak, tender vegetables, and gooey cheese make it a meal to remember, perfect for those evenings when you want something both satisfying and special. Enjoy it fresh off the stove for the best taste and texture.
-
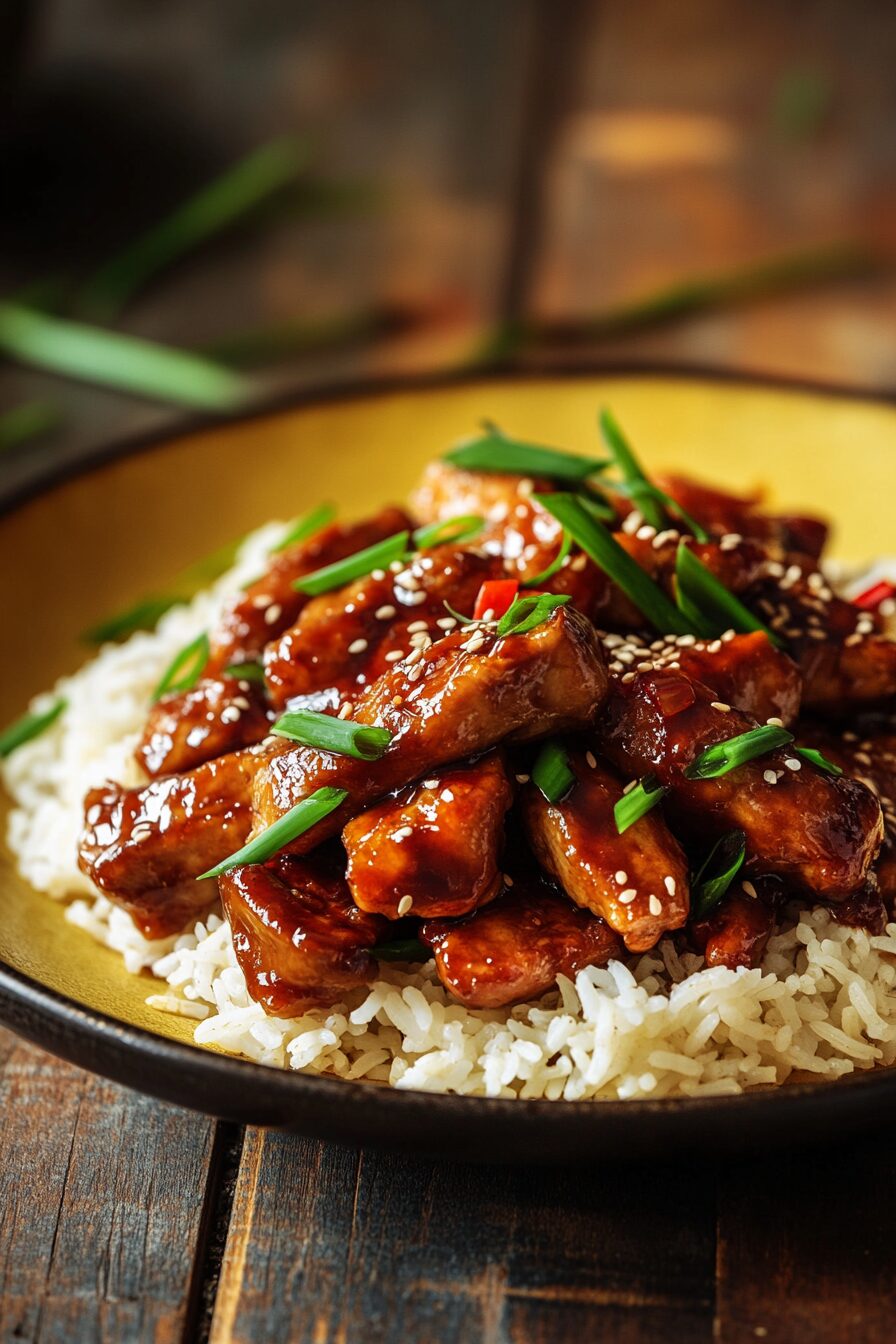
American Bourbon Chicken Stir-Fry
Introduction
American Bourbon Chicken Stir-Fry brings the flavors of a food court classic into your home, with crispy chicken pieces glazed in a sweet and savory bourbon sauce. Ready in under 30 minutes, this dish combines the comfort of American cuisine with a touch of indulgence, perfect for a quick and satisfying dinner.
How to Make It
- Prepare the Sauce: In a small bowl, mix together light and dark soy sauces with cornflour until smooth. Add the chicken stock, bourbon, and sugar, stirring well. Set this sauce aside for later.
- Coat the Chicken: Toss the chicken thigh fillets in a bowl with cornflour, salt, and pepper until evenly coated. This will help create a crispy exterior when fried.
- Fry the Chicken: Heat oil in a large frying pan over medium-high heat. Add the chicken and cook for 8-12 minutes, turning occasionally, until the pieces are golden brown and cooked through.
- Add Flavor: Reduce the heat to medium, then add the garlic and ginger to the pan. Stir-fry for about 30 seconds to release their flavors without burning.
- Glaze the Chicken: Pour the prepared bourbon sauce into the pan. Increase the heat to medium-high and cook for 2-3 minutes, stirring frequently, until the sauce thickens and evenly coats the chicken.
- Serve: Turn off the heat, and if desired, roughly slice the chicken before returning it to the sauce. Stir to ensure every piece is coated. Serve the chicken over a bed of rice, garnished with spring onions and sesame seeds.
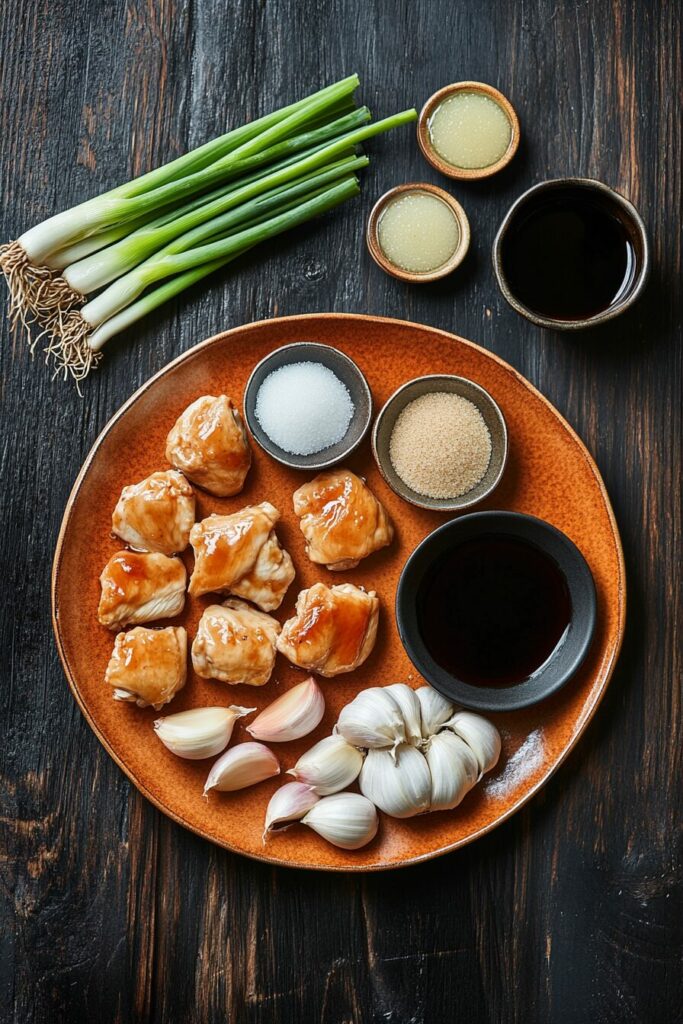

American Bourbon Chicken Stir-Fry
Crispy pieces of chicken glazed in a sweet and savory bourbon sauce, bursting with flavors of soy, garlic, and ginger. This American food court classic is ready in under 30 minutes, bringing the taste of comfort and indulgence right to your kitchen.Equipment
- 1 Large frying pan Skillet
- 1 Bowl
- 1 Spoon or spatula
Ingredients
Chicken:
- 750g 1.65 lbs Skinless, boneless chicken thigh fillets trimmed
- 2 tbsp Cornflour cornstarch
- ¼ tsp Salt
- ¼ tsp Black pepper
- 3 tbsp Oil neutral oil like avocado or vegetable
Bourbon Sauce:
- 3 tbsp Light soy sauce use low sodium if preferred
- 2 tbsp Dark soy sauce use low sodium if preferred
- 1 tbsp Cornflour cornstarch
- 180ml 3/4 cup Chicken stock use low sodium if preferred
- 4 tbsp Bourbon whisky or 4 tbsp apple juice + 1 tbsp Worcestershire sauce
- 5 tbsp Light brown sugar
To Serve:
- Boiled rice or egg fried rice
- Spring onions scallions, thinly sliced
- Sesame seeds
Instructions
- Prepare Sauce: In a small bowl, mix light and dark soy sauces with cornflour until dissolved. Add chicken stock, bourbon, and sugar, stirring to combine. Set aside.
- Coat Chicken: Place chicken thigh fillets in a bowl. Sprinkle with cornflour, salt, and pepper, and toss to coat.
- Fry Chicken: Heat oil in a large frying pan over medium-high heat. Add the chicken and cook for 8-12 minutes, turning occasionally, until golden brown and cooked through.
- Flavor: Reduce the heat to medium and add garlic and ginger to the pan. Fry for 30 seconds, stirring constantly.
- Glaze: Pour the prepared bourbon sauce into the pan. Turn the heat back up to medium-high and cook for 2-3 minutes, stirring often, until the sauce thickens and coats the chicken.
- Serve: Turn off the heat, roughly slice the chicken (optional), and return it to the sauce. Stir to coat. Serve over rice, topped with spring onions and sesame seeds.
Notes
- Make Ahead: While best served fresh, you can make this dish ahead. Reheat in a pan over medium heat, adding a splash of hot chicken stock to loosen the sauce if needed.
- Ingredient Swaps: For a non-alcoholic version, replace bourbon with apple juice and Worcestershire sauce. Chicken breasts can be used instead of thighs but be careful not to overcook.

Final Thoughts
This American Bourbon Chicken Stir-Fry is a delightful mix of crispy chicken and rich, flavorful sauce. The bourbon adds a unique depth to the sweet and savory glaze, making it a standout dish for any weeknight. Whether you’re cooking for family or impressing guests, this quick stir-fry is sure to satisfy.
-
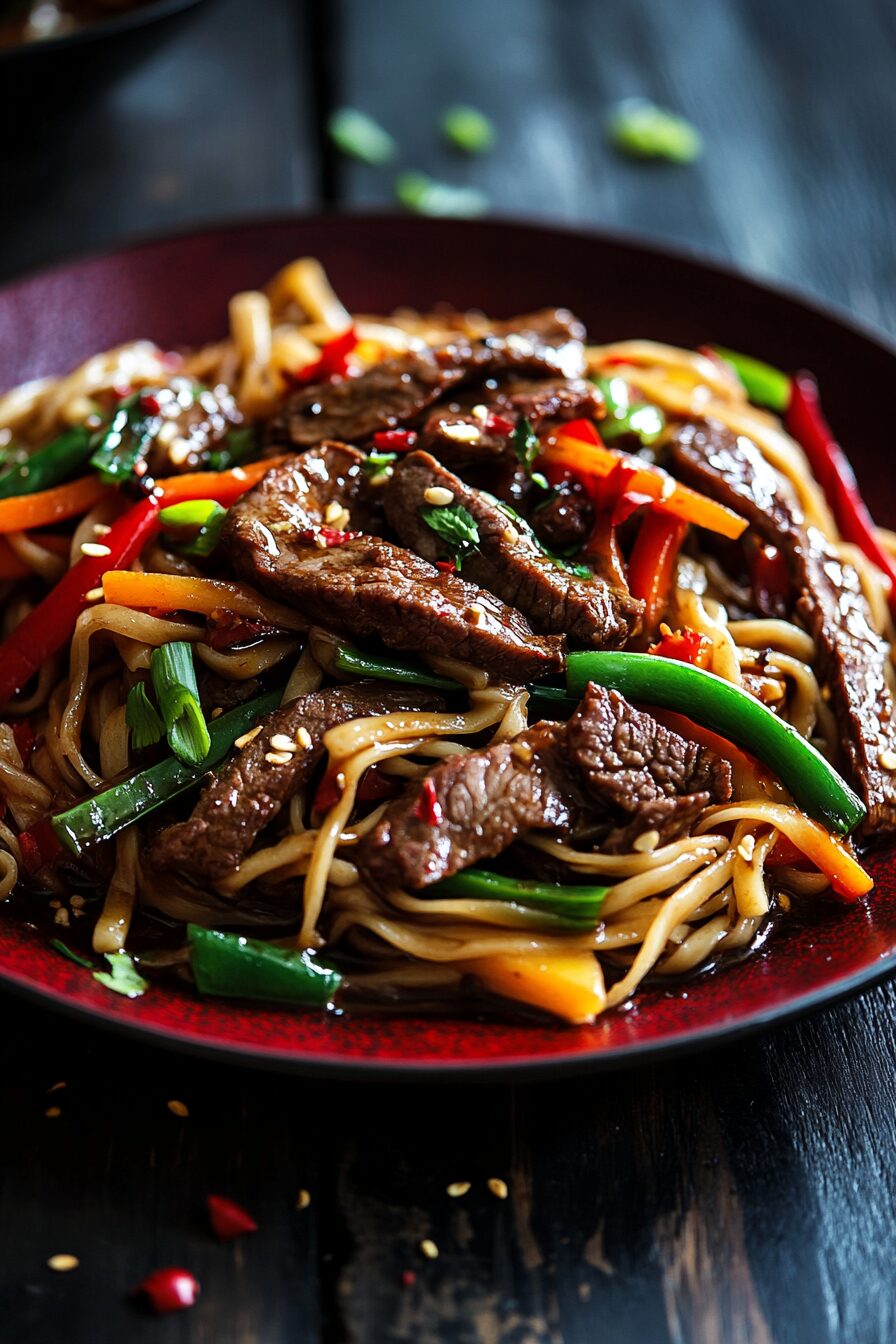
Tangy Beef Noodle Stir-Fry
Introduction
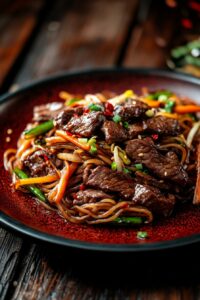
Tangy Beef Noodle Stir-Fry is a quick and flavorful dish that brings together tender, crispy beef, vibrant vegetables, and a zesty, sweet, and spicy sauce. This Asian-inspired stir-fry is ready in just 20 minutes, offering a perfect balance of textures and tastes that’ll leave your taste buds tingling.
How to Make It
- Coat the Beef: Toss the thin strips of sirloin steak in a bowl with cornflour, salt, and pepper until they’re evenly coated. This helps the beef get crispy when cooked.
- Crisp the Beef: Heat oil in a hot wok or large frying pan. Add the beef and fry for about 5 minutes until the strips are dark brown and crispy. Remove them with a slotted spoon and let them drain on kitchen paper.
- Stir-fry the Veggies: Lower the heat to medium and add more oil to the wok. Stir-fry the broccoli and red bell pepper for 2-3 minutes until they’re just tender but still crisp. Add the minced garlic and ginger, and cook for another 30 seconds.
- Make the Sauce: In a bowl, mix together lime juice, soy sauce, sugar, and chopped chilli. Pour this mixture into the wok, turning the heat up to high. Let the sauce bubble and reduce for about 2-3 minutes.
- Cook the Noodles: Add the fresh noodles to the wok and toss them with tongs until they’re heated through, about 2-3 minutes.
- Combine Everything: Return the crispy beef, vegetables, and chopped spring onions to the wok. Toss everything together, cooking for an additional 2-3 minutes to blend the flavors.
- Serve: Plate the stir-fry in bowls, garnishing with chilli flakes, fresh chillies, and finely chopped spring onions for an extra kick.
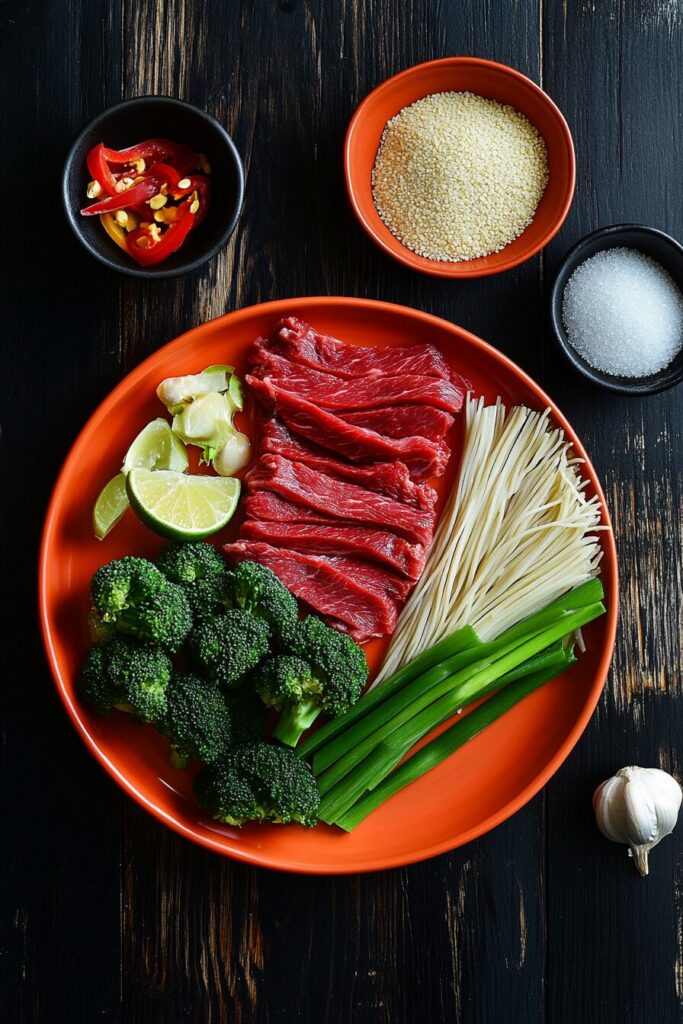
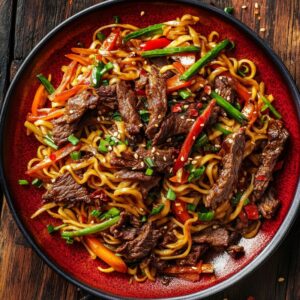
Tangy Beef Noodle Stir-Fry
Strips of tender, crispy beef tossed with stir-fried noodles and vibrant vegetables, all coated in a zesty, sweet, and spicy sauce. This quick and flavorful dinner brings together the perfect balance of textures and tastes, ready in just 20 minutes.Equipment
- 1 Wok or large frying pan
- 1 Slotted spoon
- 1 Tongs
- 1 Bowl
Ingredients
Steak:
- 300 g 10.6 oz, Sirloin steak cut into thin strips
- 2 tbsp Cornflour Cornstarch
- ¼ tsp Salt
- ¼ tsp Black pepper
- 2 tbsp Oil Neutral high-smoke-point oil like avocado, rapeseed, or vegetable oil
Vegetables and Sauce:
- 1 tbsp Oil Neutral high-smoke-point oil like avocado, rapeseed, or vegetable oil
- 1, Red bell pepper deseeded and sliced
- 200g 7 oz Broccoli cut into small florets
- 3 cloves Garlic peeled and minced
- 2 tsp Minced ginger
- 90ml 6 tbsp Fresh lime juice approx. juice from 3 limes
- 90ml 6 tbsp Dark soy sauce
- 6 tbsp Caster sugar superfine sugar
- 1 Red chilli finely chopped (use Fresno for mild heat or Birds Eye for more heat)
- 4 Spring onions scallions, chopped into 2 cm pieces
To Serve:
- 1 tsp Chilli flakes
- 1 tsp Finely chopped fresh chillies
- 2 Spring onions scallions, finely chopped
Instructions
- Coat: Place the steak strips in a bowl and add the cornflour, salt, and pepper. Toss together until the beef strips are completely coated.
- Crisp: Heat the oil in a wok or large frying pan over high heat. Add the beef and fry until dark brown and crispy, about 5 minutes. Remove the beef with a slotted spoon and place it in a bowl lined with kitchen roll to soak up excess fat.
- Stir-fry: Reduce the heat to medium and add another tablespoon of oil to the wok. Add the broccoli and red pepper and stir-fry for 2-3 minutes until lightly cooked but still crisp. Add the garlic and ginger, and fry for another 30 seconds.
- Sauce: In a bowl, combine lime juice, soy sauce, sugar, and chopped chilli. Stir together and pour the sauce into the wok. Turn the heat to high and let the sauce bubble for 2-3 minutes until reduced by about one-third.
- Noodles: Add the noodles to the wok and cook, tossing regularly with tongs, until heated through, about 2-3 minutes.
- Combine: Add the cooked beef, broccoli, peppers, and spring onions back to the wok. Heat through for 2-3 minutes, tossing to prevent sticking.
- Serve: Dish out into bowls and top with chilli flakes, chopped chillies, and spring onions.
Notes
- Using dried noodles? Replace the 400g (14oz) fresh egg noodles with 200g (7oz) dried medium Chinese egg noodles. Cook according to package instructions, drain, and toss with sesame oil to prevent sticking.
- Why isn’t my beef crispier? For an extra crispy coating, coat the beef with egg first, then plenty of seasoned cornflour. Shallow fry in 1 cm of oil or deep fry for the crispiest results.
Final Flavor
This Tangy Beef Noodle Stir-Fry is a quick and vibrant dish that’s all about contrast—the crispy beef against tender noodles, the sweet sauce with a hint of spice, and the fresh crunch of vegetables. It’s a recipe that’s as satisfying to make as it is to eat, perfect for a weeknight dinner that’s both fast and packed with flavor.
-
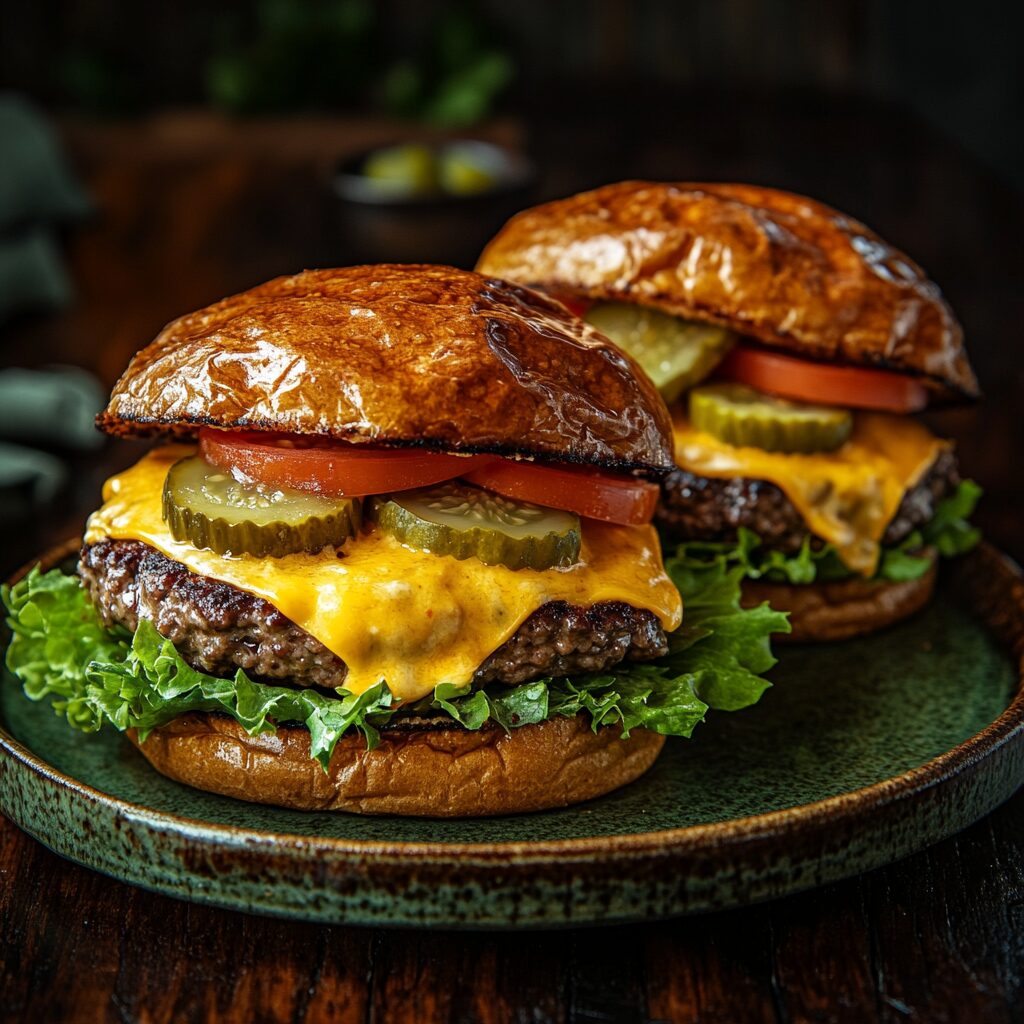
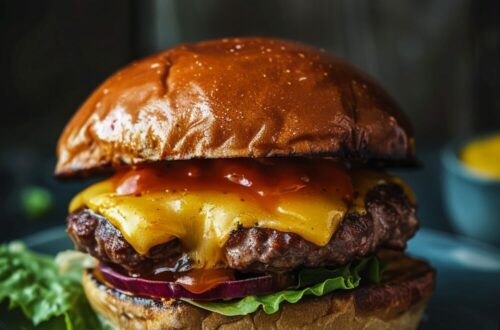
Cheesy BBQ Smash Burgers
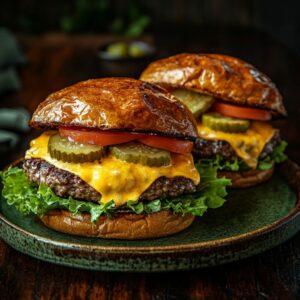
Cheesy BBQ Smash Burgers are the pinnacle of quick, satisfying comfort food. These thin yet juicy double cheeseburgers are smashed on a hot BBQ, creating a crispy crust that locks in all the flavor. In just 25 minutes, you’ll have a mouthwatering feast, perfect for kicking off a Friday night with a bang.
How to Make It
- Prepare the Meat: Take the minced beef out of the fridge an hour before cooking to let it reach room temperature. This helps it cook more evenly.
- Get Your Fixings Ready: While the meat rests, prepare all your toppings—slice the lettuce and tomatoes, toast the buns, and have the pickles and burger sauce ready.
- Heat the BBQ: Heat up your flat-top BBQ or griddle pans on high heat, so they’re sizzling hot and ready for the burgers.
- Shape the Patties: Divide the beef into 8 equal portions, roll each into a ball, and press them together gently. This helps create a good texture for smashing.
- Season and Smash: Season the top of each meatball with salt and pepper. Place them on the hot cooking surface, season-side down. Cover with parchment paper and use a burger press or two spatulas to smash each ball into a thin patty.
- Cook and Flip: After 2 minutes, when the burgers have a good crust, flip them using a thin-edged spatula. Season the other side as they cook.
- Melt the Cheese: Add a slice of cheese to each patty, cover with a cloche, and let the cheese melt for about 30 seconds.
- Double Up and Build: Stack two patties together to make four double cheeseburgers. Remove from the heat and let them rest while you assemble the buns with lettuce, tomato, sauce, onions, and pickles. Top with the other half of the bun and serve.
Cheesy BBQ Smash Burgers
Equipment
- 1 Parchment paper
- 1 Burger press Optional
- 1 Burger dome/cloche
- 1 Flat griddle pan or flat-top BBQ
Ingredients
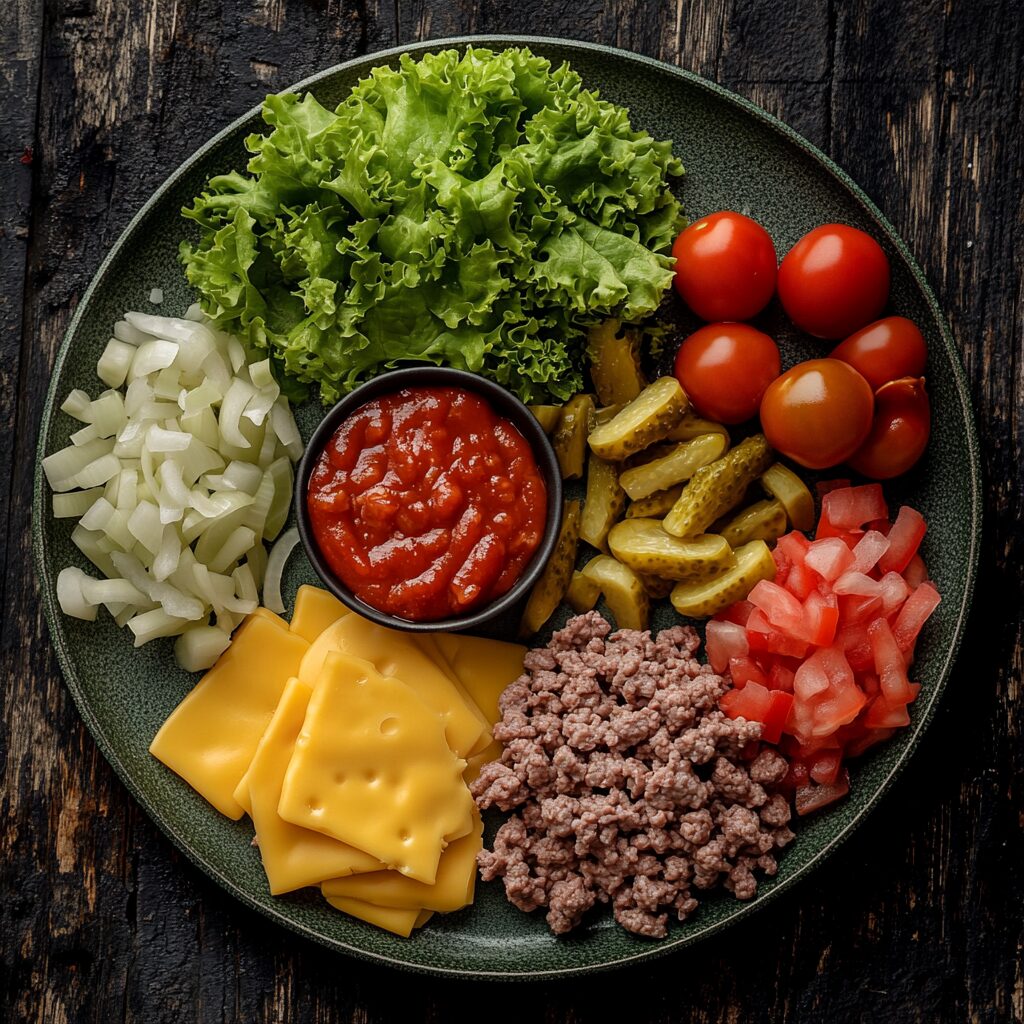
- 500g 1.1lb Minced (ground) beef, ideally 20% fat
- ¼ tsp Salt Plus another ¼ tsp for the second side
- ¼ tsp Pepper Plus another ¼ tsp for the second side
- 8 slices Cheese Burger cheese slices
- 4 Brioche buns sliced in half and lightly toasted
- 1 Romaine lettuce sliced/shredded
- 2 medium Tomatoes Thickly sliced
- 4 tbsp Burger sauce
- ½ small Onion Peeled and finely diced
- 12 slices Pickled gherkins Or burger pickle slices
Instructions
- Prep: Remove the minced beef from the fridge and leave it to come up to room temperature for 1 hour before cooking.
- Fixings: Prepare all of your burger fixings before starting cooking.
- Heat: Heat two large flat griddle pans or a flat-top BBQ to high heat.
- Shape: Divide the meat into 8 equal portions and roll each portion into a ball, pressing the fibers of the meat together.
- Season: Season the top of each ball with salt and pepper. Add the balls to the cooking surface, seasoning side down, making sure you leave enough space to squash the burgers down.
- Smash: Place a piece of parchment paper on top of each meatball and squash the burgers down using a burger press or double spatulas until thin.
- Flip: Remove the parchment paper, season the other side, and allow to cook for 2 minutes to build up a crust. Use a spatula or scraper with a thin edge to flip the burgers.
- Melt: Add a slice of cheese to each burger. Cover with a cloche for 30 seconds to help melt the cheese.
- Double: Double up the burgers (so you now have four double cheeseburgers) and remove them from the heat. Let them rest while you prepare the buns.
- Build: Build the burgers starting with the bottom bun, then lettuce, tomato, double smashed burger, burger sauce, diced onion, and pickles. Top with the other half of the bun and serve.
Notes
- The cloche helps melt the cheese evenly and keeps the burgers juicy. If you don’t have a cloche, you can still achieve great results without it.
- Nutritional information is approximate and should only be used as a guide.

Final Bite
These Cheesy BBQ Smash Burgers are not just about the taste but the experience of crafting each layer. The crispy crust of the beef, the oozy cheese, and the fresh fixings come together in a perfect bite that’ll make you the hero of your backyard BBQ. The simplicity of smashing the burgers on a hot surface is what makes them unique—quick, easy, and deliciously indulgent.
-
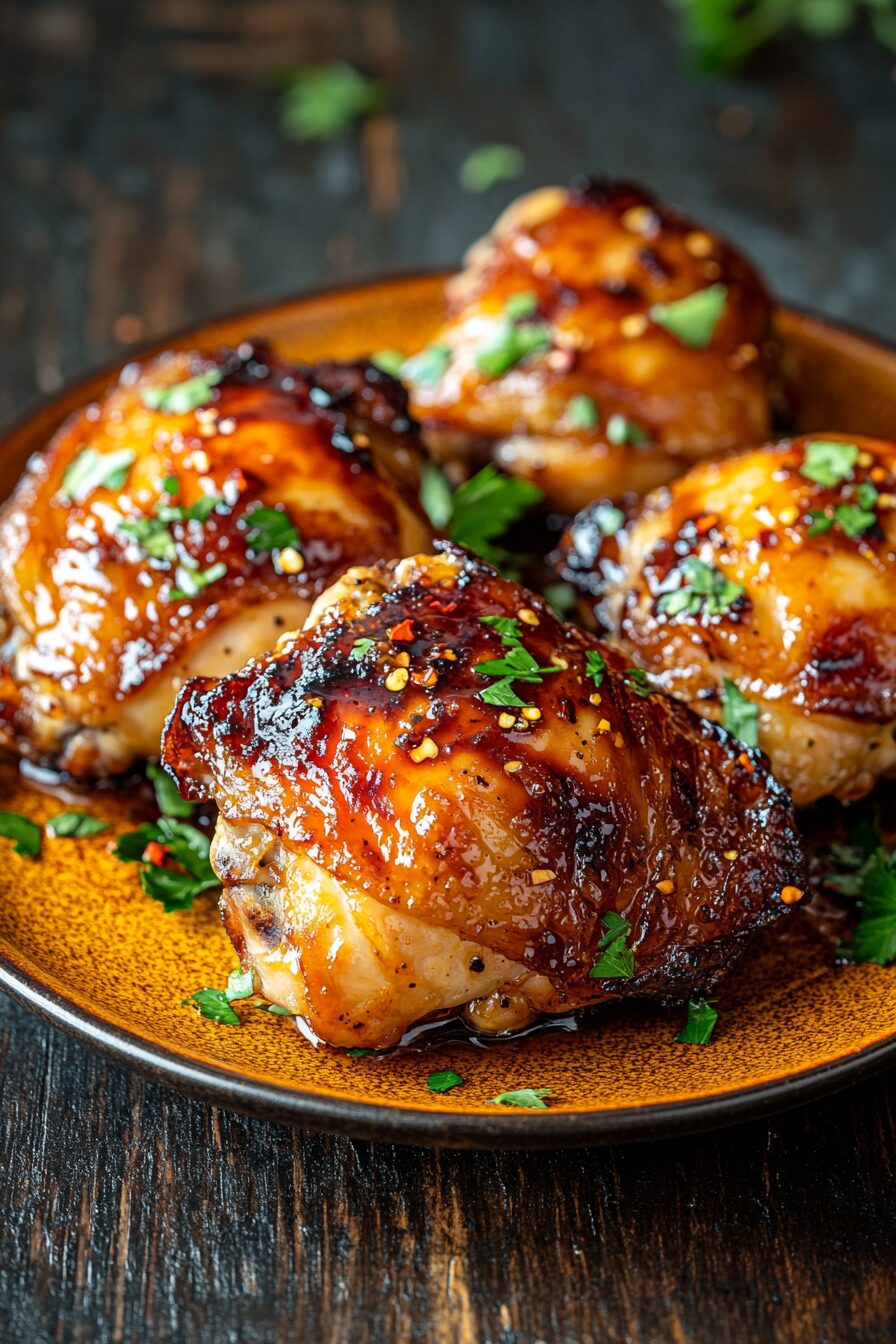
Quick Honey Garlic Glazed Chicken
Quick Honey Garlic Glazed Chicken is your go-to weeknight dinner when time is short but flavor is essential. The golden chicken thighs, kissed by the heat, are cloaked in a sticky, sweet honey garlic glaze that brings a perfect balance of savory and sweet. Ready in just 20 minutes, this dish ensures a delicious meal in no time.
How to Make It
- Coat the Chicken: Start by tossing the chicken thighs with cornflour, salt, and pepper until they’re evenly coated. This simple step helps create a crispy exterior.
- Sear the Chicken: Heat some oil in a large frying pan over high heat. Add the chicken thighs and cook for about 6-7 minutes, turning them once, until they’re golden brown on both sides.
- Add Garlic and Butter: Lower the heat to medium, add the butter to the pan, and let it melt. Stir in the minced garlic, allowing its aroma to infuse the chicken without letting it burn.
- Mix and Add the Sauce: In a small bowl, mix the honey, chicken stock, rice vinegar, and soy sauce. Pour this mixture over the chicken in the pan, ensuring each piece is coated.
- Simmer: Increase the heat to bring the sauce to a boil, then reduce to a simmer. Let it cook for 4-5 minutes until the sauce thickens and the chicken is fully cooked.
- Serve: Sprinkle the dish with chopped parsley and chili flakes for a touch of heat. Serve the chicken over boiled rice, making sure to spoon plenty of the delicious glaze over the top.
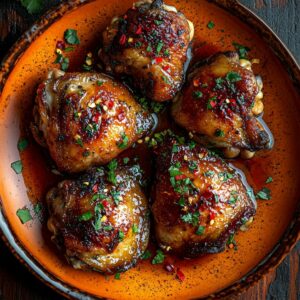
Quick Honey Garlic Glazed Chicken
Golden brown chicken thighs, kissed by the heat, then cloaked in a sticky honey garlic glaze. It’s a swift dance of flavors, where sweet meets savory in perfect harmony, ready in just 20 minutes.Equipment
- 1 Large frying pan skillet
- 1 Bowl
- 1 Spatula
Ingredients
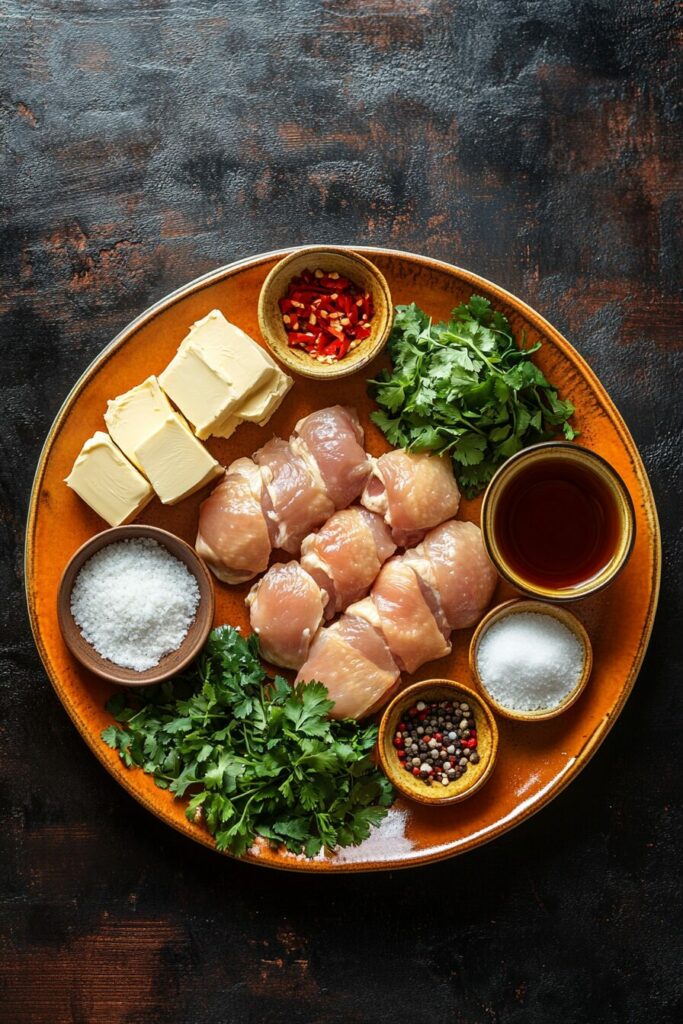
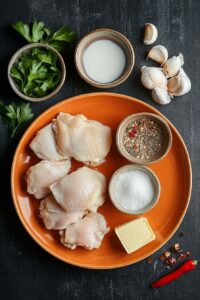
- 8 Chicken thighs Skinless and boneless
- 2 tbsp Cornflour Cornstarch
- ½ tsp Salt
- ½ tsp Pepper
- 2 tbsp Vegetable oil
- 1 tbsp Unsalted butter
- 4 tbsp cloves Minced garlic
- 110 g Honey 1/3 cup
- 80 ml Chicken stock 1/3 cup
- 1 tbsp Rice vinegar
- 1 tbsp Light soy sauce
- 1 tbsp Finely chopped fresh parsley, to serve
- ½ tsp Chilli flakes, to serve
- Boiled rice to serve
Instructions
- Coat: Place the chicken thighs in a bowl and add the cornflour, salt, and pepper. Toss the chicken until fully coated.
- Sear: Heat the oil in a large frying pan over high heat. Add the chicken thighs and cook on one side until golden brown, about 4-5 minutes. Turn over and cook for a further 2 minutes.
- Enrich: Add the butter to the pan, let it melt, then add the garlic and stir together. Reduce the heat to medium to prevent the garlic from burning.
- Glaze: In a bowl, combine the honey, chicken stock, rice vinegar, and light soy sauce. Stir together, then add the mixture to the pan with the chicken.
- Simmer: Turn the heat up and bring the sauce to a boil. Then, reduce to a simmer for 4-5 minutes until the sauce thickens and the chicken is cooked through.
- Garnish: Sprinkle with chopped parsley and chili flakes. Serve over boiled rice.
Notes
- You can replace chicken thighs with chicken breasts, but be sure to slice them into thick strips or flatten them for even cooking.
- For a gluten-free version, substitute soy sauce with tamari and ensure that your chicken stock and rice vinegar are gluten-free.
- The dish can be frozen, but the chicken might lose some tenderness. Reheat from frozen in the oven at 180°C (350°F) covered with foil for 12-15 minutes until hot.
Final Thoughts
This Quick Honey Garlic Glazed Chicken is not only fast and easy to prepare, but it also delivers on taste. The balance of sweet honey and savory garlic is perfectly paired with tender chicken thighs, making it a favorite for busy nights. Don’t forget to garnish with fresh parsley and a hint of chili for an added layer of flavor.
-
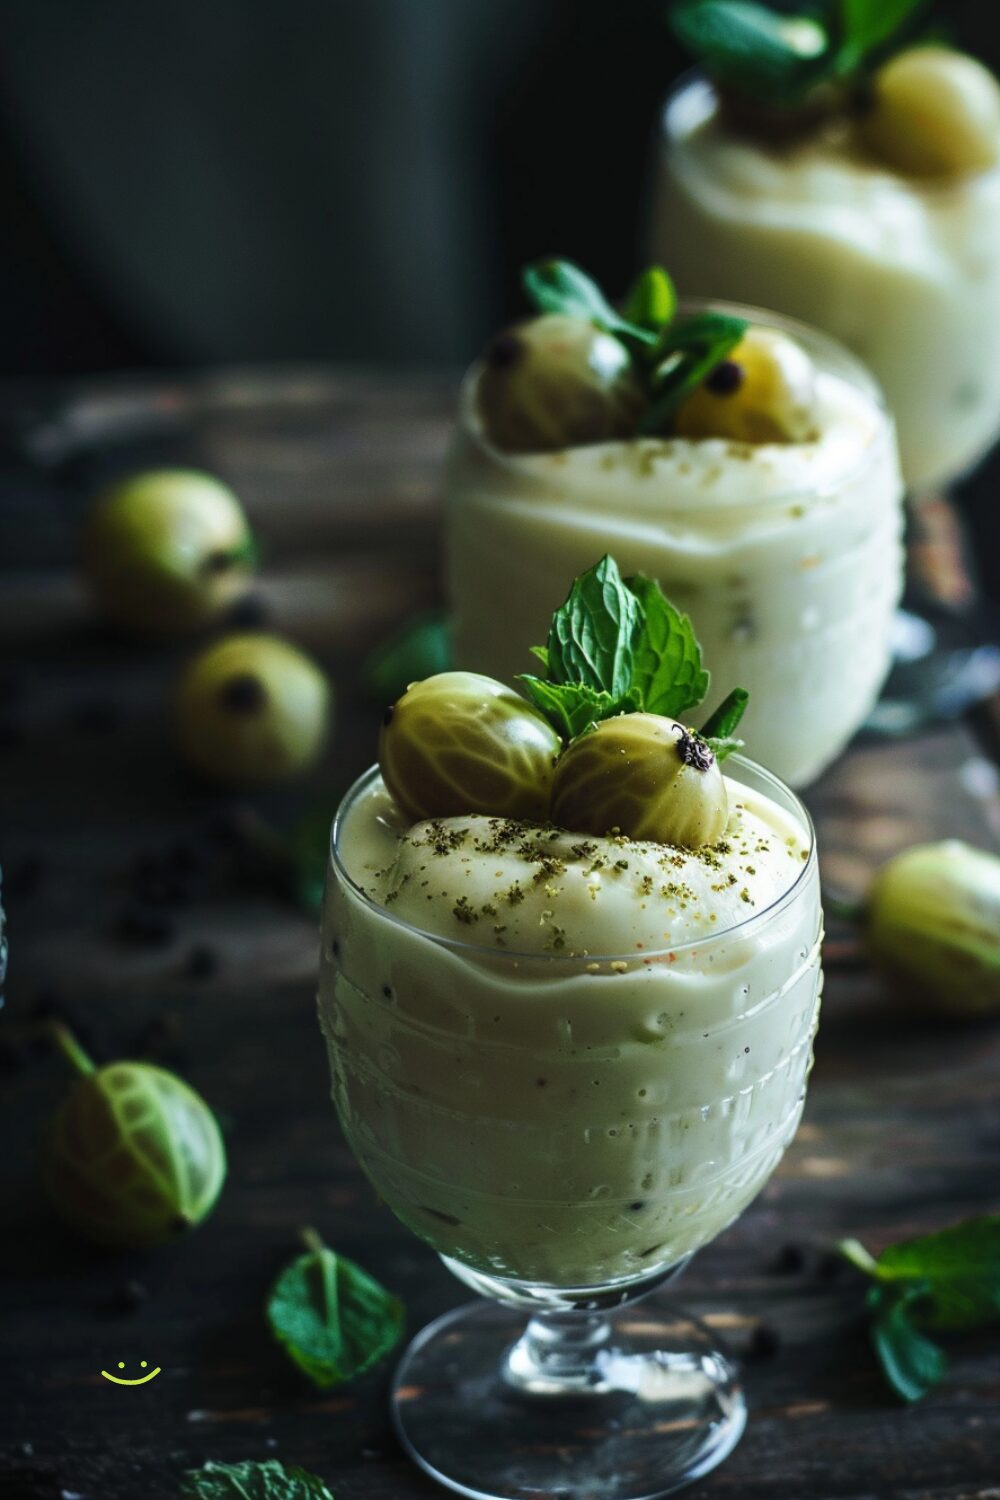
Gooseberry Fool
How to make this easy gooseberry fool recipe that’s spiked with fragrant elderflower. It’s a fantastic make-ahead recipe for an early summer get-together or barbecue. Serve with a very crisp biscuit.
Ingredients:
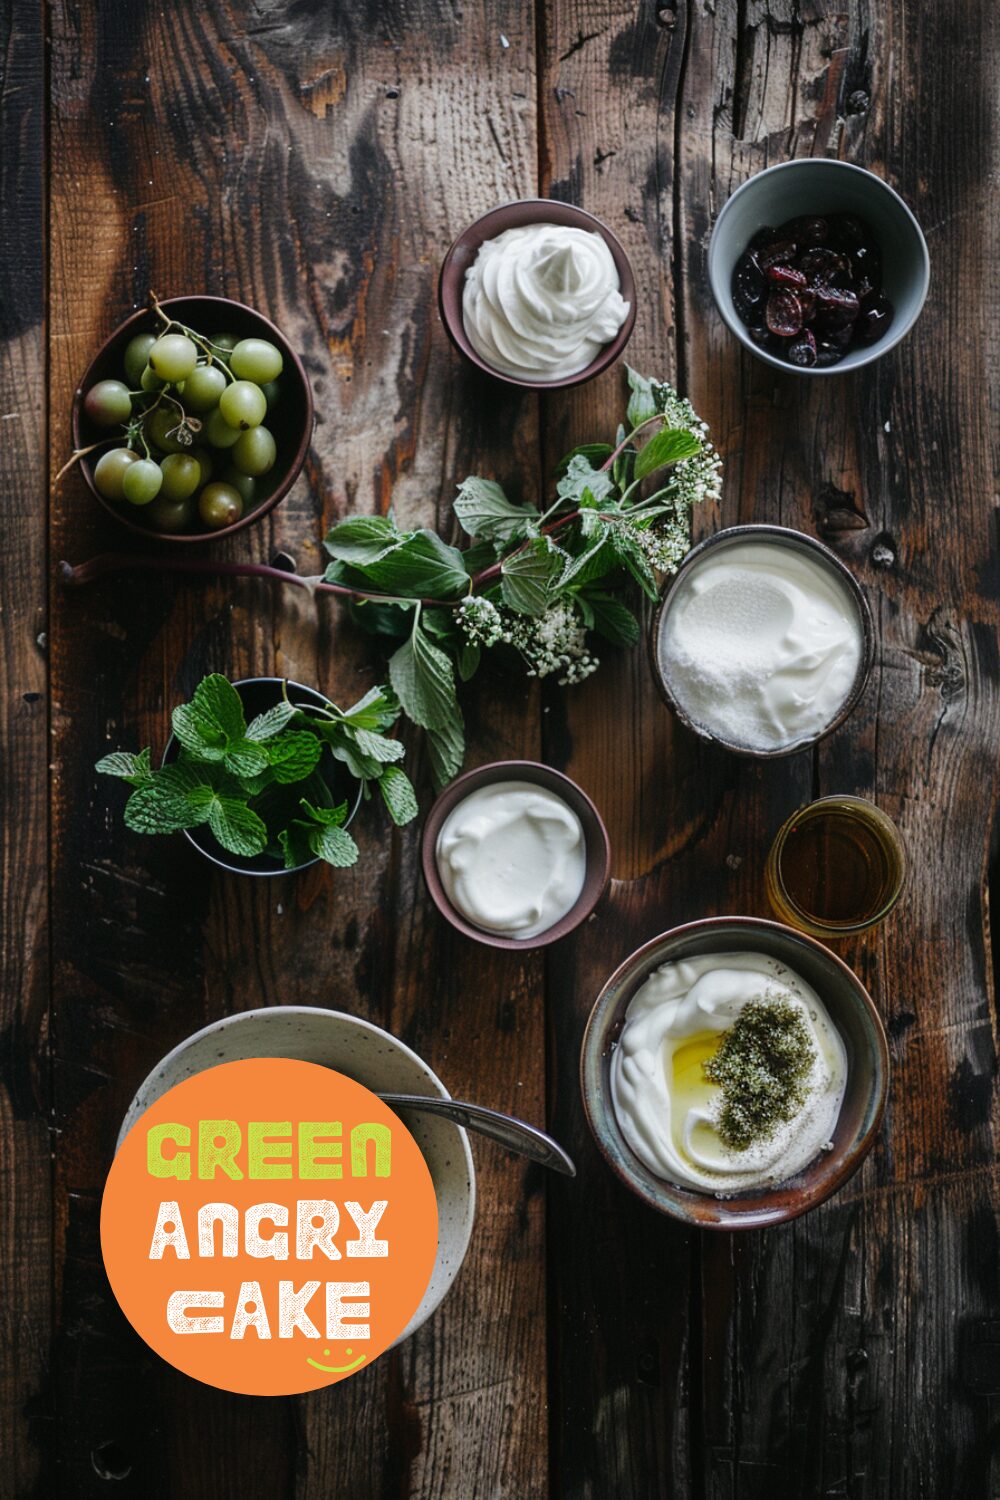
- 500g (1lb 4oz) gooseberries, topped and tailed
- 100g (3½oz) caster sugar
- 3 tbsp elderflower cordial
- 200g (7oz) double cream
- 100ml (3½fl oz) thick Greek-style yoghurt or crème fraîche
- Fresh mint sprigs, to decorate (optional)
How to Make Gooseberry Fool:
- Put the gooseberries, sugar, and cordial in a saucepan. Cook on high heat until the sugar has dissolved and the fruit is soft. Remove from the heat and reserve a quarter of the cooked gooseberries.
- Blend the remaining cooked gooseberries in a blender or food processor, then sieve to remove the skins. Set aside to cool.
- Whisk the cream in a bowl until soft peaks form when the whisk is removed from the bowl. Fold in the yoghurt and the blended gooseberries. Divide between six glasses.
- Leave the glasses in the fridge for at least 2 hours to allow the fool to thicken.
- To serve, spoon the remaining gooseberries over the top of the fool and decorate with mint, if using. Serve with honey melts.
Helpful Hints:
- You can use frozen gooseberries to make this dessert for a blast of summer flavor in the winter months.
- For an extra touch, drizzle some honey over the top before serving.
Perfect Pairings
Gooseberry fool pairs beautifully with crisp biscuits and other delightful desserts. Here are a few you might enjoy:
- Brown Butter Chocolate Chip Cookies: The nutty, rich flavor of these cookies complements the tangy sweetness of gooseberry fool.
- Coconut Macaroons: These chewy, sweet macaroons provide a delightful contrast to the creamy and fruity fool.
- Oreo Cheesecake Bars: The rich, creamy texture of Oreo cheesecake is a perfect match for the light and refreshing gooseberry fool.
-
Elderflower Cordial Recipe
There’s something enchanting about making elderflower cordial at home. The delicate scent of elderflowers, the vibrant citrus, and the satisfaction of crafting something far superior to anything store-bought. This cordial is a summer staple, perfect for mixing with sparkling water for a refreshing drink or adding to sparkling wine for a delightful cocktail.
Ingredients:
- 30 elderflower heads
- 1.7 liters (3 pints) boiling water
- 900g (2lb) caster sugar
- 50g (2oz) citric acid (available from chemists)
- 2 unwaxed oranges, sliced
- 3 unwaxed lemons, sliced

How to Make It Elderflower Cordial:
- Gently rinse the elderflowers to remove any dirt or little creatures.
- Pour the boiling water over the sugar in a very large mixing bowl. Stir well and leave to cool.
- Add the citric acid, the orange and lemon slices, and then the flowers.
- Leave in a cool place for 24 hours, stirring occasionally.
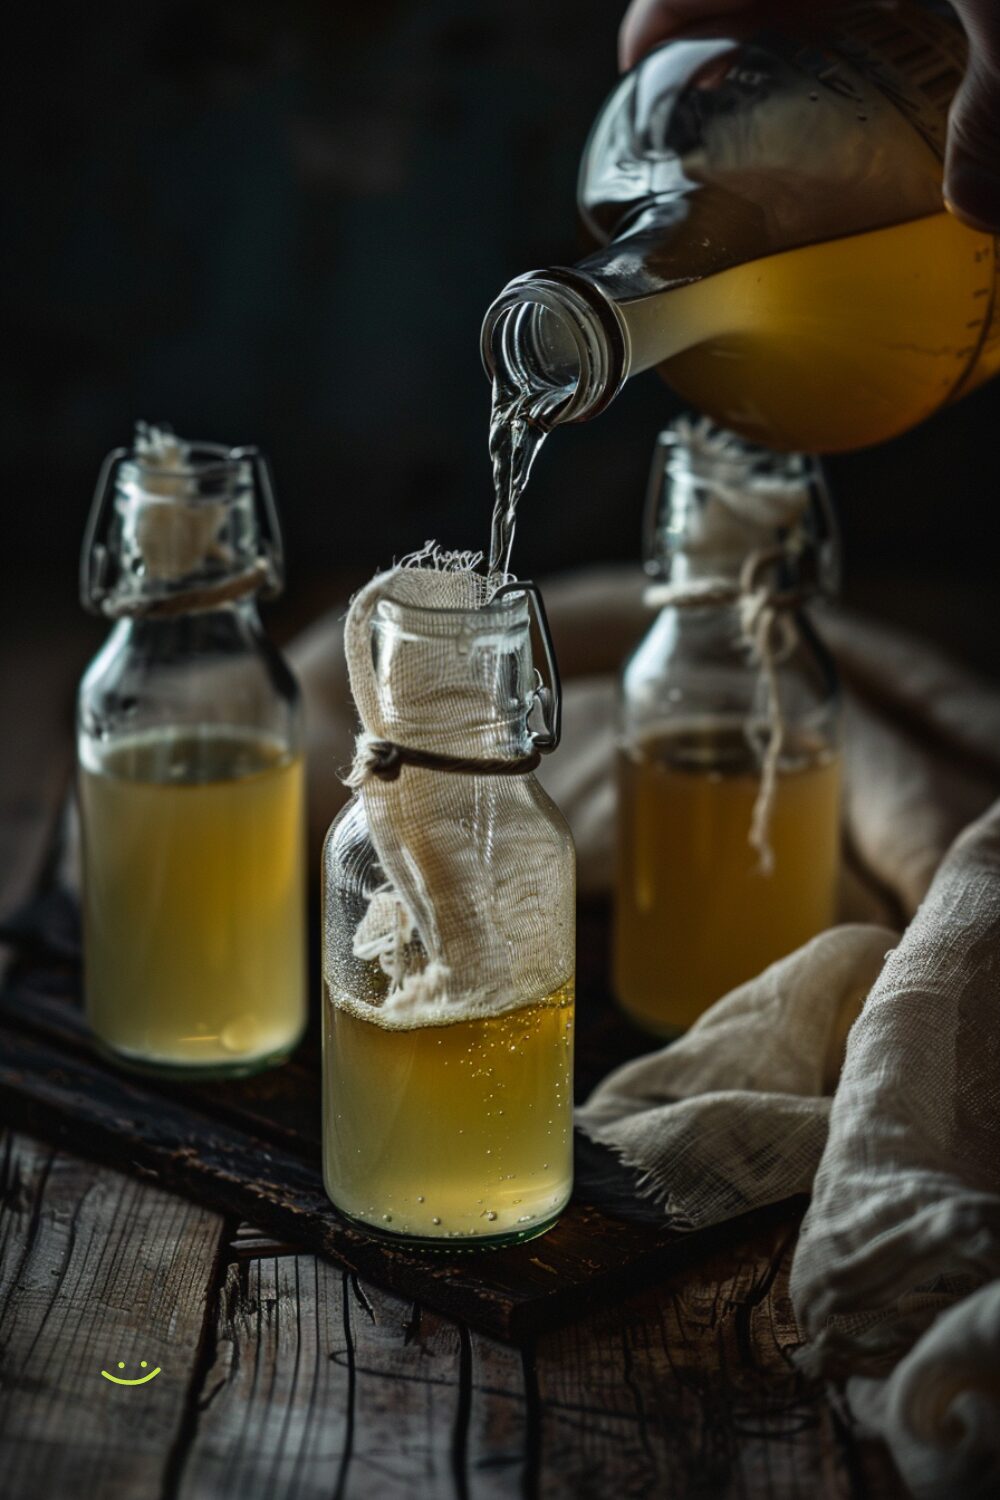
- Strain through some muslin and transfer to sterilized bottles.
Helpful Hints:
- Ensure all utensils and bottles are properly sterilized to extend the shelf life of the cordial.
- Store the cordial in a cool, dark place to maintain its flavor and freshness.
- Experiment with adding a splash of the cordial to desserts for a unique twist.
