-
Mashed Potato Techniques – Creamy and Delicious
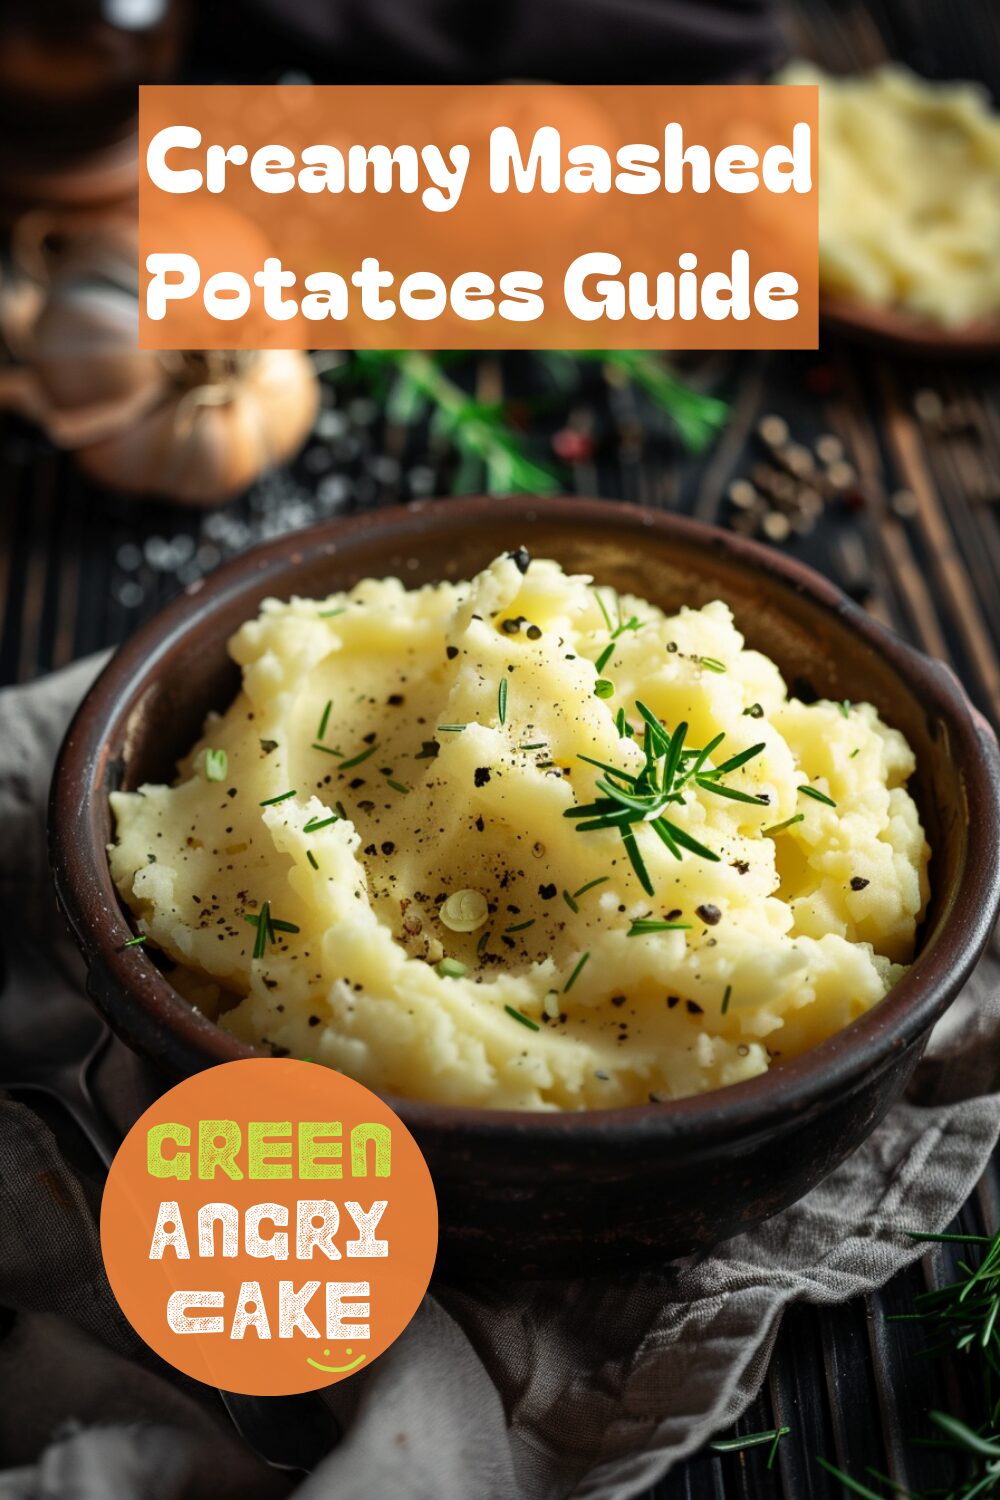
Enhance your side dish skills with our guide on mashed potato techniques. Learn how to make creamy mashed potatoes perfectly using simple steps. Our step-by-step instructions ensure you get the most out of your potatoes, whether for a family dinner or a holiday feast.
Creamy Mashed Potatoes Guide
Equipment Needed:
- Board
- Peeler
- Knife
- Large pan with lid
- Small saucepan
- Colander
- Potato masher
- Wooden spoon
- Serving dish
Step-by-Step Instructions for Mashed Potato Techniques:
- Prep the Potatoes: First, wash and peel the potatoes. Then, cut them into even-sized chunks. As a guide, chop large potatoes in half, then quarters, then, if needed, halves again; chop medium-sized potatoes in half and, if needed, in quarters; and for small potatoes, just cut them in half.
- Boil the Potatoes: Next, put the potatoes in a large pan of water over high heat. Add a pinch of salt and bring to a boil. Boil for 10–15 minutes, until the potatoes are tender but still a little firm. When you can break the potatoes with a fork or cut them easily with a knife, they’re done.
- Drain and Dry: After boiling, drain the potatoes in a colander and leave them for 5 minutes to prevent the mash from getting soggy.
- Melt Butter and Milk: Meanwhile, melt a tablespoon of butter and 50ml of whole milk in a small saucepan over low heat until combined.
- Mash the Potatoes: Return the potatoes to the large pan. Then, add the melted butter and milk, and mash with a potato masher until smooth. The more you mash, the fluffier and lighter the potatoes will become. Add more milk for a creamier mash.
- Season and Serve: Finally, season with salt and pepper, then serve.
Mashed potatoes are a classic and comforting side dish that pairs well with many meals. Knowing how to make creamy mashed potatoes is essential for any home cook. Follow these mashed potato techniques to achieve the perfect creamy texture.
Helpful Hint:
- For a richer flavor, you can add a splash of cream or a few tablespoons of sour cream.
Alternative Uses for Mashed Potatoes:
- Shepherd’s Pie: Use mashed potatoes as a topping for a classic shepherd’s pie.
- Potato Cakes: Form leftover mashed potatoes into patties and fry them for a delicious potato cake.
- Loaded Mashed Potatoes: Mix in cheese, bacon, and green onions for a loaded mashed potato dish.
-
Citrus Zest Tips
Enhance your baking and cooking skills with our guide on zest preparation techniques. Learn how to zest citrus fruits perfectly using simple steps. Our step-by-step instructions ensure you get the most out of your citrus fruits, whether for baking, cooking, or garnishing.
Grating Lemon Zest
Equipment Needed:
- Grater
- Citrus fruits (lemons, oranges, limes)
- Bowl
Step-by-Step Instructions for Zest Preparation Techniques:
- Prep the Citrus Fruits for Zesting: First, wash the citrus fruits thoroughly to remove any wax or residues from the peel.
- Grate the Zest: Next, hold the citrus fruit firmly in one hand and the grater in the other. Gently rub the fruit against the fine holes of the grater, rotating the fruit as you go. Grate only the colorful outer layer, avoiding the white pith underneath, which is bitter.
- Collect the Zest: As you grate, the zest will collect on the inside of the grater. Tap the grater over a bowl to release the zest.
- Store or Use the Zest: Finally, use the zest immediately in your recipe or store it in an airtight container in the refrigerator for up to a week.
Citrus zest adds a burst of flavor and aroma to a variety of dishes. Therefore, knowing how to zest citrus fruits properly is essential for enhancing your culinary creations. With these zest preparation techniques, you can easily add a citrusy touch to your recipes.
Helpful Hint:
- For a more intense flavor, you can use a microplane grater, which produces finer zest.
Alternative Uses for Citrus Zest:
- Baked Goods: Add citrus zest to cakes, cookies, and muffins for a fresh, tangy flavor.
- Salad Dressings: Mix citrus zest into vinaigrettes and dressings for a zesty kick.
- Garnishes: Sprinkle citrus zest over finished dishes like pasta, fish, and desserts for a vibrant garnish.
-
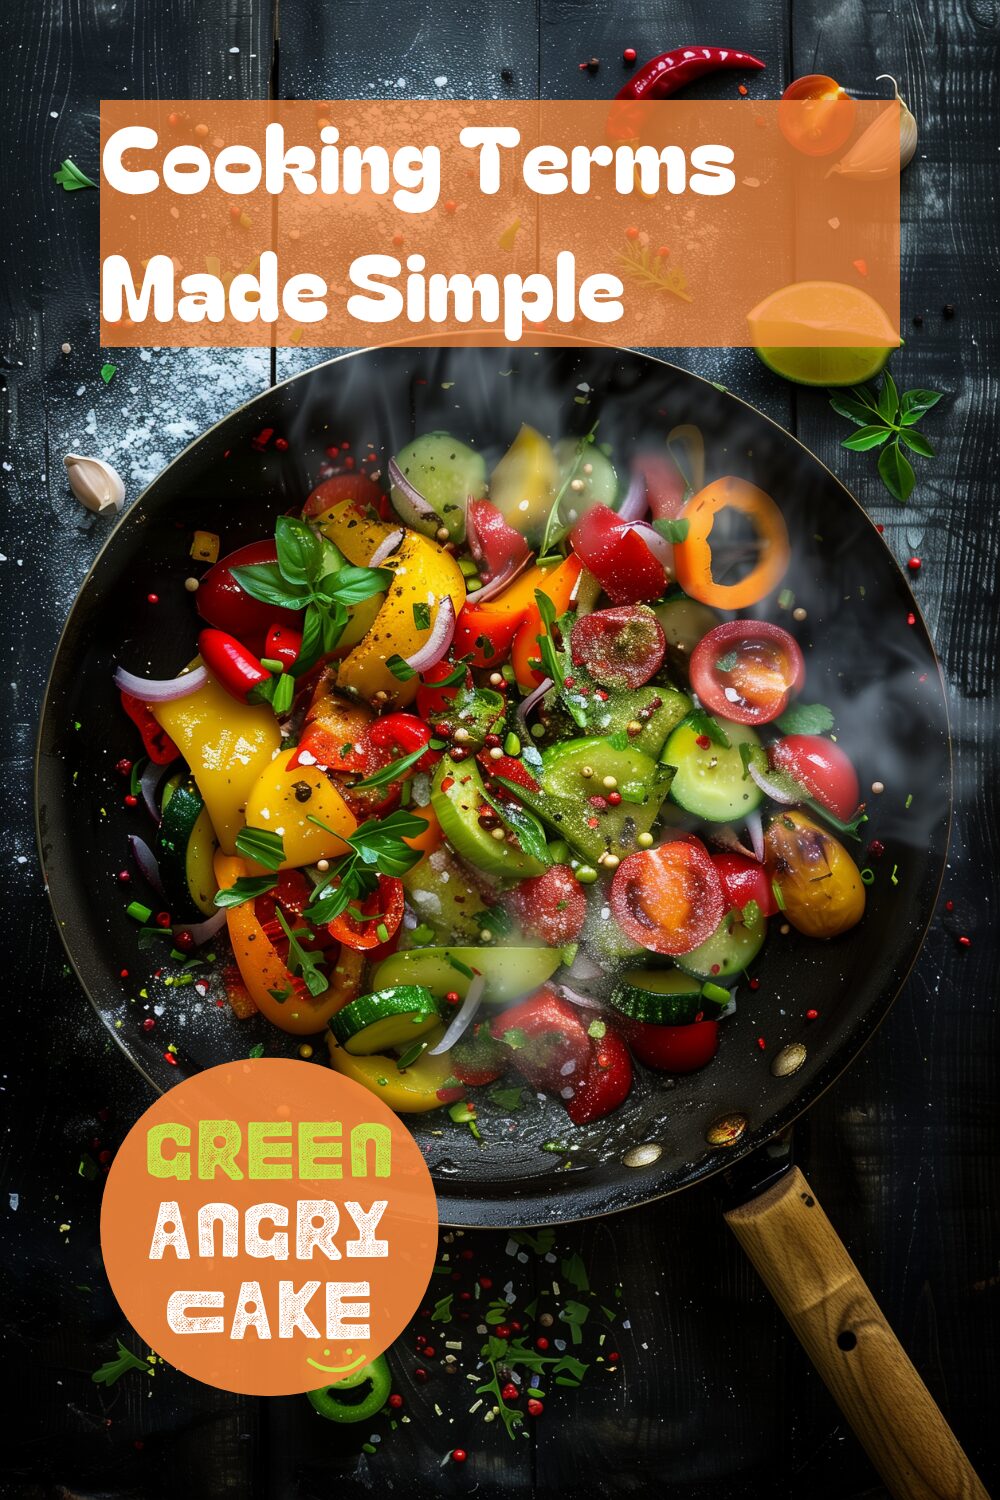
Cooking Terms Made Simple
Step-by-Step Instructions for Understanding Cooking Terms:
- Al Dente: This term usually refers to pasta that has been cooked until just tender with some bite. Not too soft! You can cook your pasta al dente by boiling it for 1-2 minutes less than stated on the packet or recipe, but times will differ depending on the type of pasta you are cooking.
- Blanch: Blanching means cooking an ingredient very quickly in boiling water. It is commonly used for vegetables when being used cold in a salad or when it has a second cooking step, such as stir-frying. Normally, you will boil the ingredient for 1-2 minutes. Sometimes the food is then plunged into iced water to stop the cooking process. This helps retain the texture and color.
- Reduce: You will probably see or hear the word reduce in cookery when referring to a sauce. You boil or simmer the liquid until it reduces in volume as the water evaporates. The flavor becomes more concentrated, and the sauce thickens.
- Render: Rendering means to melt fat from meat over low heat. You might see this when cooking fatty cuts of meat, such as bacon.
- Sauté: Sautéing is to fry something quickly over high heat. It is quite similar to stir-frying.Simmer: Simmer means to gently boil something. You can look for little bubbles in the water, but not too many!
- Sweat: This term means to gently fry without browning. For example, you sweat finely chopped onions, carrots, and celery together until they are soft and sweet to make a sofrito, which is the base of many Italian dishes.
- Cutting In: Cutting in means to mix flour and fat, such as butter, to make a breadcrumb-like texture. This can also be referred to as rubbing in.
- Creaming: Creaming is when you beat butter and sugar together in a bowl until pale and fluffy. You will normally use a wooden spoon to cream butter and sugar, but you can also use a whisk or an electric whisk.
- Whipping to Soft Peaks: Whipping cream means using a whisk, manual or electric, to beat cream until it is thick. Whipping cream to soft peaks means when you lift the whisk, the peak left will curl over.
Understanding these common cooking terms can greatly improve your cooking skills. Knowing what these terms mean and how to apply them will make following recipes much easier and more enjoyable.
Helpful Hint:
- Keep a list of these cooking terms handy in your kitchen for quick reference while cooking.
Alternative Uses for Cooking Terms:
- Cooking Classes: Use this guide as a reference in cooking classes to help students learn common terms.
- Recipe Development: Refer to these terms when developing new recipes to ensure clear and accurate instructions.
- Culinary Education: Incorporate these terms into culinary education materials for beginner chefs.


