-
Viral Dalgona Coffee Recipe – Easy Whipped Coffee at Home
Sometimes, the simplest pleasures are the most rewarding. In the midst of staying home, I stumbled upon a gem: Dalgona coffee. This whipped coffee has taken the internet by storm, and it’s easy to see why. With just three ingredients, you can create a coffee experience that’s both delightful and satisfying.
There’s no need to step into a Cafe when you have instant coffee, sugar, and milk at your fingertips. Whipping these humble ingredients together transforms them into a velvety, frothy treat that sits elegantly atop a glass of iced milk. It’s a small act of creation that brings a touch of joy to any day spent at home. So, here’s to making something simple yet extraordinary, right in your own kitchen.
Ingredients:
- 2 tbsp instant coffee
- 2 tbsp sugar
- 2 tbsp very hot water
- 2 glasses milk with ice cubes
How to Make Dalgona Coffee:
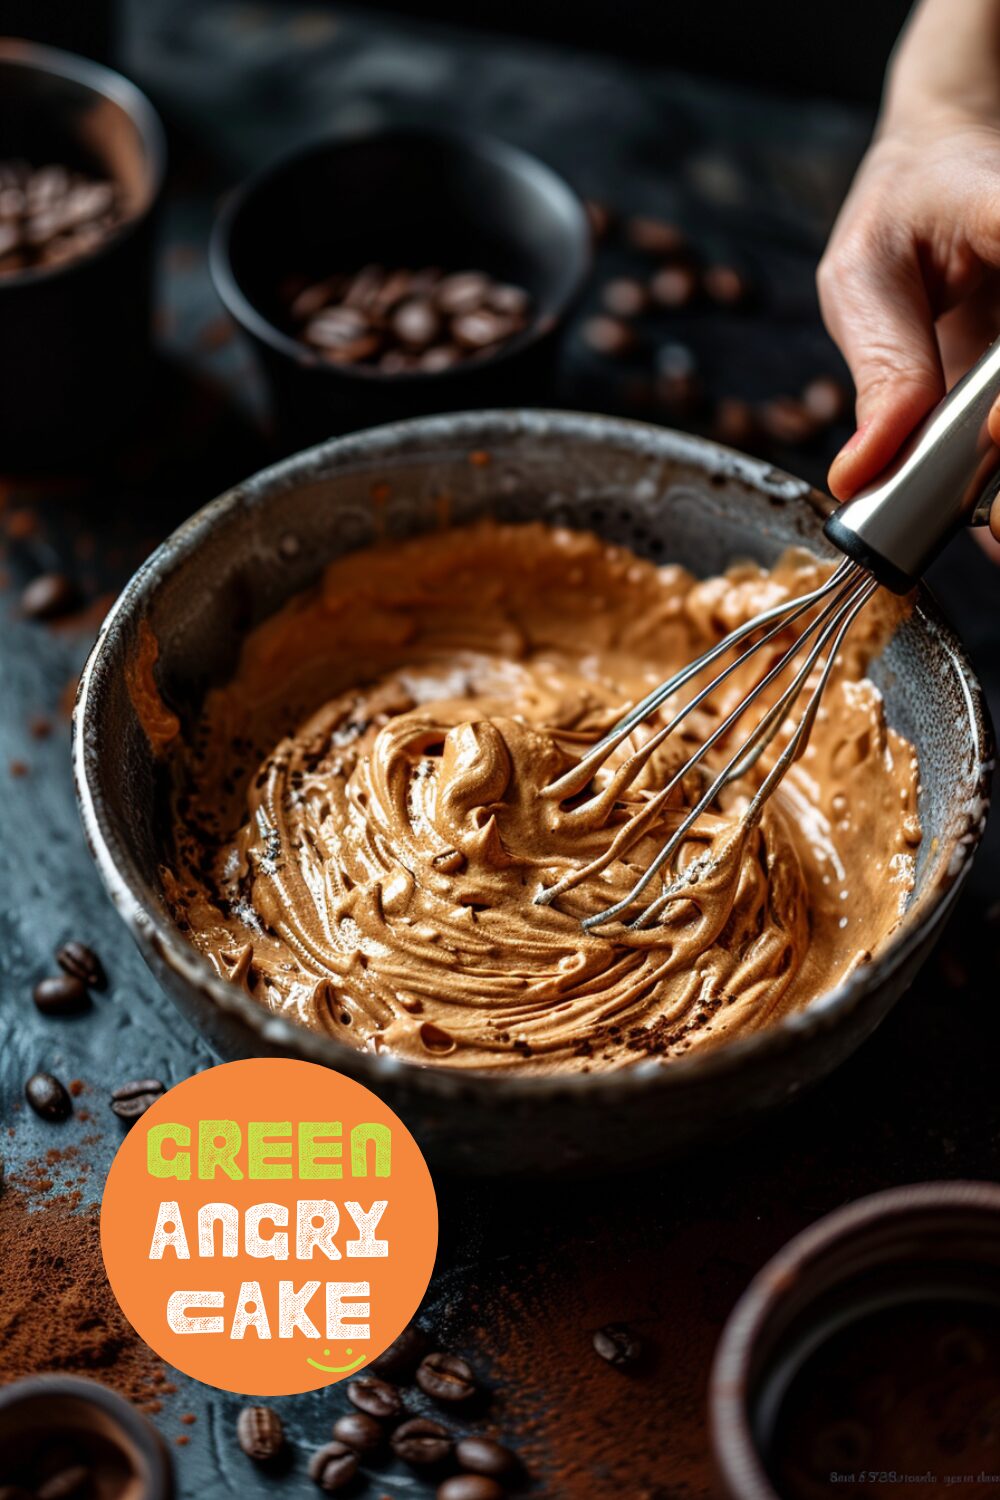
- Bring a small pot of water to a boil. While the water is coming to a boil, make the dalgona coffee fluff: In a bowl, mix together the instant coffee and sugar.
- Once the water comes to a boil, carefully add 2 tablespoons of the hot water to the coffee-sugar mix and whisk or use a hand mixer to whip until light and frothy.
- Fill two glasses with ice and pour in the milk. Top the glasses with equal amounts of the fluffy coffee. Stir thoroughly before enjoying!
Helpful Hints:
- For a non-caffeinated version, use decaf instant coffee.
- Adjust the sweetness to your liking by varying the amount of sugar.
- Try different milk options like almond, soy, or oat milk for a unique twist.
- Use a hand mixer or whisk for best results in achieving a fluffy texture
Perfect Pairings
Dalgona coffee goes perfectly with some delightful desserts. Here are a few you might enjoy:
- Brown Butter Chocolate Chip Cookies: The nutty flavor of brown butter and melty chocolate chips create a rich, indulgent cookie that pairs wonderfully with the smooth, frothy dalgona coffee.
- Coconut Macaroons: These chewy, sweet coconut macaroons offer a delightful contrast to the creamy and slightly bitter notes of dalgona coffee.
These desserts not only enhance the coffee experience but also make for a delightful treat any time of the day. Enjoy!
-
Cherry Vanilla Soda Recipe
I’ve always been enchanted by the idea of an old-fashioned soda shop. While I haven’t found one yet, I can create my own magic at home with these cherry vanilla sodas. Cherry-flavored treats are my weakness—lollipops, candies, popsicles, and especially soda.
Cherry season brings a burst of joy. There’s nothing like the sweet, juicy taste of fresh cherries. Growing up, my family would go cherry-picking every summer, and those are some of my fondest memories. Now, I get my cherries from the farmers’ market, but the excitement remains. On a hot day, nothing beats a homemade cherry vanilla soda, simple and bursting with flavor. Cheers to summer and sweet memories!
Ingredients:
- 1 cup pitted fresh cherries
- 2-3 tablespoons superfine sugar
- 1 teaspoon vanilla
- Soda water
- Ice
How to Make It:
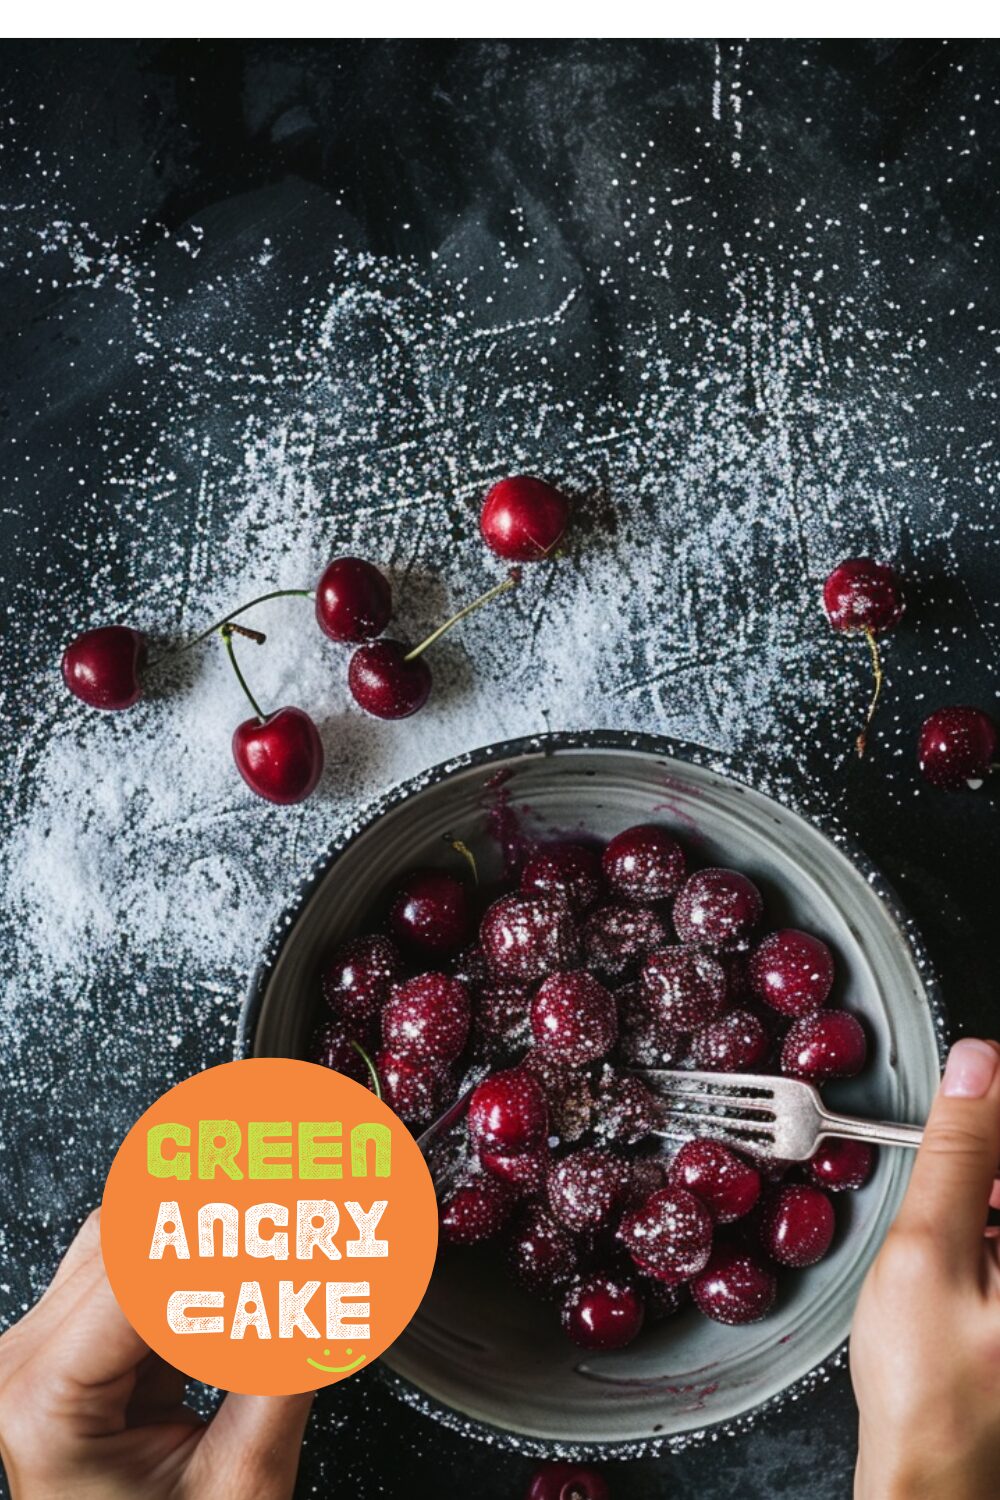
- In a small bowl or liquid measuring cup, pour the sugar over the cherries. Let macerate for a couple of minutes, then use a fork or small potato masher to crush the cherries as smooth as possible, making sure the sugar is dissolved.
- If you don’t like bits in your drink, strain the cherries, pressing down on the fruit to extract as much juice as possible.
- Divide the juice evenly between two glasses and add 1/2 teaspoon of vanilla to each.
- Top off the glasses with soda water and ice, stir, and enjoy!
-
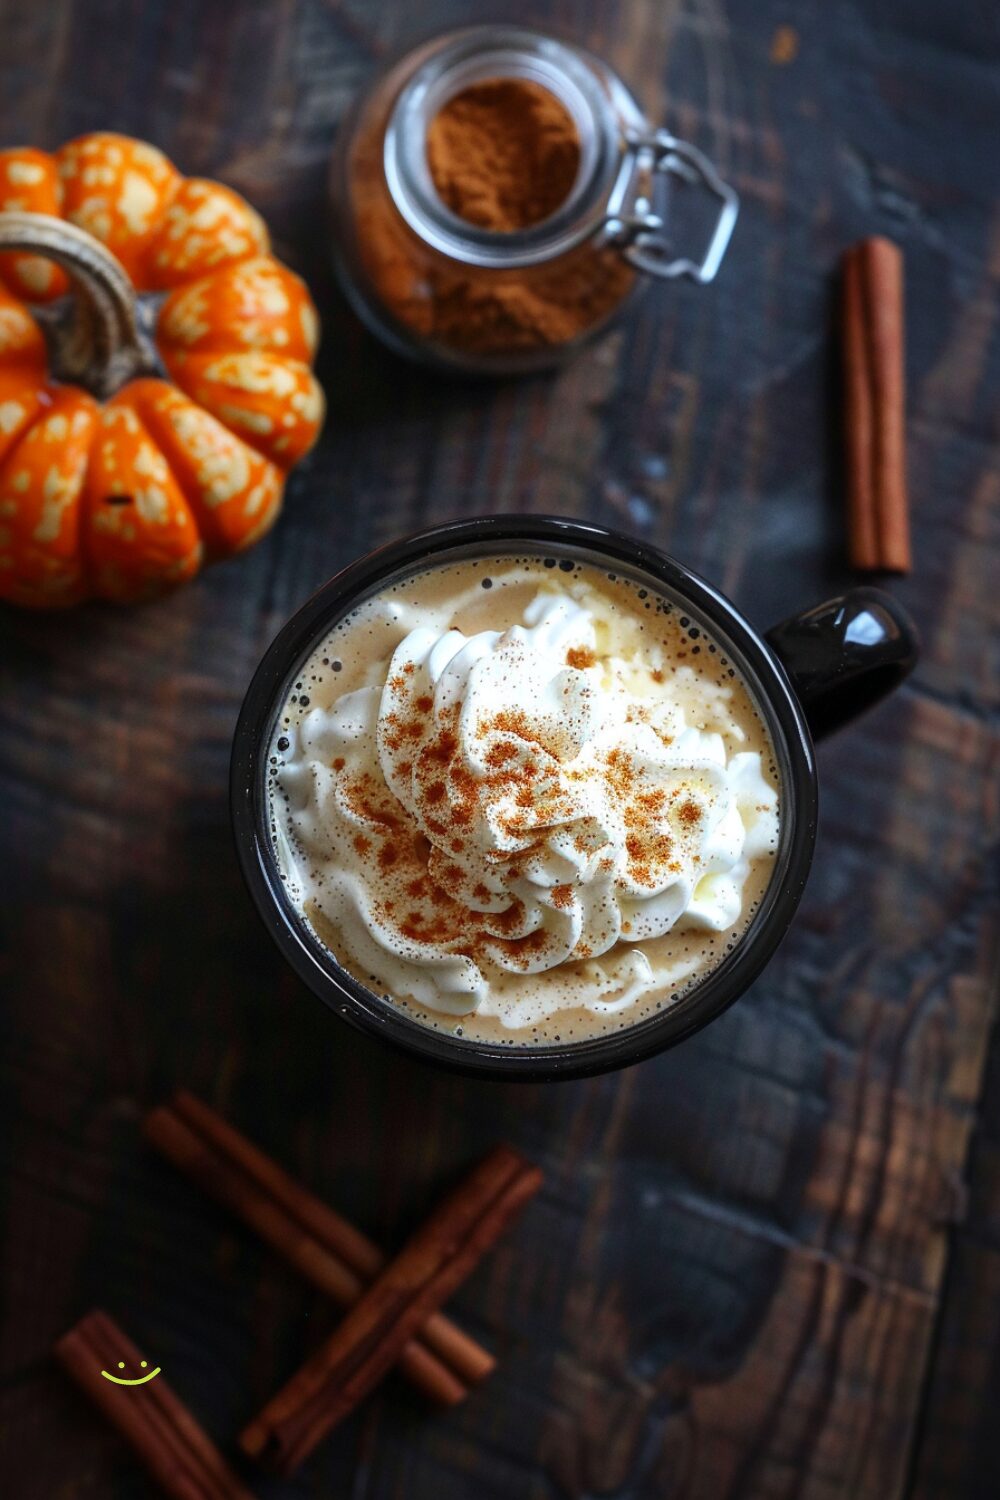
Pumpkin Spice Latte Syrup Recipe
Pumpkin season is my favorite time of the year. There’s something about the rich, warm flavors of pumpkin spice that feels like a comforting embrace. Some people scoff at pumpkin spice, but millions of people can’t be wrong. Pumpkin spice lattes might be a clever marketing ploy, but I’m down with pumpkin, and I’m down with spice.
Pumpkin is a curious thing. Some folks love it; others, not so much. As for me, I’m a pumpkin lover through and through. I think it all started because my mom never let me eat pumpkin pie when I was a kid. We’d pass by the bakery, and the tantalizing aroma of pumpkin pie would fill the air. I’d ask if we could buy one, but she’d always get me a doughnut or a cookie instead. While those treats were tasty, they weren’t the deliciousness I was craving. My childhood was pumpkin pie-less. So, when I finally tasted pumpkin pie, I went a little crazy. Pumpkin pie, pumpkin doughnuts, pumpkin pancakes, pumpkin French toast, pumpkin noodles, pumpkin mac and cheese – I love pumpkin in anything and everything. And nothing beats wrapping my hands around a warm pumpkin spice latte.
Recently, I whipped up a batch of pumpkin spice syrup and used it in my morning pour-over coffee. I’m obsessed with pour-over coffee – I love the ritual – and even though it’s blasphemous to drink pour-over anything other than black, I went ahead anyway, and it was heavenly. I even whipped up some heavy cream by hand and topped it off with a (not-so) healthy dollop. It’s spicy, fall heaven in a cup. So here’s to pumpkin, and here’s to spice.
Ingredients:
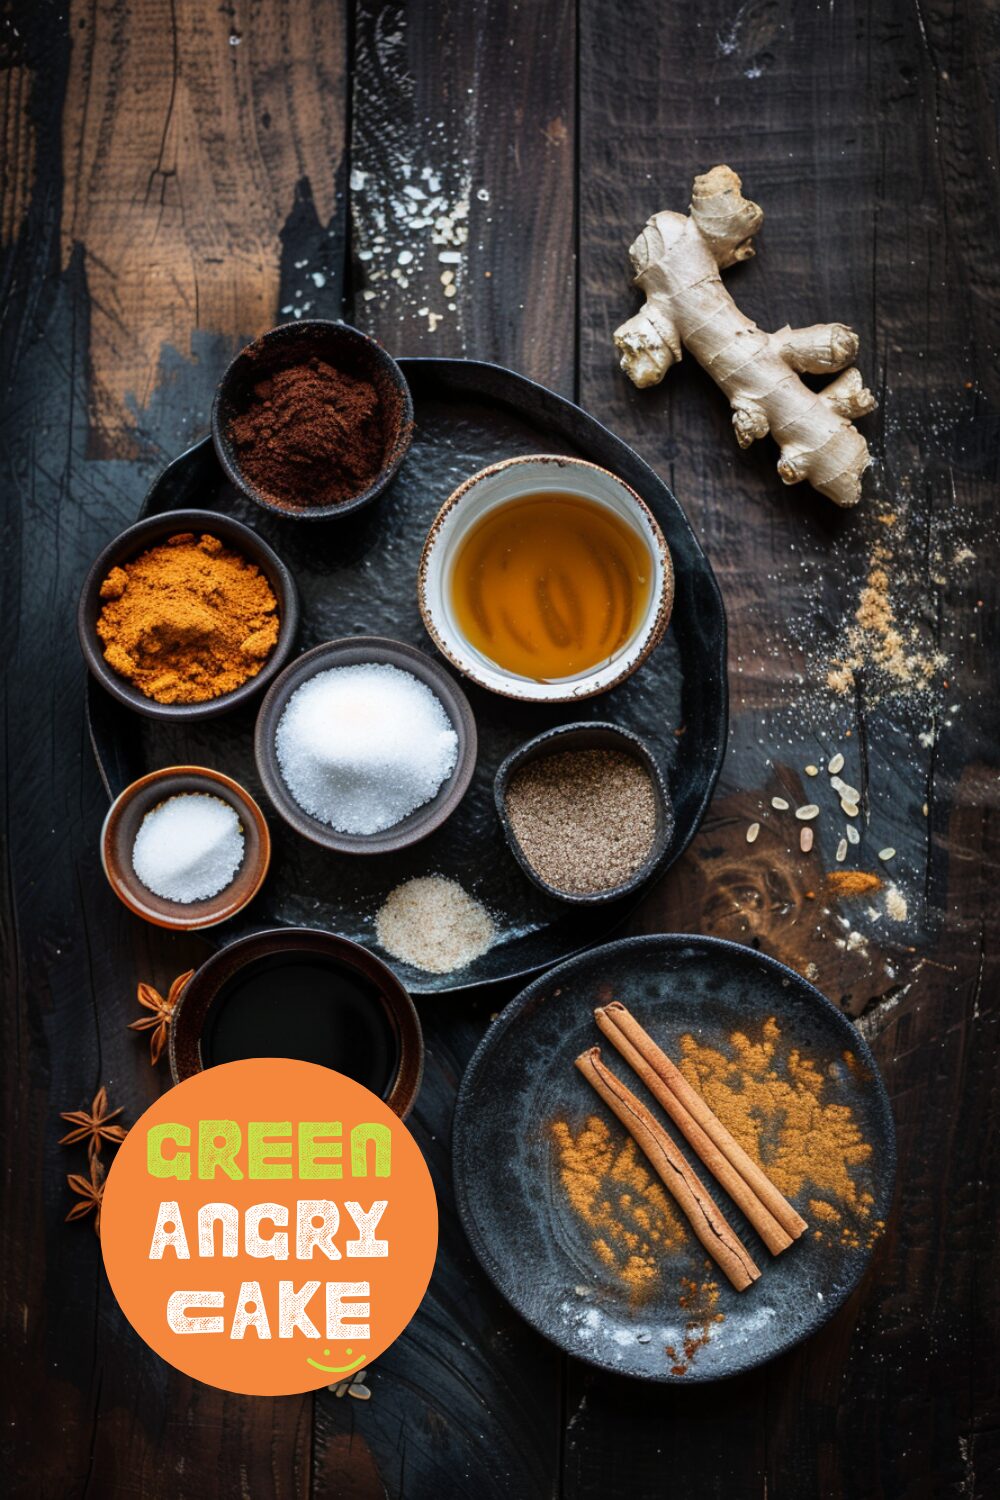
- 3/4 cup water
- 1/2 cup sugar
- 1/4 cup dark brown sugar
- 1 teaspoon cinnamon
- 1/4 teaspoon ground ginger
- 1/4 teaspoon ground nutmeg
- 1/4 teaspoon ground cloves
- 2 tablespoons canned pumpkin
How to Make It:
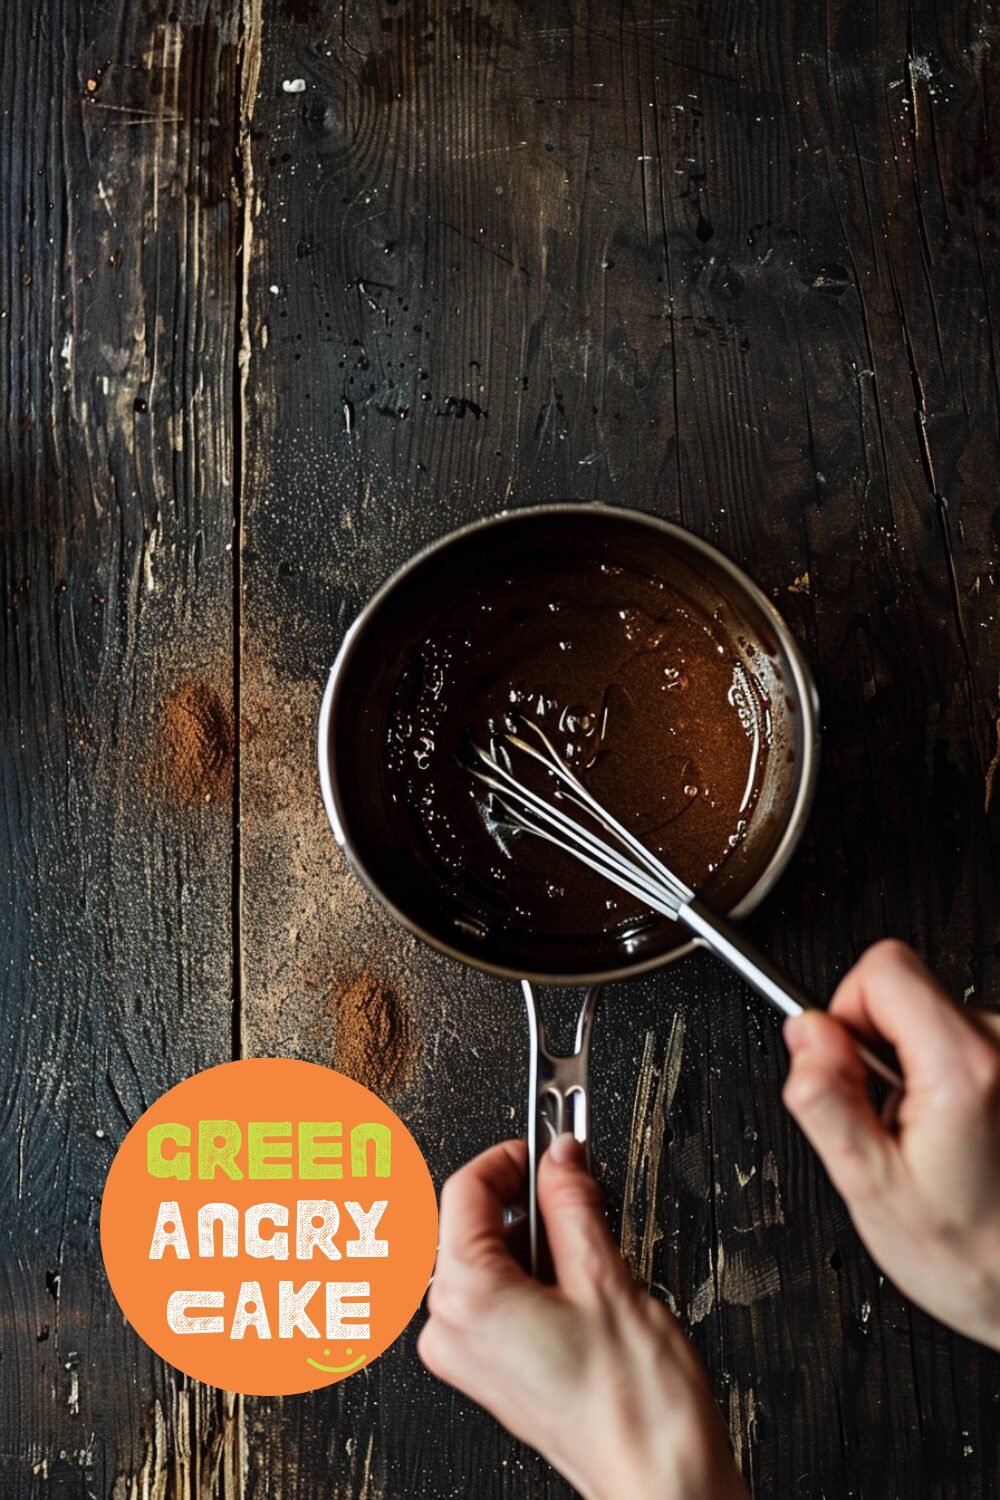
- In a small saucepan, combine the water and sugars. Bring to a boil over medium-high heat and stir to dissolve.
- Turn the heat down to low and stir in the spices and pumpkin. Simmer (without bringing to a boil) for 5 minutes.
- Let cool and store in the fridge or use immediately.
Homemade Pumpkin Spice Latte Recipe
Makes 1 Drink
Ingredients:
- 3/4 cups warm milk
- 1 shot espresso
- 1-2 tablespoons pumpkin spice latte syrup, or to taste
- Whipped cream and cinnamon, if desired
How to Make It:
- Stir together the milk, espresso, and syrup. Taste and adjust if needed.
- Top with whipped cream and cinnamon, if using, and enjoy hot.
Alternatively, if you’re drinking drip or pour-over coffee, just add the syrup and milk/cream to your mug to taste.
-
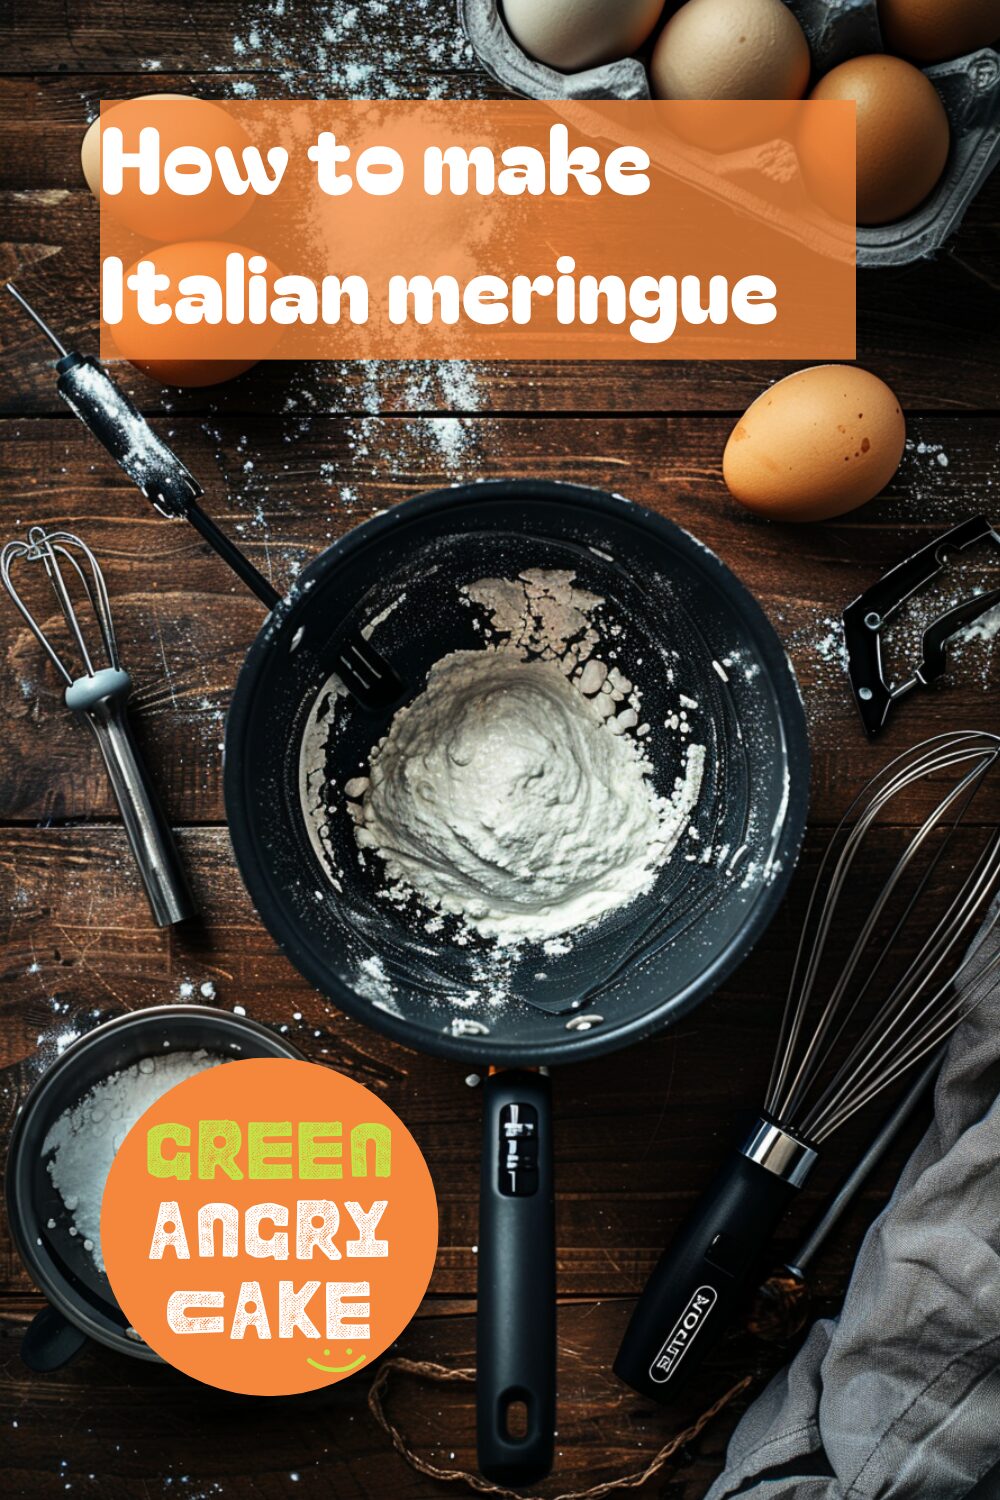
How to Make Italian Meringue
Equipment you will need for this technique:
- Electric mixer
- Sugar thermometer
- Pastry brush
Learn how to make Italian meringue with this step-by-step guide. Italian meringue is perfect for creating smooth buttercream icing and crisp but chewy meringue nests. With a little effort and the right tools, you can master this versatile recipe.
Steps to Make Italian Meringue:
- Beat the Egg Whites:
- Using an electric hand mixer, beat four egg whites until they form stiff peaks. The peaks should stand up straight when the whisk is removed.
- Prepare the Sugar Syrup:
- In a saucepan, mix 225g (8oz) of sugar with six tablespoons of water. Stir the mixture over medium heat.
- Use a pastry brush dipped in water to brush any sugar crystals from the sides of the pan into the syrup to prevent graininess.
- Once the sugar is dissolved, bring the syrup to a fast boil until it reaches 120°C (250°F) using a sugar thermometer.
- Combine the Syrup and Egg Whites:
- As soon as the syrup reaches the correct temperature, pour it onto the egg whites in a thin, steady stream while continuing to whisk.
- Be careful not to pour the hot syrup directly onto the beaters to avoid sticking or splashing.
- Whisk Until Cool:
- Continue to whisk the meringue until it has cooled completely. It should be shiny and stiff.
- Allow the meringue to cool completely before using.
- Store Properly:
- Cover the meringue with cling film until ready to use. Italian meringue can be stored in the fridge for up to two days.
-
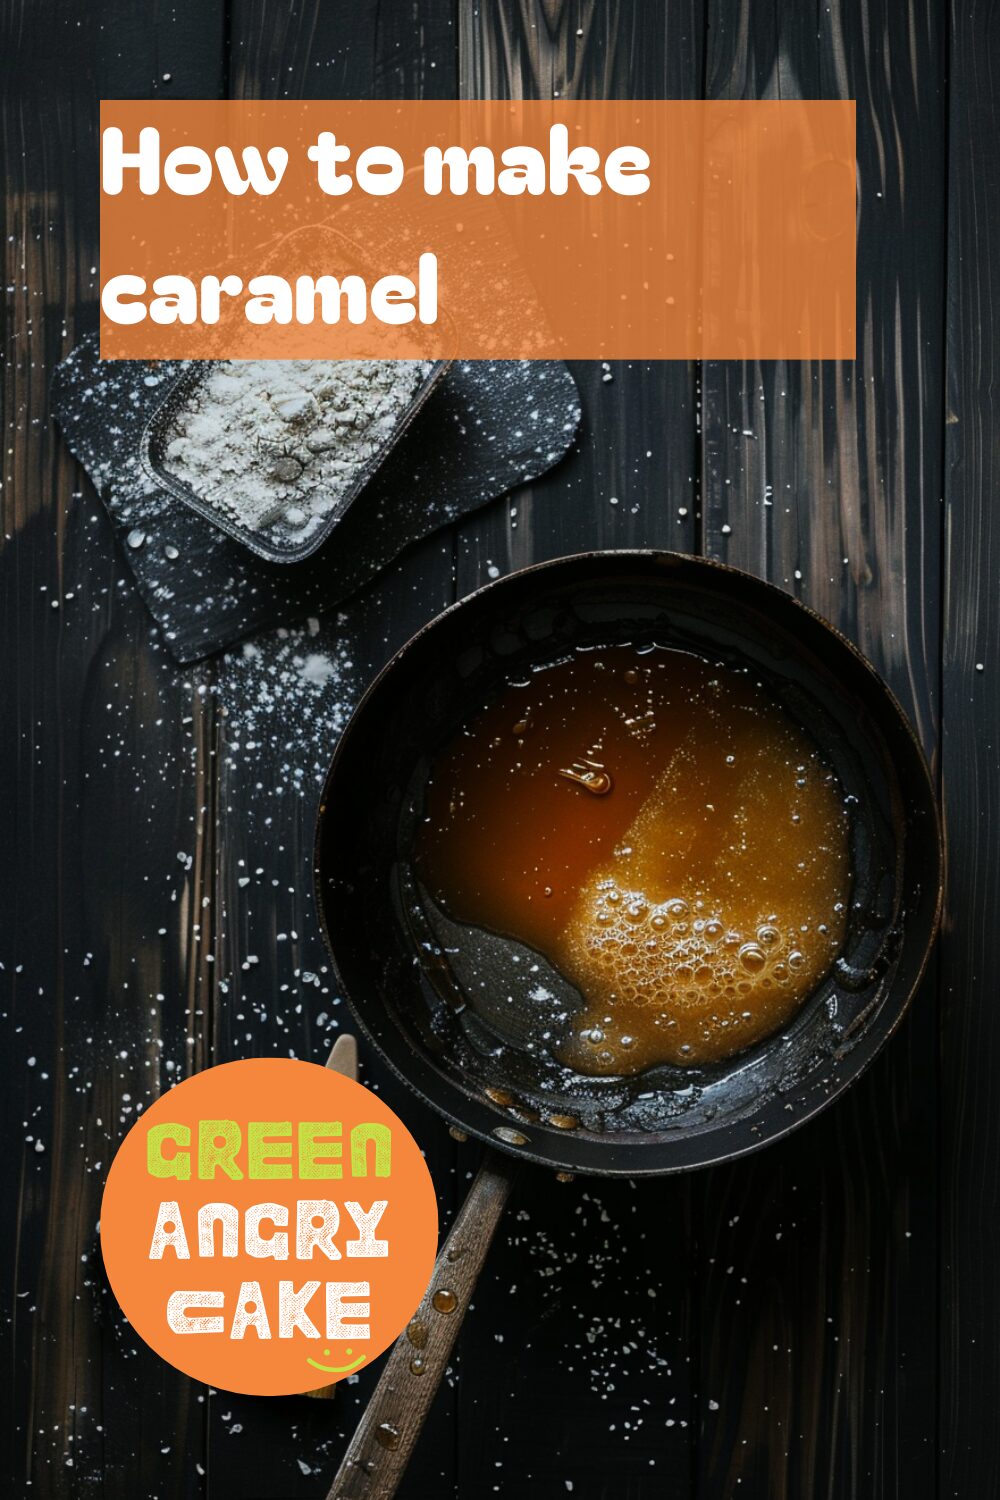
How to make caramel
Equipment you will need for this technique:
- Heavy-based saucepan
- Pastry brush
- Baking tray, lined with non-stick baking parchment
Learn how to make caramel with this easy guide. Caramel is a versatile ingredient perfect for adding sweetness and texture to various desserts like ice cream and pancakes. This technique will show you how to create a perfect caramel, whether you want it in solid shards or a smooth sauce.
Steps:
- Prepare the Ingredients and Equipment:
- Use a heavy-based saucepan to ensure even heat distribution.
- Keep a pastry brush dipped in water handy.
- Line a baking tray with non-stick baking parchment for the caramel.
- Combine Sugar and Water:
- Stir sugar and water together in the saucepan over low-medium heat.
- Continue stirring until the sugar is completely dissolved.
- Remove Sugar Crystals:
- Stop stirring once the sugar is dissolved.
- Use the wet pastry brush to remove any sugar crystals clinging to the sides of the pan to prevent the caramel from becoming grainy.
- Boil the Syrup:
- Increase the heat and bring the syrup to a boil for around 5-7 minutes.
- Watch carefully as the sugar turns golden-brown. Caramel can burn easily, so keep a close eye on it.
- Form the Caramel:
- For solid caramel shards, carefully pour the caramel onto the prepared baking parchment.
- Leave it to cool and harden before cracking it into shards.
- Make Caramel Sauce:
- To make caramel sauce, remove the caramel from the heat and add cream and butter as directed by your recipe.
- This smooth sauce is perfect for drizzling over desserts like ice cream and pancakes.
-
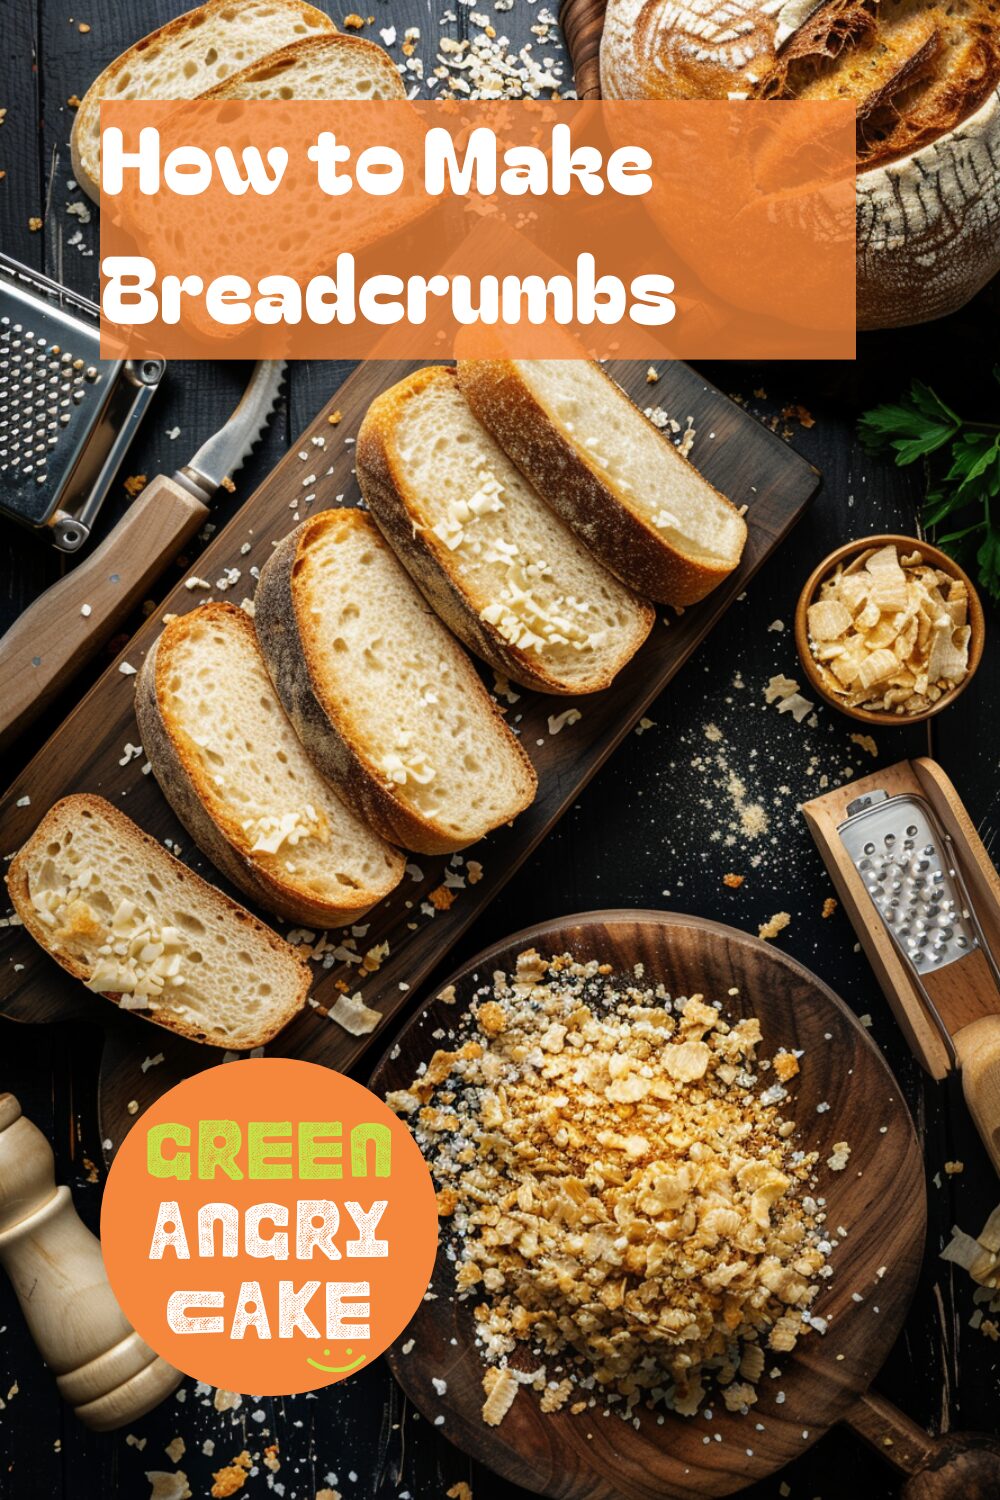
How to Make Breadcrumbs
Equipment you will need for this technique:
- Bread board
- Bread knife
- Baking tray
- Box grater
- Bowl/sealed container
Introduction:
Making your own breadcrumbs at home is simple and versatile. Whether you need a coating for chicken or fish, or a crispy topping for gratins and bakes, homemade breadcrumbs are the perfect solution. Follow these steps to create dried breadcrumbs from scratch.
How to make a Breadcrumbs
- Prepare the Bread:
- For dried breadcrumbs, use dry or stale bread. If you don’t have any, slice fresh bread and spread it out on a board, leaving it uncovered overnight to go stale and brittle.
- Quick Drying Method:
- If you don’t have time to let the bread dry out naturally, thinly slice fresh bread and lay it flat on a baking tray. Ensure the slices are spread out and not overlapping.
- Bake in a low oven at 140C/120C Fan/Gas 1 for around 10-15 minutes until golden, then leave to cool for 10 minutes.
- Create Breadcrumbs:
- Grate the dry bread on a box grater into a container. Alternatively, blitz the bread into fine crumbs in a food processor if you have one.
- Store the Breadcrumbs:
- Store the dried breadcrumbs in a clean, dry, sealed container either at room temperature or in the fridge. They can be stored for several months.
- Quick Alternative:
- For an even quicker version, you can use crackers or cornflakes instead of bread, and skip straight to the grating stage.
-
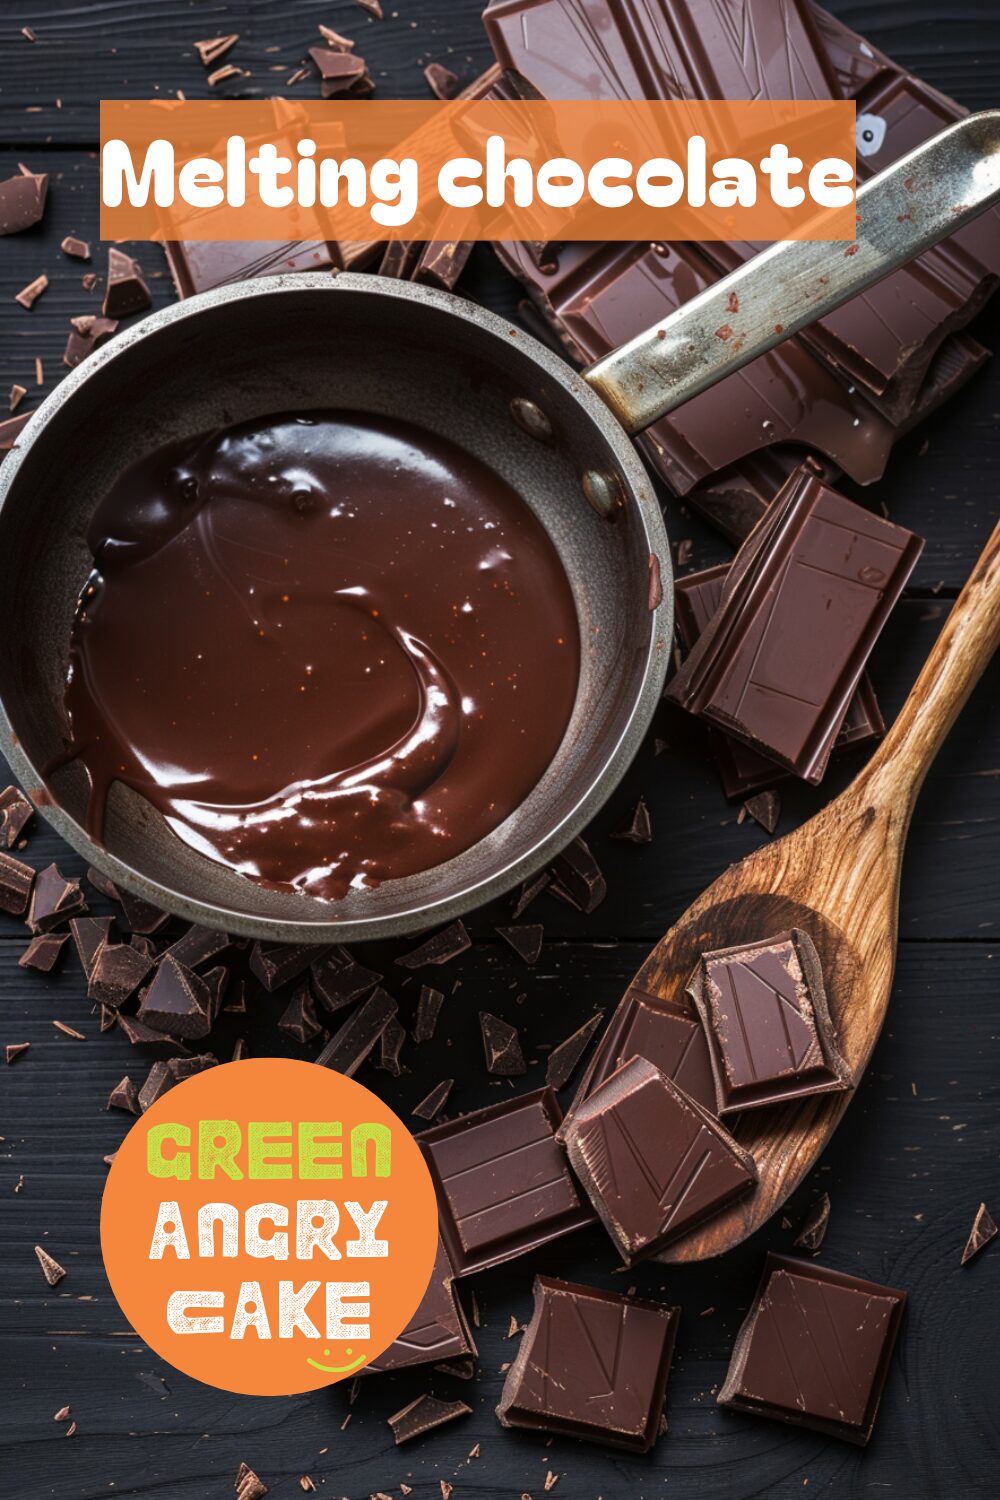
Melting chocolate
Equipment you will need for this technique:
- Saucepan
- Heatproof bowl
- Wooden spoon
Melting chocolate can be a delicate process, but when done correctly, it yields smooth, velvety results perfect for cakes, buttercream icing, or any dessert. Follow these simple steps to achieve perfectly melted chocolate every time.
How to make a Melting Chocolate
- Prepare the Saucepan: Fill a medium-sized saucepan about a quarter full with boiling water and bring it to a simmer over low heat.
- Set Up the Double Boiler: Place a heatproof bowl on top of the saucepan. Ensure the bowl isn’t touching the water and that no steam can escape up the side of the bowl, which can let water droplets into the chocolate.
- Add the Chocolate: Break the chocolate into small, even pieces and add them to the bowl. The smaller the chocolate pieces, the quicker and more evenly they will melt.
- Melt the Chocolate: Simmer gently for 2–3 minutes, until most of the chocolate is melted, stirring occasionally with a rubber spatula.
- Finish Melting: Turn off the heat and allow the chocolate to continue to melt slowly in the residual heat, which usually takes 3–5 minutes. Stir until smooth.
- Rescue Seized Chocolate (if necessary):
- If the chocolate seizes and becomes lumpy, make a chocolate sauce by adding cubes of butter to the heatproof bowl and stirring until melted and combined.
- Alternatively, make a chocolate ganache by adding warm cream to the heatproof bowl and stirring until fully combined and silky.
-
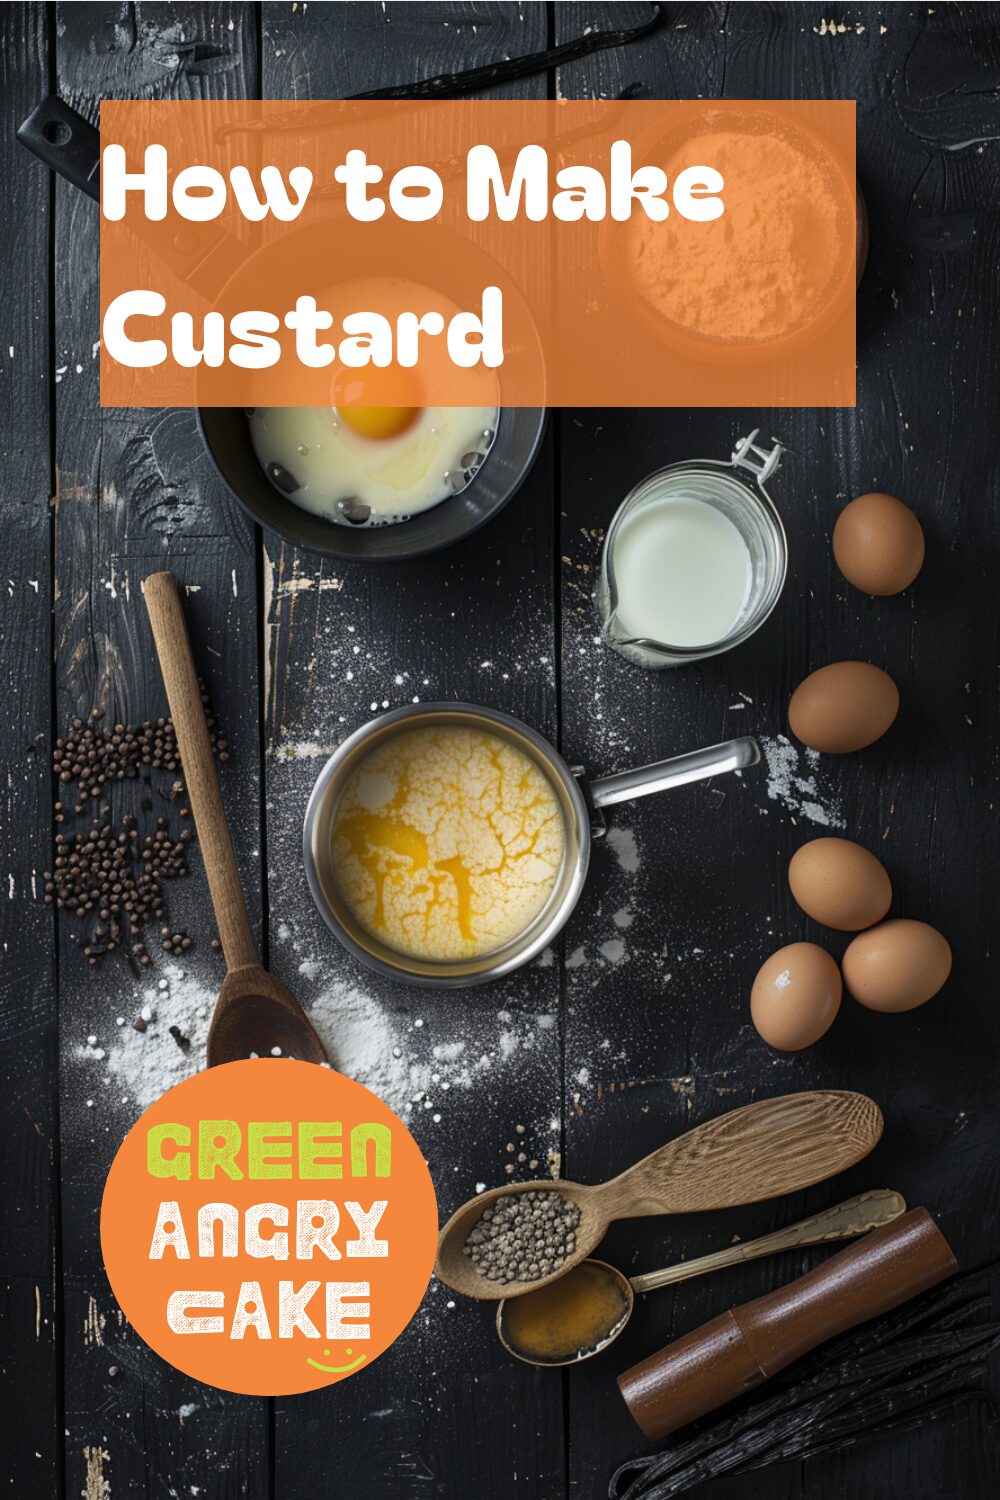
How to Make Custard
Equipment you will need for this technique:
- Chopping board
- Small knife
- Small saucepan with pouring spout
- Wooden spoon
- Sieve
- Heatproof bowl
- Serving jug
This foolproof recipe for vanilla custard is the perfect accompaniment to crumbles, sponges, and puddings.
Ingredients
- 568ml/1 pint of full-fat milk
- 1 vanilla pod (or 1 tsp vanilla essence)
- 3 egg yolks
- 25g/1oz caster sugar
- 2 tsp cornflour
Instructions
- Heat the Milk: Pour 568ml/1 pint of full-fat milk into a small saucepan with a pouring spout.
- Add Vanilla: Slice a vanilla pod down the middle along its length. Scrape out the seeds with a knife and tip them into the milk with the pod. Alternatively, you can use vanilla essence.
- Heat and Cool: Gradually heat the milk and vanilla together over medium heat. When the milk boils, remove it from the heat and allow it to cool.
- Prepare Egg Mixture: In a heatproof bowl, mix together 3 egg yolks, 25g/1oz caster sugar, and 2 tsp cornflour to form a smooth paste.
- Combine Milk and Egg Mixture: Pour the cooled milk into the paste and stir well with a wooden spoon until smooth and fully incorporated.
- Strain the Mixture: Strain the mixture through a sieve back into the saucepan.
- Cook the Custard: Stirring constantly, cook the mixture on a very low heat until the custard thickens. The custard is ready when you can draw a clear line with your finger on the back of the wooden spoon.
- Serve: Pour the custard into a serving jug and serve warm or let it cool down if you prefer it cold.
Helpful Hints
- Temperature Control: Ensure you cook the custard on a very low heat to avoid scrambling the eggs.
- Consistency Check: Use the back of the spoon test to check the consistency of the custard.
- Cooling Tips: If you want to cool the custard quickly, place the serving jug in a larger bowl filled with ice water. Stir occasionally.
-
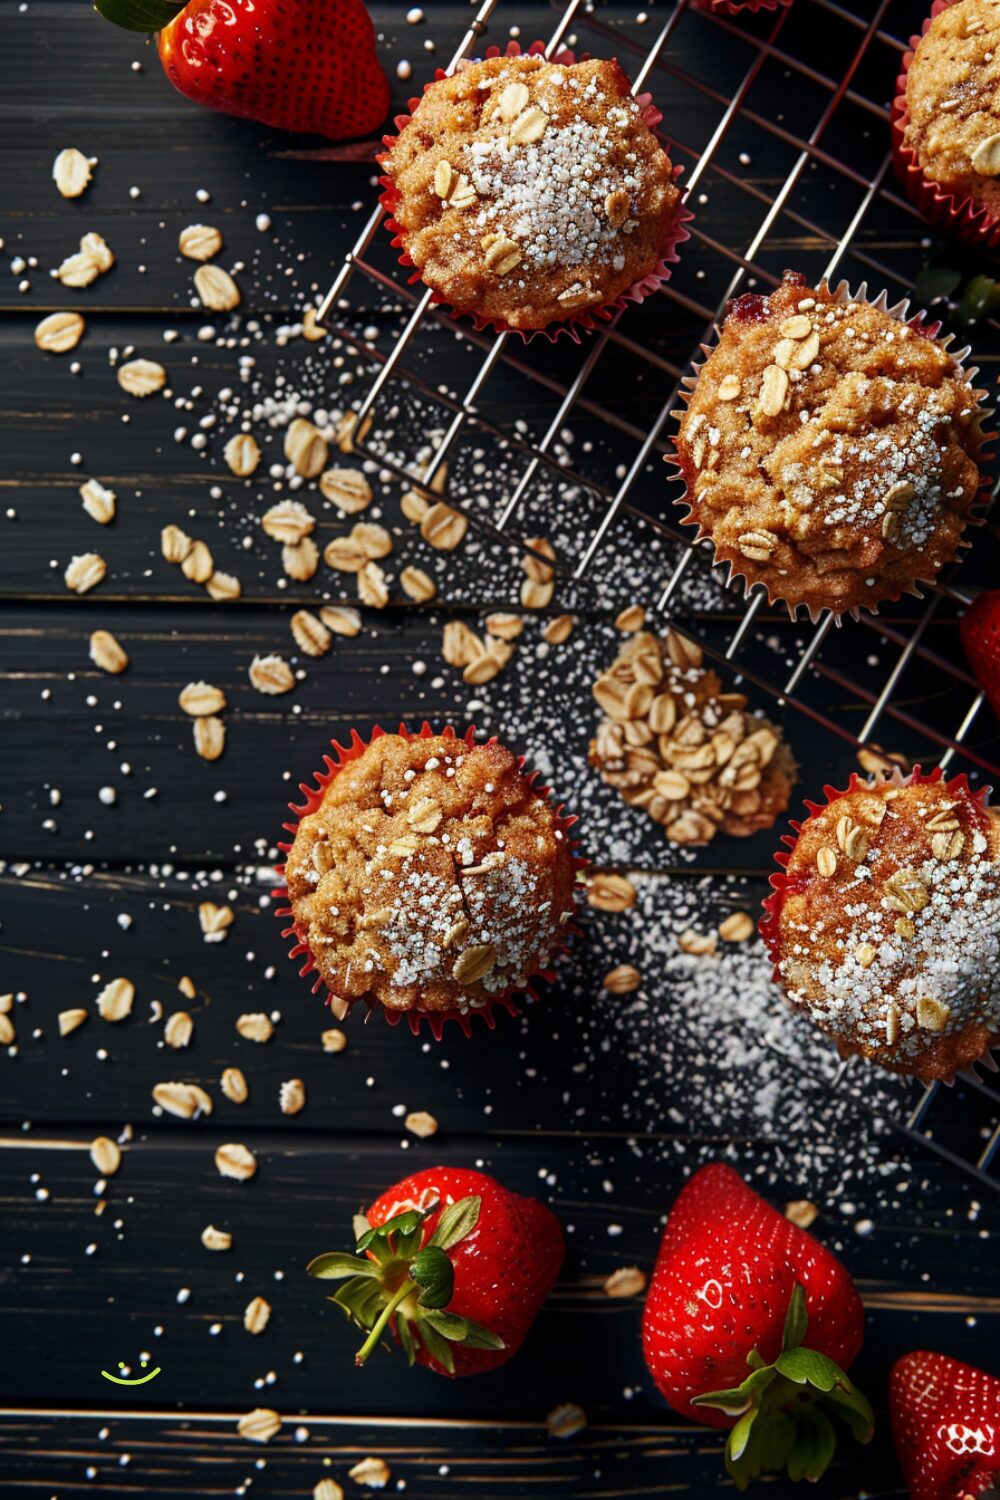
Wholesome Strawberry Oat Muffins
The perfect springtime muffin to remind you of warmer days ahead filled with summer strawberries. These oatmeal strawberry muffins are the perfect combination of healthy and sweet treat. A hearty, healthy(ish) oatmeal muffin studded with sweet strawberries.
Spring is in the air. The cherry blossoms are starting to bloom, and the sunshine is starting to give me serious serotonin. Whenever the weather turns warm, I think about long walks, picnics, and chill vibes hikes. And when I think about hikes, I think about hiking snacks, like these muffins! They’re topped with a sprinkle of crunchy sanding sugar and have a hefty amount of protein-rich, keep-you-full rolled oats. I love the combination of juicy, jammy strawberries with the nuttiness of oats.
Ingredients
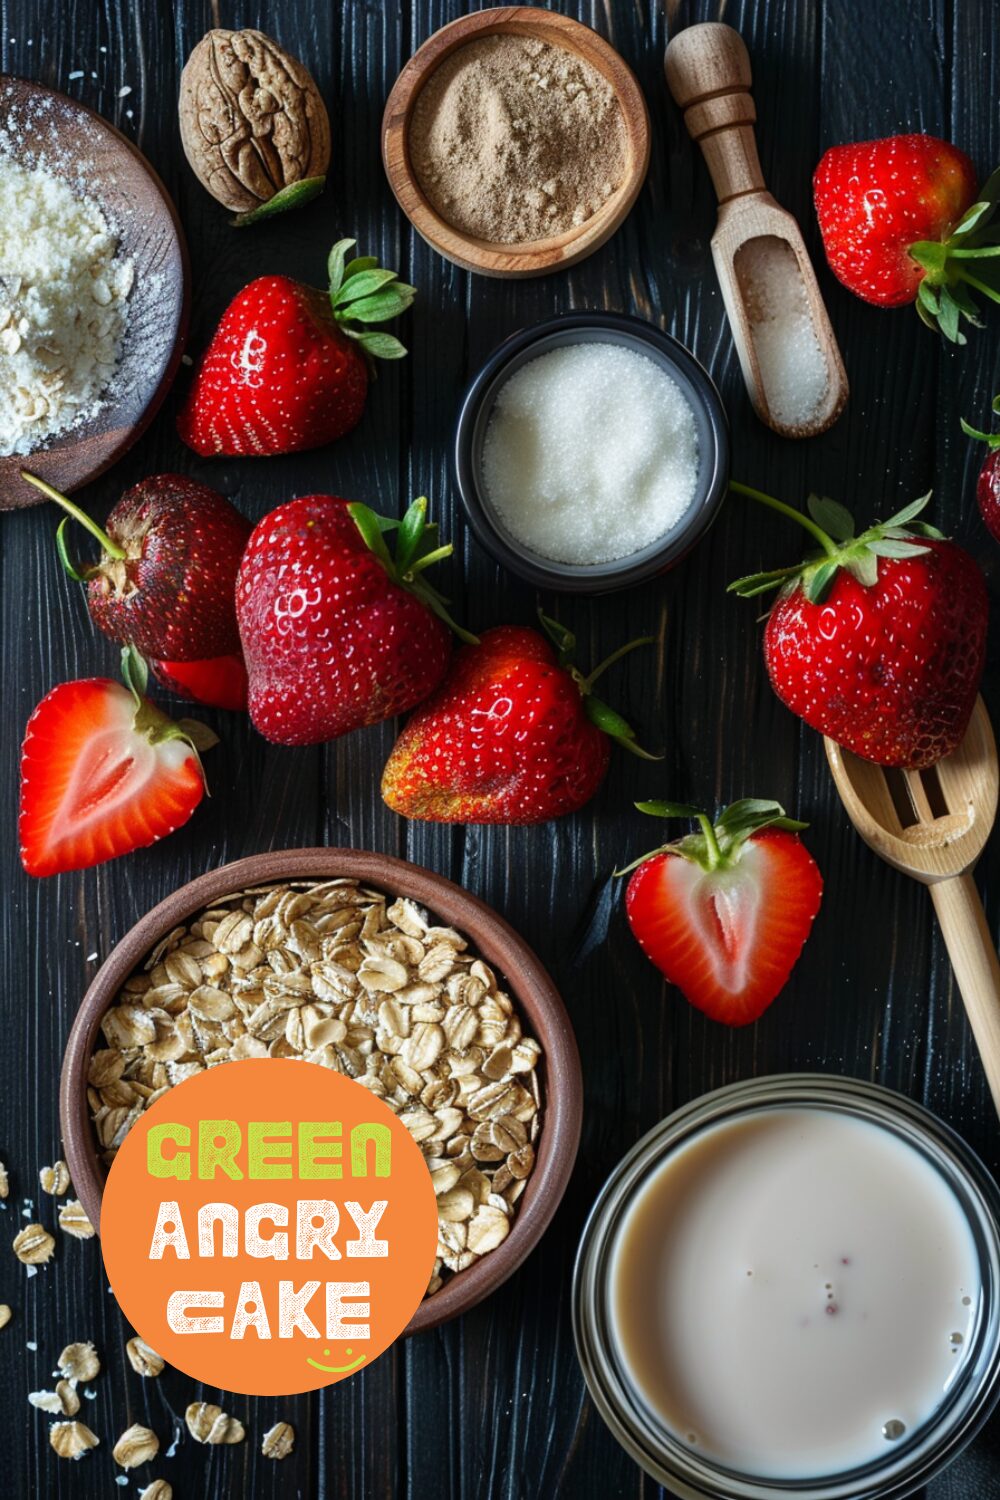
- 1/2 cup milk of choice
- 1/2 cup rolled oats plus extra to sprinkle
- 1 cup strawberries roughly chopped or sliced
- 1/4 cup butter at room temp
- 10 tbsp sugar (1/2 cup + 2 tablespoons)
- 1 large egg
- 1/2 tsp vanilla extract
- 3/4 cup all purpose flour
- 1 tsp baking powder
- 1/4 tsp kosher salt
- 1 tsp coarse sanding sugar or more, for tops
Special Equipment
- Muffin tins
How to make a Wholesome Strawberry Oat Muffins
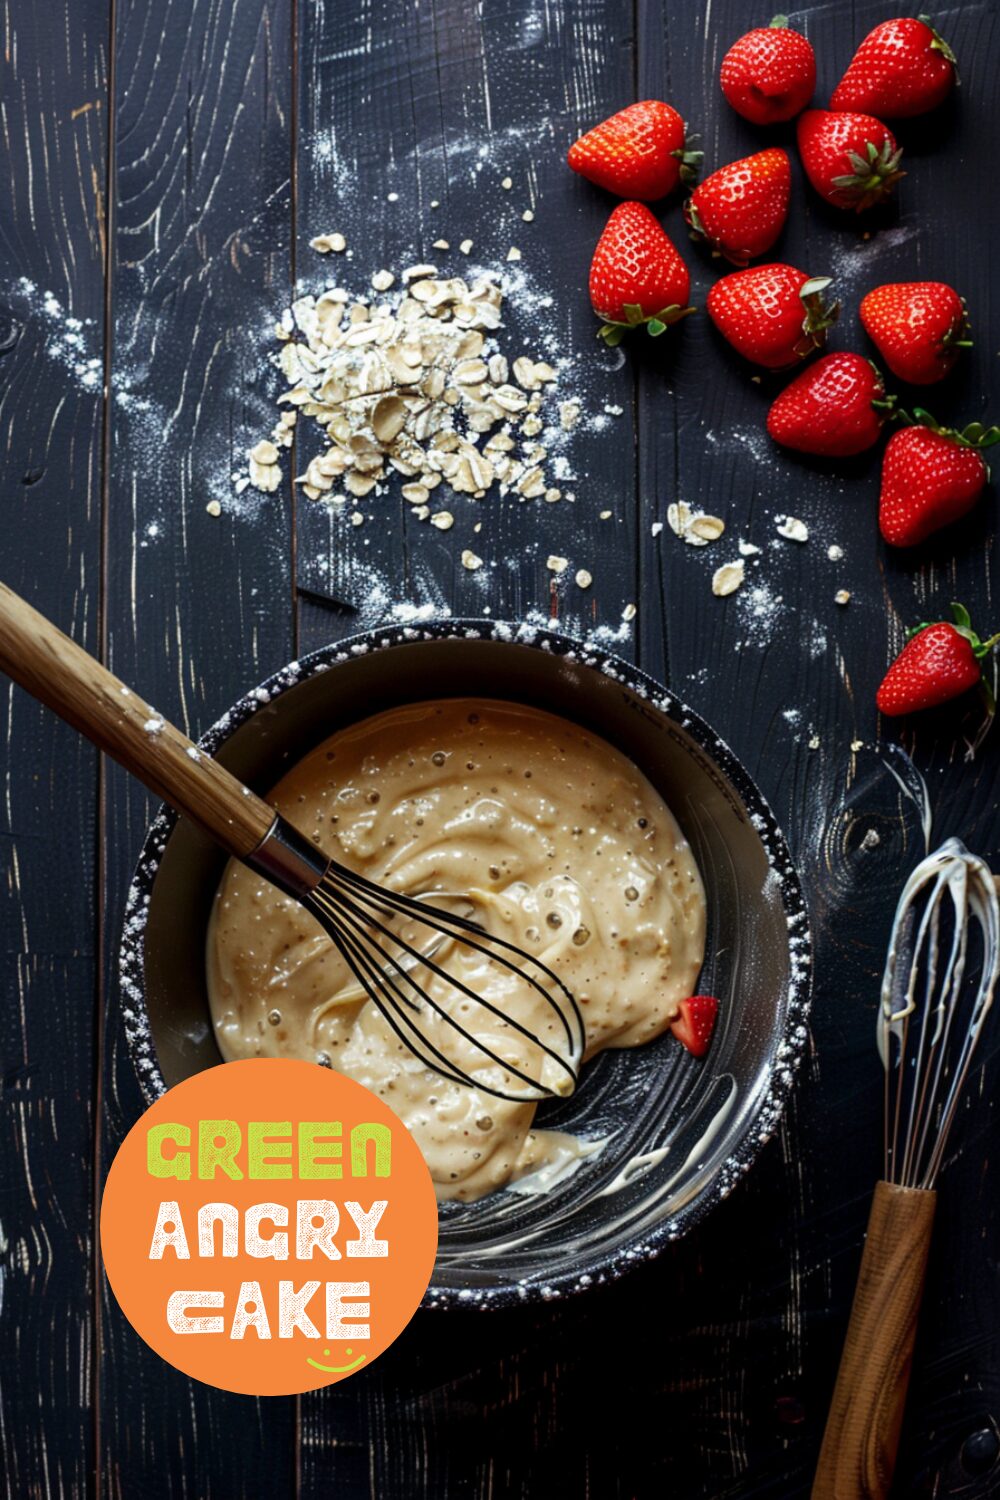
- Preheat the oven to 375°F. Combine the milk and oats together in a small bowl or liquid measuring cup and let soak. In another bowl, optionally toss the strawberries with 1 teaspoon sugar. Set aside. Cream the butter and sugar until light. Add the egg, beating well. Stir in the vanilla and the soaked oats.
- In a bowl, sift together the flour, baking powder, and salt. Gently stir the flour mix to the creamed oats mix.
- Drain the strawberries then fold in gently.
- Line a standard muffin tin with 6 liners, and fill equally with the batter. Sprinkle the sanding sugar and a couple of oats over the tops of the muffins, and bake for 30-35 minutes, or until the tops are golden and toothpick comes out clean.
- Let cool for 10-15 minutes before removing muffins from tins and enjoy!
Helpful Hints
- You can substitute the strawberries with raspberries, blueberries, blackberries, or cherries for a different flavor.
- Add 1/2-3/4 cup chopped chocolate or chocolate chips for a chocolate twist.
- These muffins freeze well for up to 3 months. Just thaw and enjoy!
-
Brown Butter Chocolate Chip Cookies
Soft and chewy with pools of dark chocolate and crisp edges, no mixer needed. These brown butter chocolate chip cookies are simply the best.
Ingredients:
- 1.5 cup all-purpose flour (200g)
- 1/2 tsp baking soda
- 1/2 tsp salt
- 1/2 cup butter plus 1-2 tbsp extra, divided
- 3/4 cup brown sugar (150g)
- 1/4 cup sugar (50g)
- 1 large egg
- 1 tsp vanilla
- 2 cups chopped semi-sweet dark chocolate (about 8oz)
- Flaky sea salt to finish
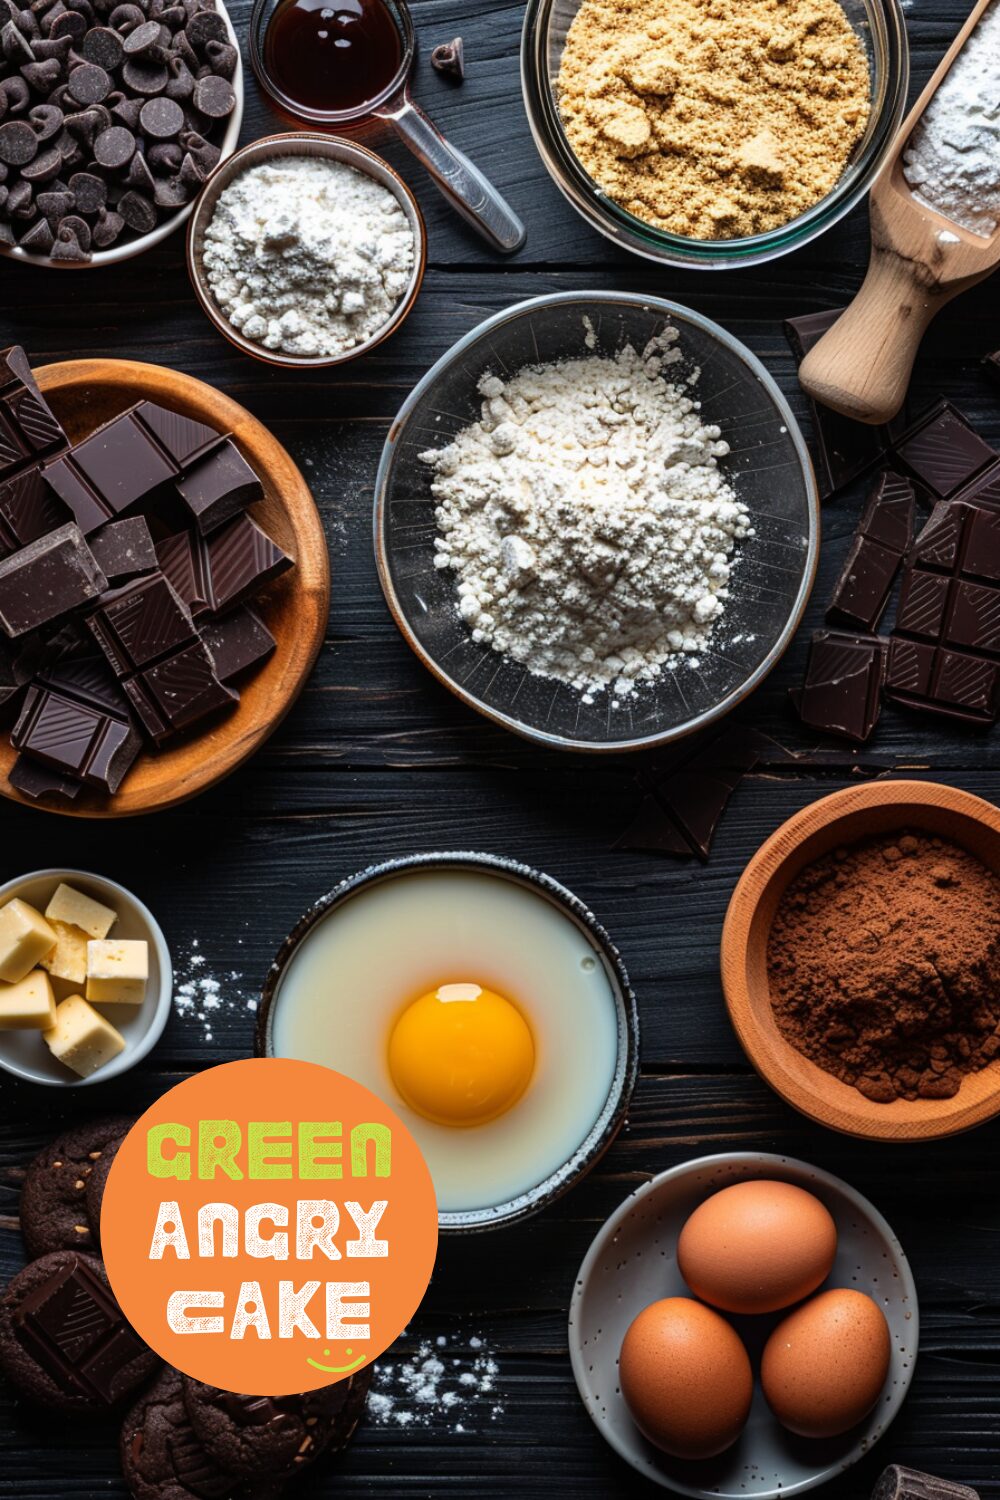
How to make Brown Butter Chocolate Chip Cookies
- Whisk together the flour, salt, and baking soda in a bowl and set aside. Brown 1/2 cup butter in a saucepan, swirling, until butter foams and starts to turn brown and smells nutty. Transfer butter to a liquid measuring cup and see how much water content you lost. You want to have 1/2 cup of butter, so stir in the remaining 1-2 tablespoons of butter if you need it – the butter you add in should melt slowly and not foam up.
- When the butter is melted and slightly cool, whisk in both sugars until incorporated with no lumps. Whisk in the egg until smooth and glossy. Stir in the vanilla and use a rubber spatula to fold in the dry ingredients until no dry spots remain. Fold in the chocolate.
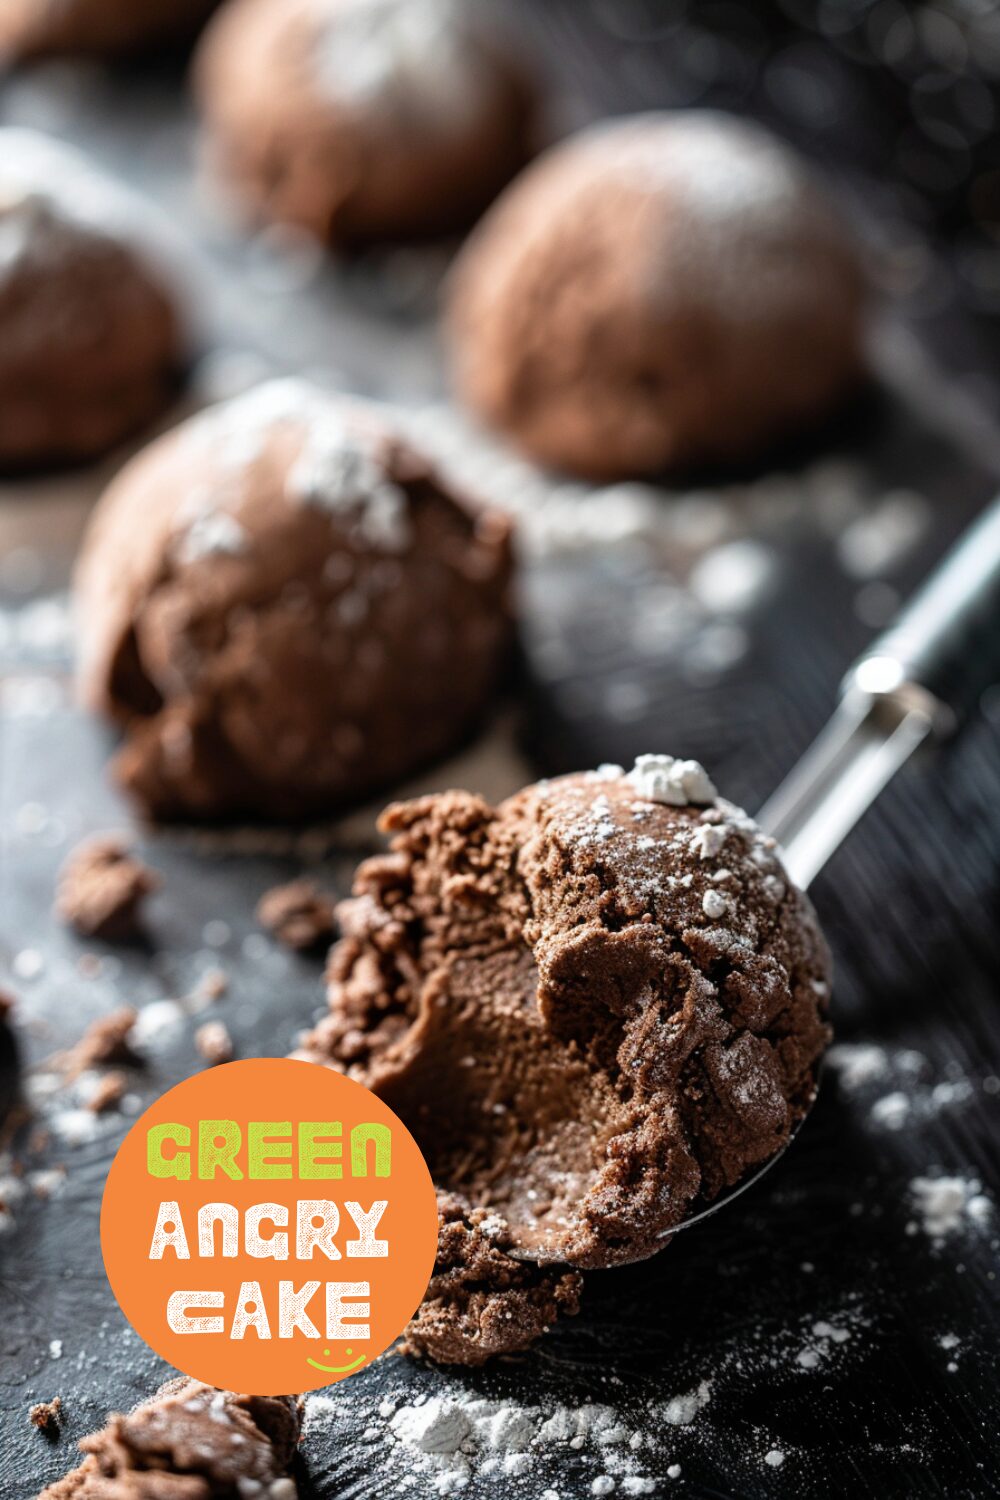
- Use a 1.5 tablespoon cookie scoop and scoop out two balls of dough, so that each cookie is 3 tablespoons large. Smoosh the two balls on top of each other – they should kind of look like a log and you should get about 14-16 cookies depending on how big your chocolate chunks are. Place the logs on a parchment paper lined cookie sheet, cover with plastic wrap and let chill in the fridge for 15-30 minutes, or as long as it takes for your oven to heat up.
- Arrange the racks in the upper and lower thirds of the oven and heat to 375°F. Space out the cookie logs (standing tall) on parchment paper lined rimmed baking sheets, leaving plenty of space in between. Bake, rotating and moving trays halfway if browning unevenly. Bake until golden brown and firm around the edges, 10-12 minutes.
- Remove from the oven and bang the pan down against the countertop (this helps create a couple of ripples like you see on Instagram). Sprinkle with flaky sea salt, let cool on the baking sheets, and enjoy!
Helpful Hints:
- Ensure your egg is at room temperature to avoid shocking the warm butter.
- Use unsalted butter to control the salt content of your cookies.
- Chilling your dough helps develop a deep caramel flavor and gives you crispy edges, chewy insides, and crackly tops.
- Avoid over-mixing to prevent extra puffy cookies.


