-
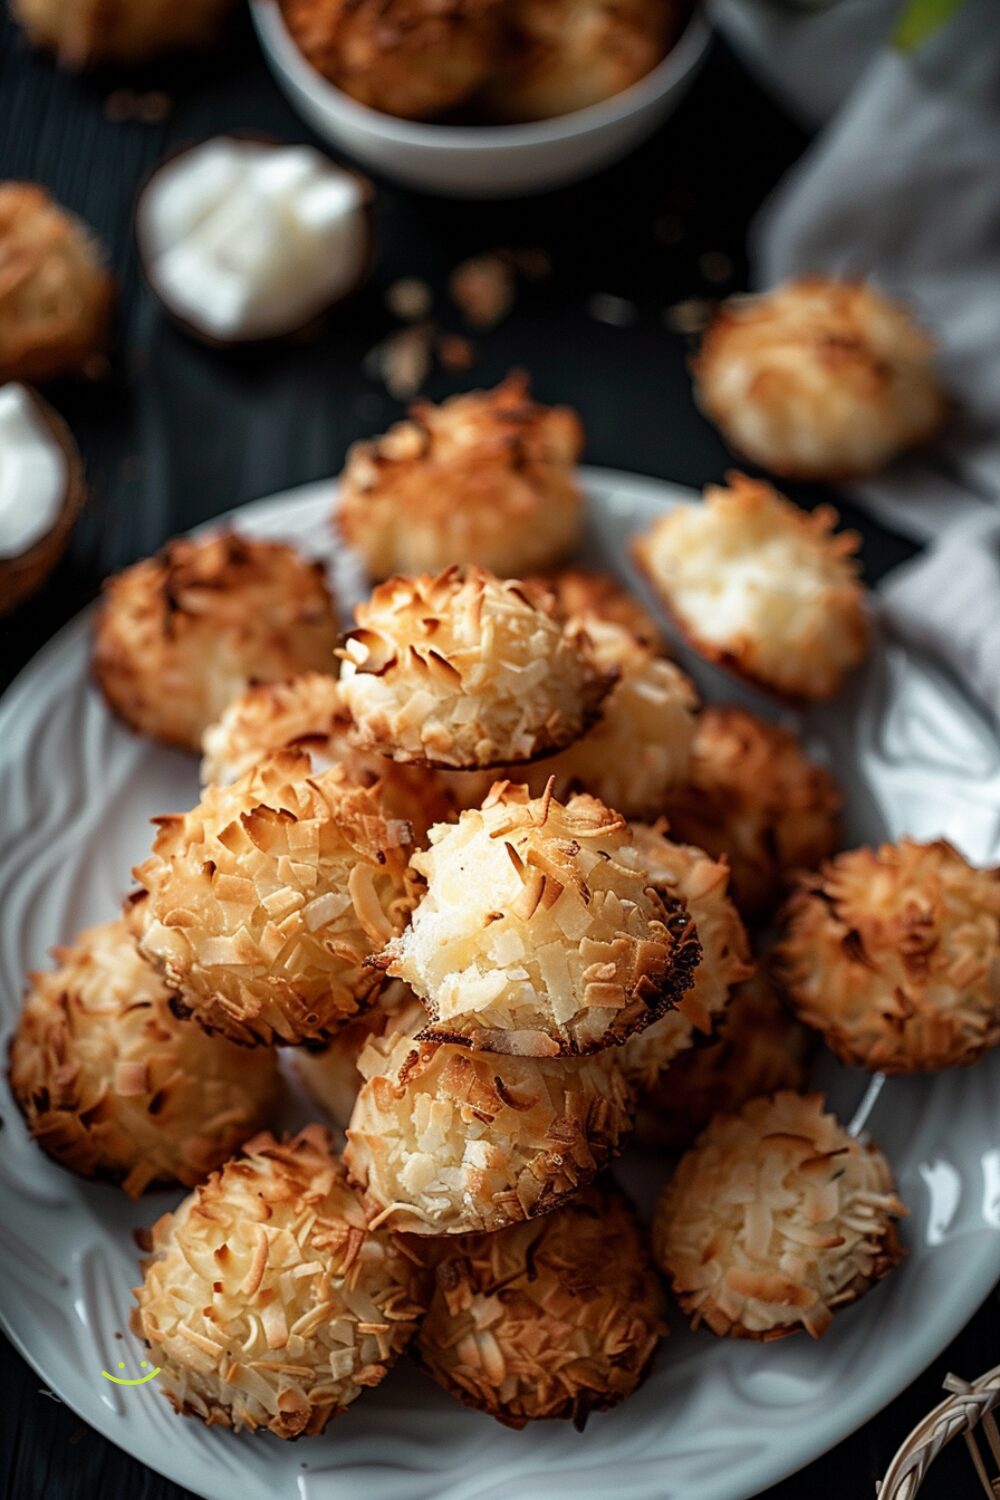
Coconut Macaroons: The Perfect Sweet Treat
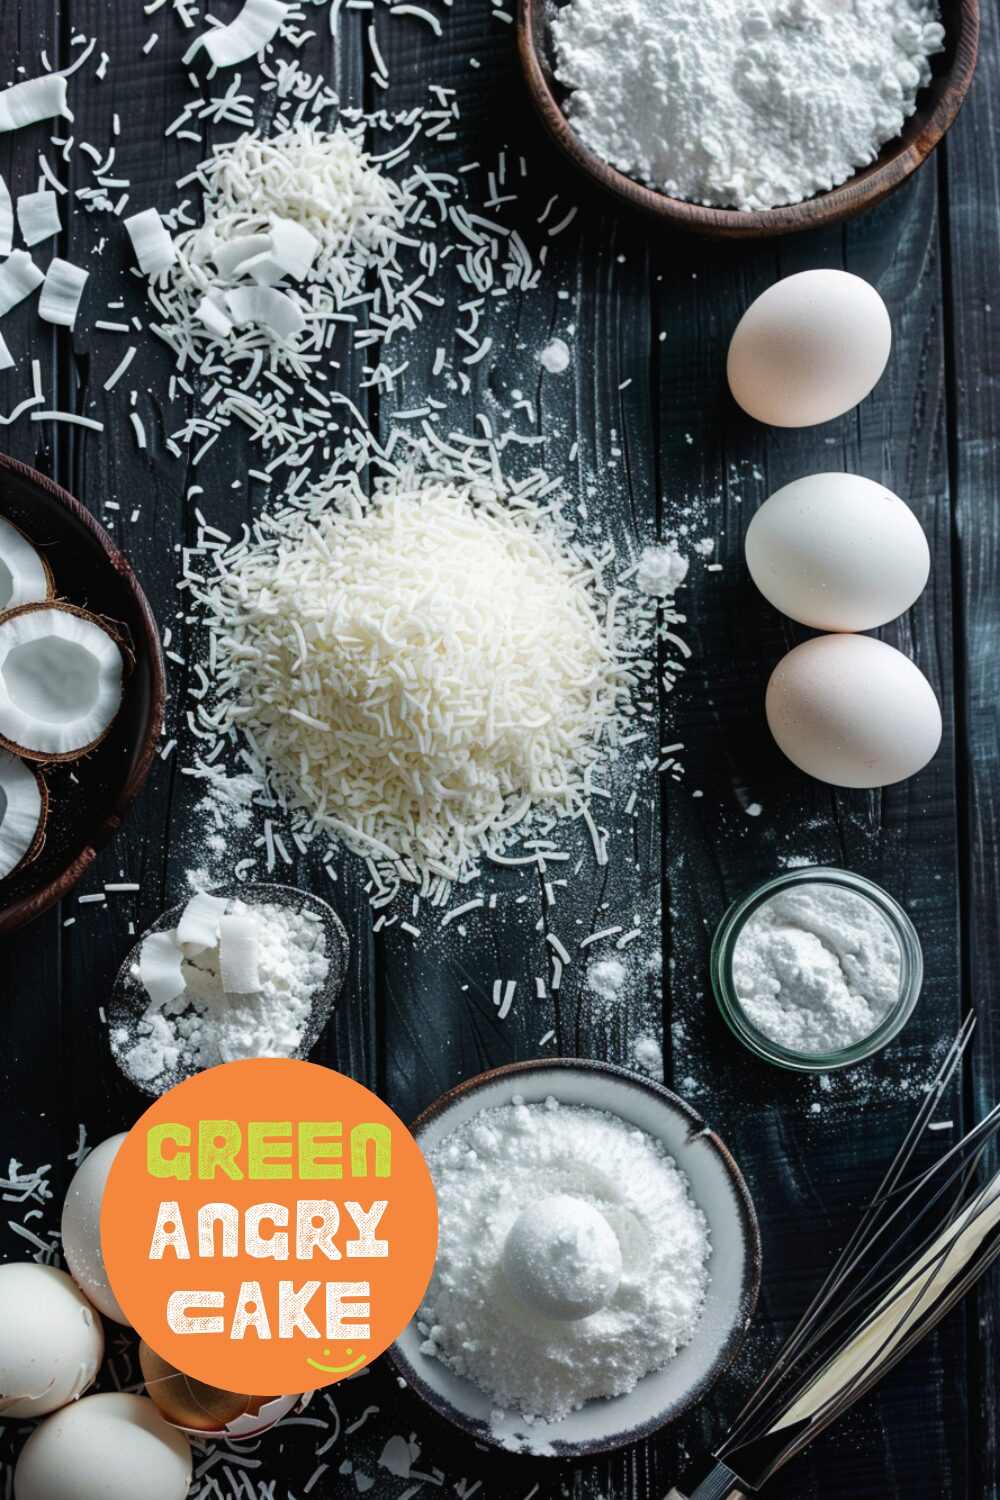
Coconut macaroons are a delightful blend of crispy exteriors and chewy, moist interiors, perfect for any occasion. These coconutty haystacks are simple to make and incredibly satisfying. Just a handful of ingredients and minimal effort, and you have a sweet treat that’s perfect with a cup of tea.
Ingredients:
- 172 g unsweetened shredded coconut (6oz, roughly 2 2/3 cups)
- 67 g sugar (2/3 cup)
- 45 g all-purpose flour (1/3 cup)
- 120 g egg whites (about 4 egg whites)
How to Coconut Macaroons
- Preheat oven to 325°F (160°C). Line a baking sheet with parchment paper.
- In a large bowl, combine shredded coconut, sugar, and flour.
- Stir in the egg whites until the mixture is well combined.
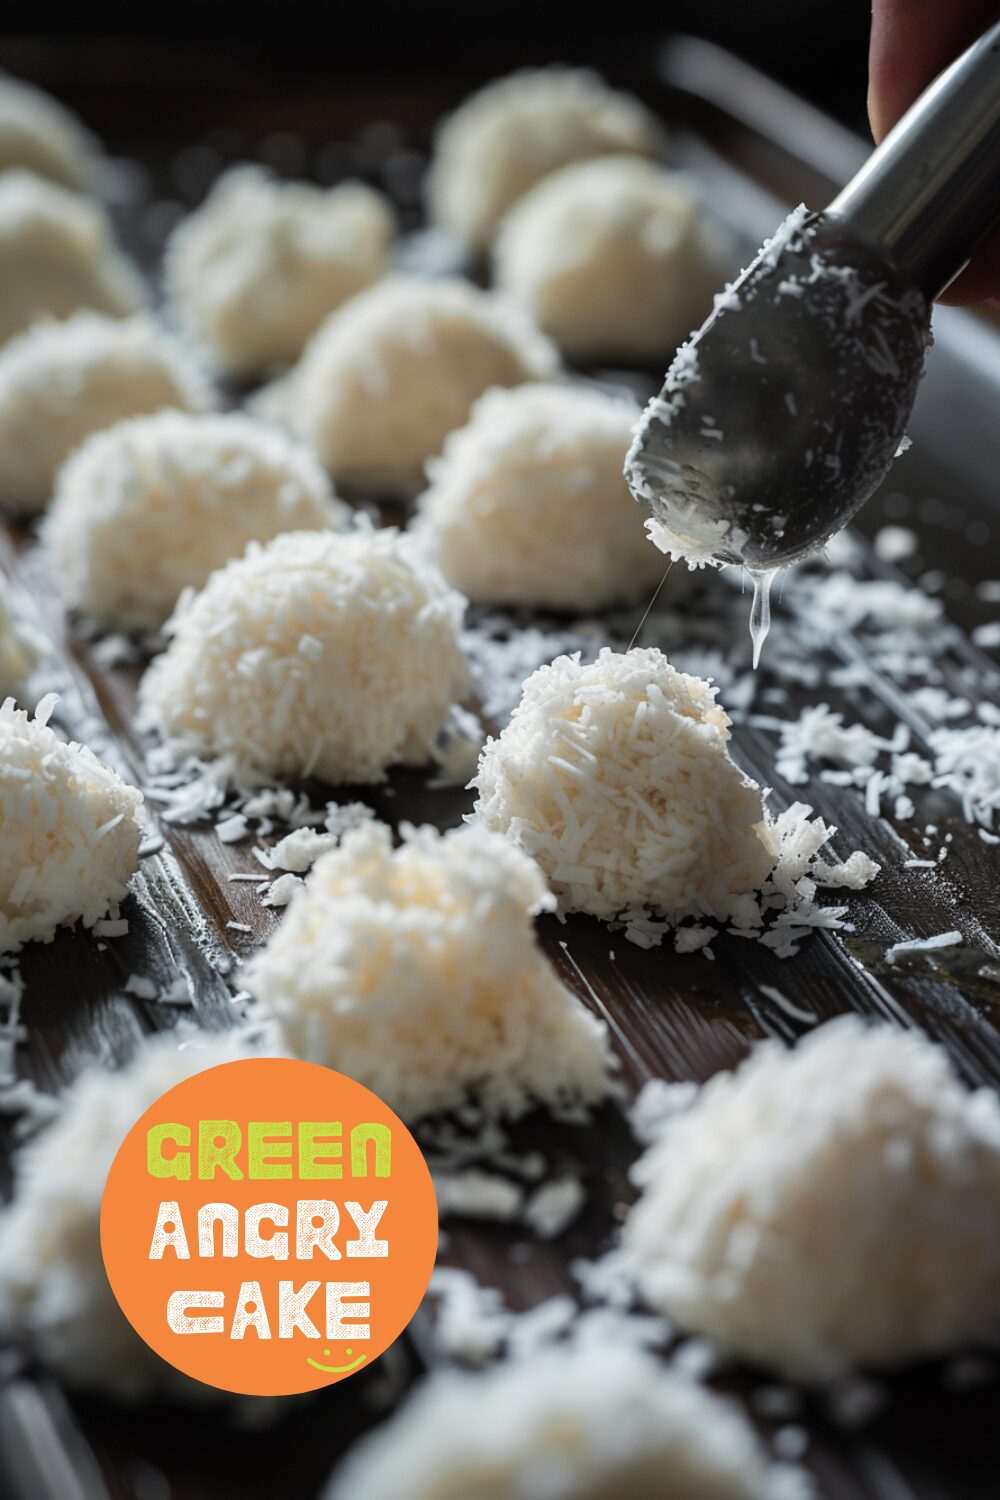
- Use a cookie scoop to portion out the batter into mounds and place them on the prepared baking sheet.
- Bake for 18-20 minutes or until the edges are lightly golden brown.
- Let cool on a wire rack and enjoy!
Helpful Hints:
- Use a cookie scoop for evenly sized macaroons.
- For a gluten-free version, substitute all-purpose flour with almond or coconut flour.
- Store macaroons in an airtight container at room temperature for up to 5 days.
-
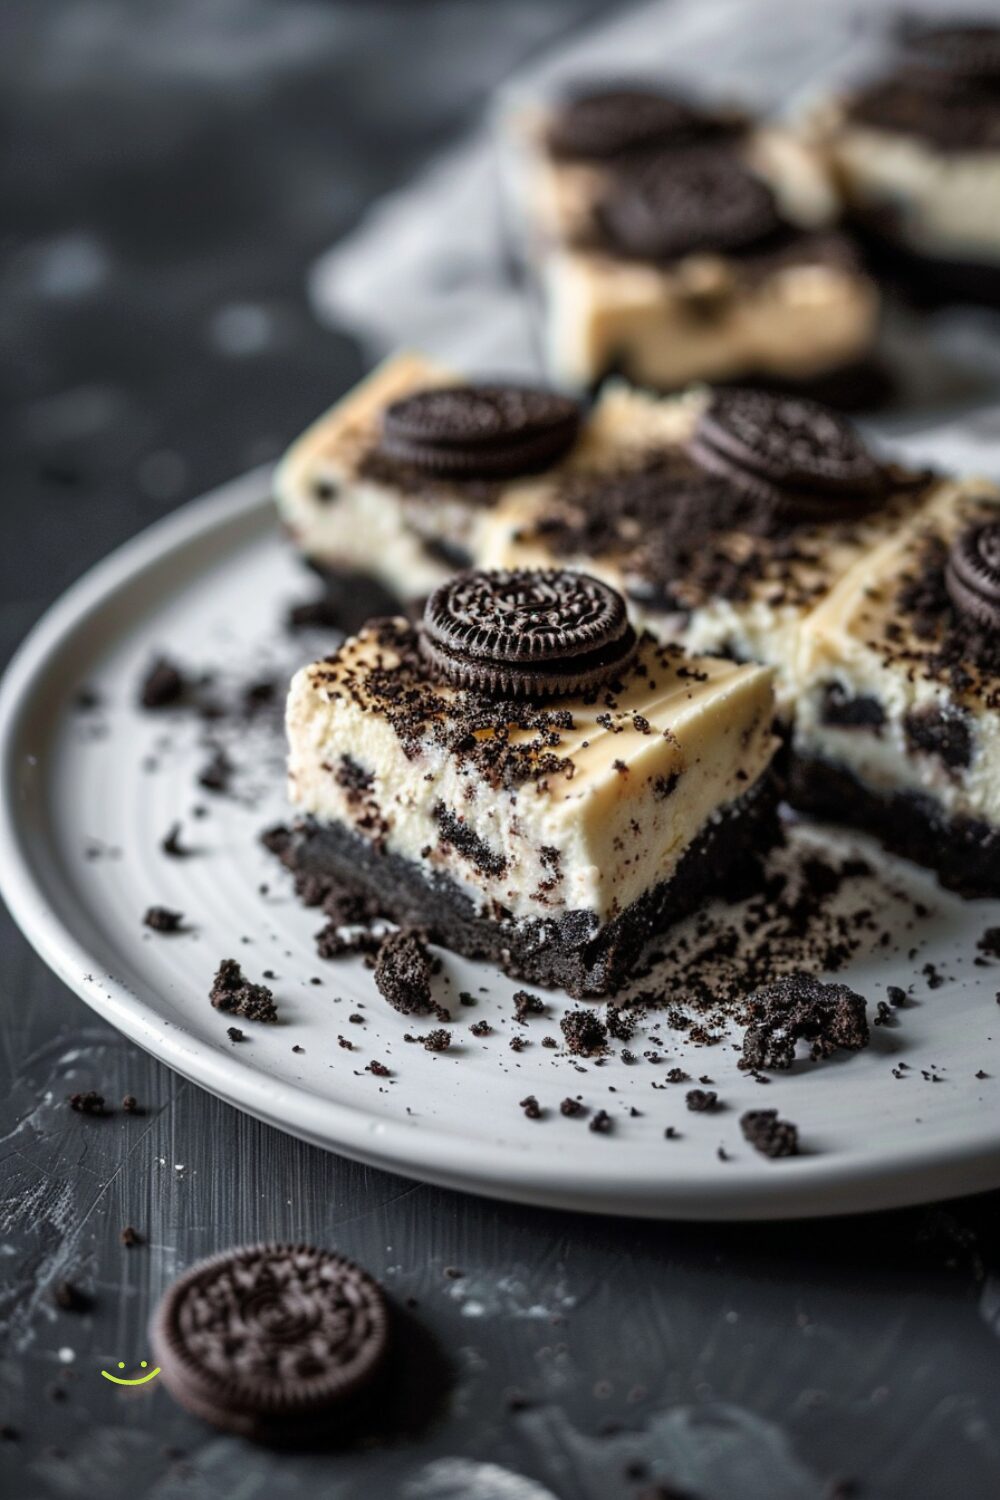
Oreo Cheesecake Bars
In the quiet of the kitchen, there’s a sweet delight waiting to be made. These Oreo cheesecake bars are everything you love about cookies and cream, turned into a creamy, no-bake treat. They’re perfect for those days when you crave something indulgent but don’t want to turn on the oven. With a rich, creamy filling and a crunchy Oreo base, each bite is a little piece of heaven. These bars are so irresistible that once you start, it’s hard to stop. Perfect for any occasion, they’re a simple yet satisfying dessert that’s sure to please.
Ingredients:
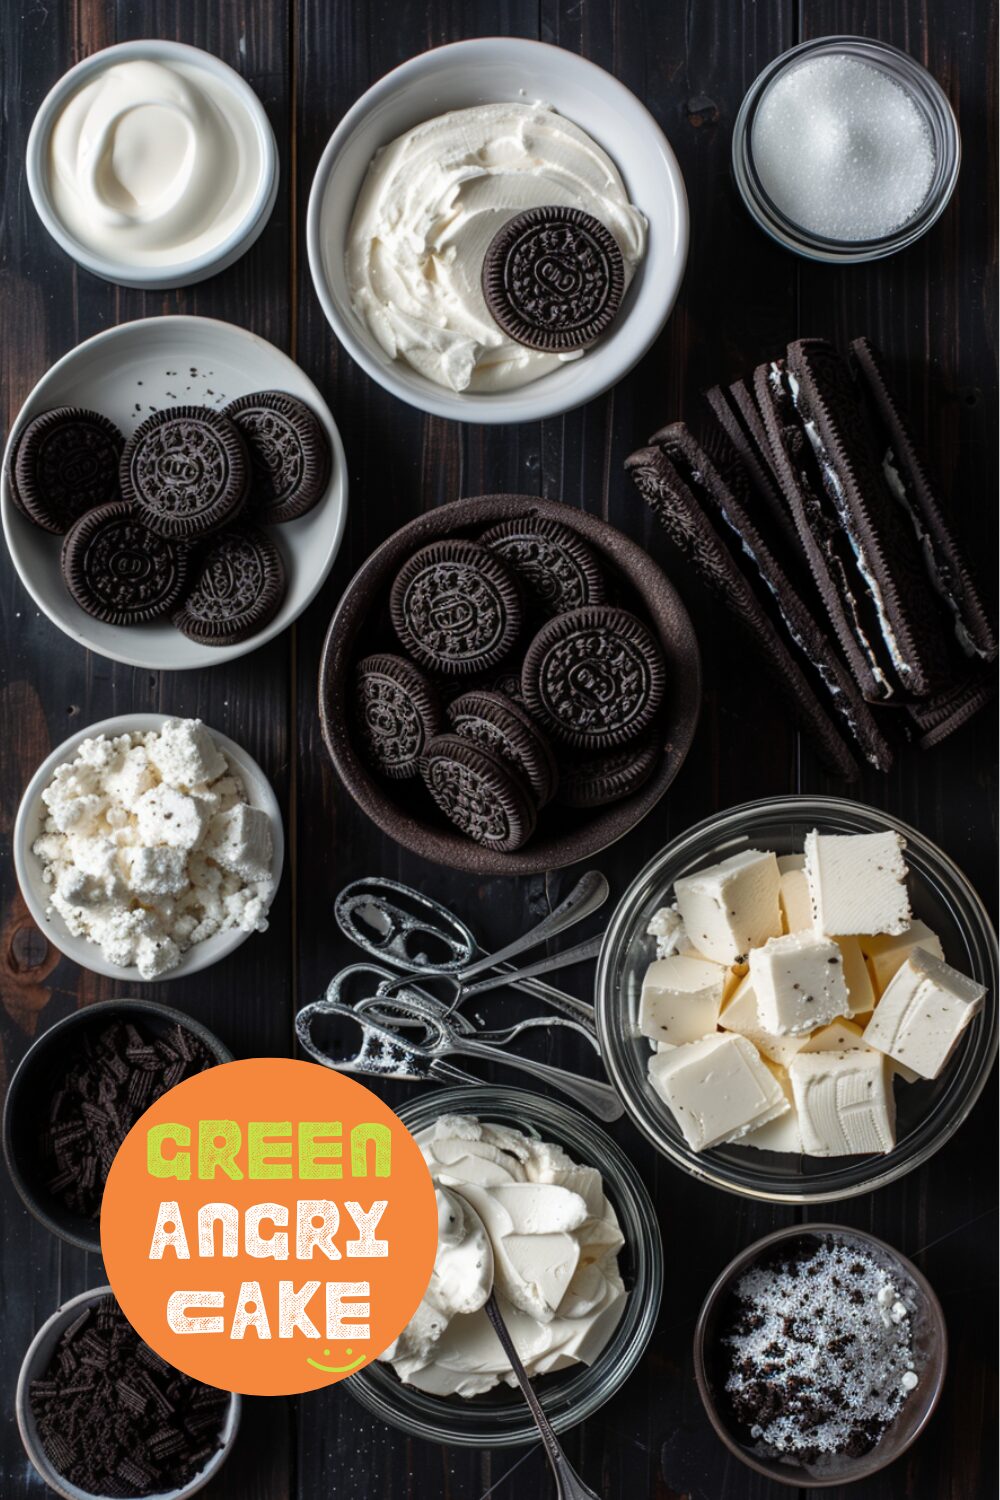
- 40 Oreos, divided
- 1/4 cup butter, melted
- 2 boxes cream cheese, room temp (16 oz, about 4 cups)
- 1 2/3 cups heavy cream (14 oz)
- 1 tsp vanilla, optional
- 1/2 cup sugar
Special Equipment:
- 8×8 inch pan
How to make Oreo Cheesecake Bars
- Use a food processor to crush 24 Oreos into fine crumbs. Alternatively, use a ziplock bag and crush until fine. Mix together with the melted butter then press into an 8×8 inch pan and refrigerate for 10 minutes while you make the filling.
- In a mixing bowl or stand mixer, whip the cream cheese until very smooth. Add the heavy cream, vanilla, and sugar, beating until well combined. Break up 16 Oreos into chunks and fold into the cream cheese mix.
- Pour the filling over the chilled cookie crust and spread evenly. Add some crushed Oreos on top, if desired.
- Freeze for 1-2 hours or until set. Cut into squares and enjoy! You can keep these either in the fridge or the freezer once sliced – the freezer version tastes more ice cream-y and the fridge version tastes more creamy and like regular cheesecake.

Helpful Hints:
For a small batch that makes 4 bars in a small 4.75 inch square pan:
- 10 Oreos, 6 for the base and 4 for mixing in and topping
- 1 tbsp butter, melted
- 100 grams cream cheese, at room temp, about 1/2 cup
- 100 grams heavy cream, about 1/2 cup
- 1/4 tsp vanilla, optional
- 2 tbsp sugar
-
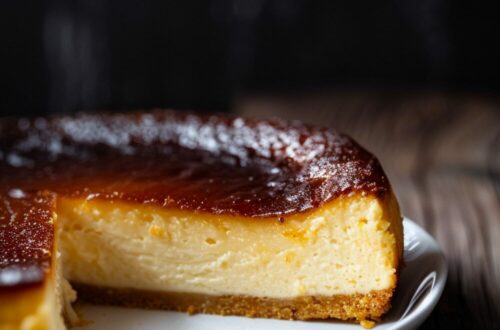
Heavenly Burnt Basque Cheesecake
In the quiet moments of the day, when the sun dips low and the kitchen is bathed in a warm, golden glow, there’s nothing quite like the promise of a Basque cheesecake. With its creamy, almost molten center and deeply caramelized top, this is the cheesecake that dreams are made of. Born in the heart of San Sebastian, this burnt beauty is simplicity at its finest, with only a handful of ingredients coming together to create something truly special.
Imagine slicing through the dark, burnished exterior to reveal the soft, velvety interior. Each bite is a symphony of textures and flavors – the slight bitterness of the top balancing perfectly with the rich, sweet creaminess beneath. It’s a cheesecake that doesn’t demand perfection; in fact, its rustic, cracked top is all part of its charm.
Making a Basque cheesecake is a lesson in the beauty of imperfection. No need for a water bath or a springform pan. Just cream cheese, sugar, eggs, and cream, baked at a high temperature until gloriously burnt. It’s the kind of dessert that feels like a warm embrace – comforting, indulgent, and utterly irresistible.
Ingredients:
- 2 bricks cream cheese, room temp, 8oz bricks
- 3/4 cup sugar (5.2 oz/150 g)
- 4 large eggs
- 3/4 cup heavy cream (6.3 oz/180 g)

How to make Basque Cheesecake
- Heat the oven to 430°F. (If you have convection mode, set the oven to convection.) Line a 6-inch round, 3-inch tall cake pan with parchment paper with an overhang of 2 inches. Double line it to ensure easy removal.
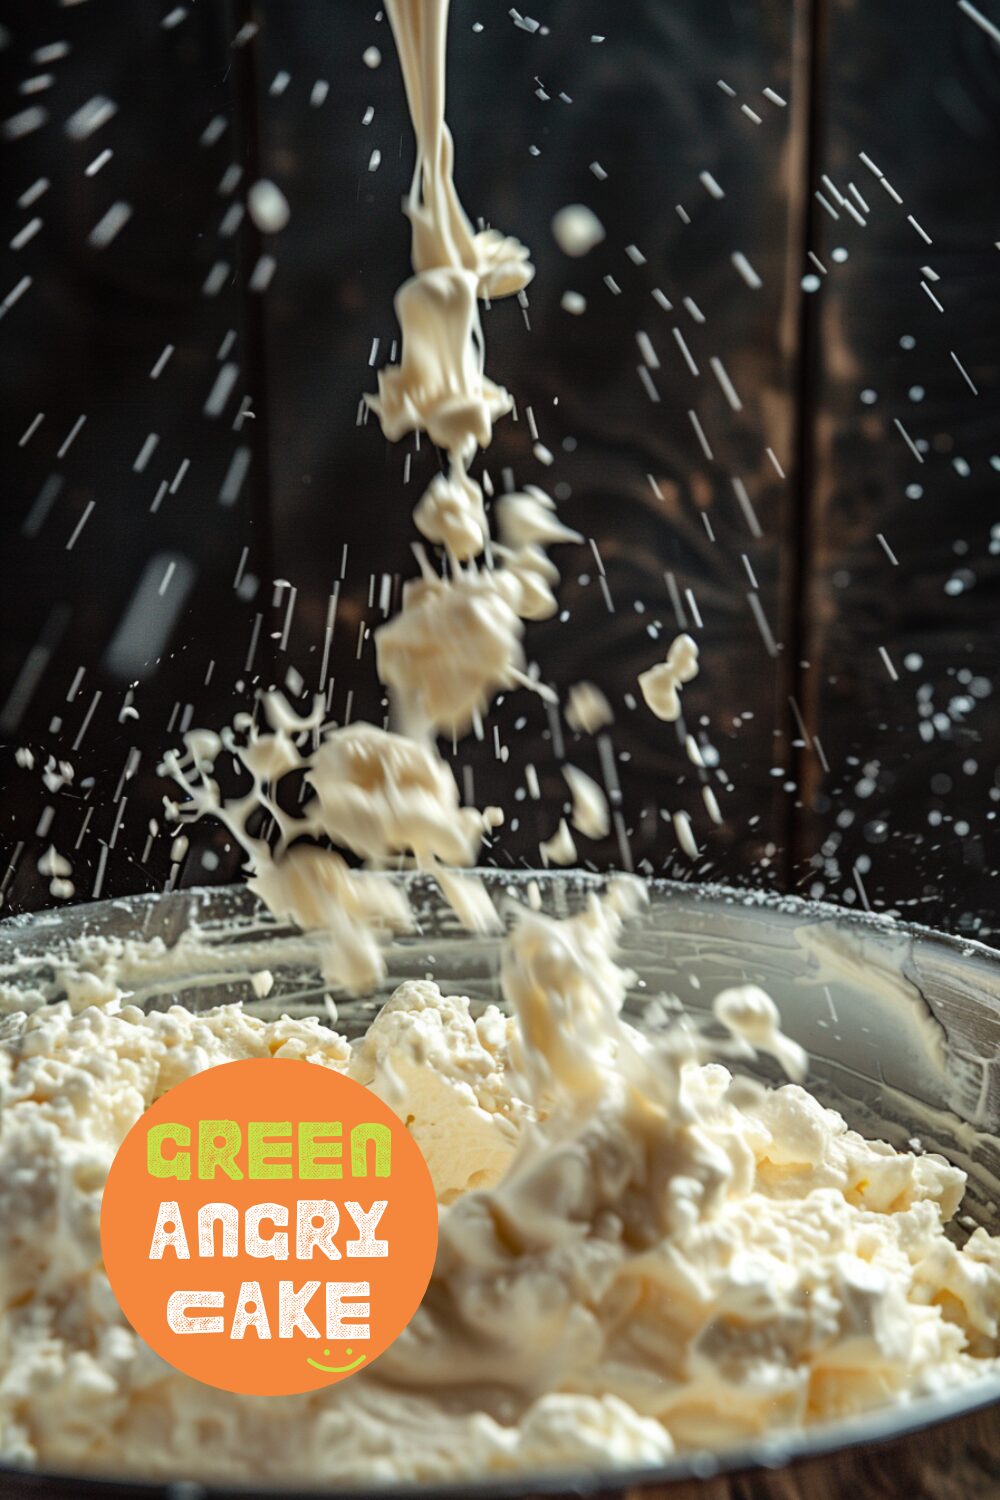
- In a stand mixer, or by hand, beat the cream cheese with the sugar until smooth, making sure the sugar is completely incorporated and the mixture is light, fluffy, and lump-free. Scrape down the bowl as needed.
- Add the eggs, one at a time, ensuring the batter is smooth and incorporated before adding the next. Scrape down the sides of the bowl as needed.
- Slowly pour in the cream, mixing until just combined.
- Pour the batter into the prepared tin and bake for 25-30 minutes. The top should be a dark amber, and the middle should still wobble and jiggle. For a more caramelized top, leave it a bit longer, but note the center will not be as gooey.
- Remove from the oven and let cool in the pan on a wire rack at room temp until completely cool. Remove the cake from the tin and slice at room temperature for a gooey, lava-like cheesecake. If desired, place in the fridge to cool, resulting in a soft and creamy cheesecake without the ooze. Enjoy!
-
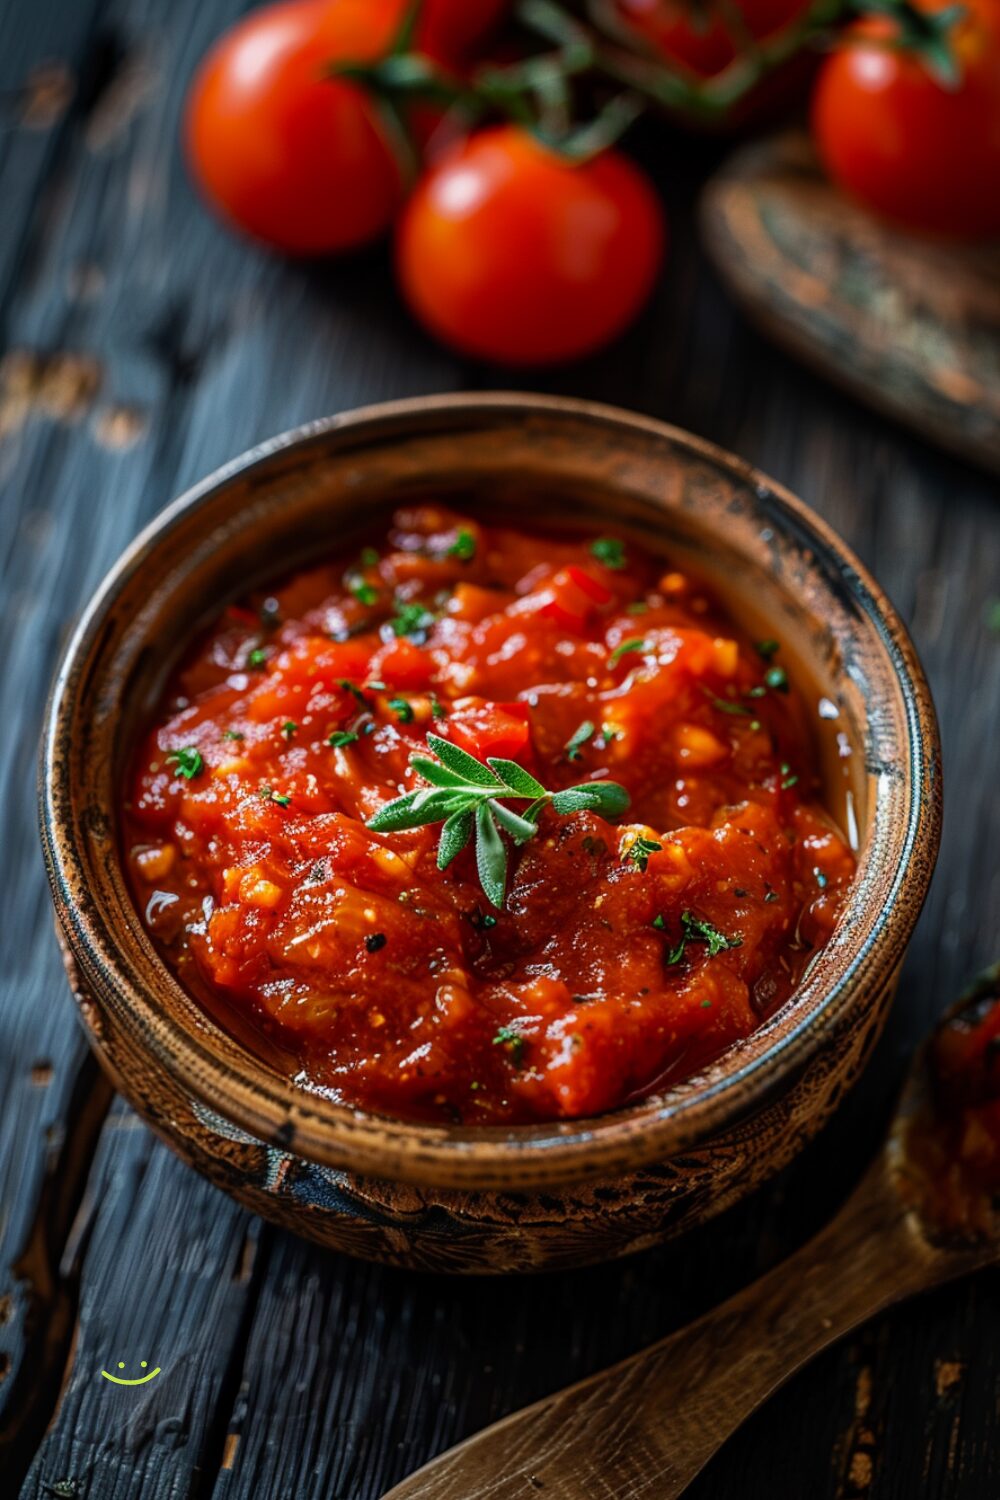
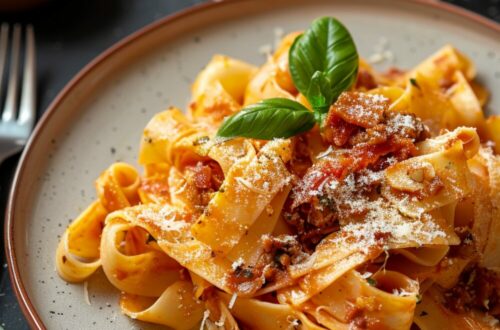
Rustic Vegetable Tomato Sauce
When you crave a hearty, veggie-packed marinara, this rustic vegetable tomato sauce is your answer. Imagine the rich, smoky flavors of eggplant, mushrooms, and carrots simmering together in a vibrant tomato base. It’s a sauce that brings the comfort of home-cooked meals with every bite.
Picture this: a pot of chunky, aromatic sauce bubbling gently on the stove. The eggplants and mushrooms, seared to perfection, release a depth of flavor that transforms simple tomatoes into something extraordinary. This isn’t just a sauce; it’s an invitation to savor the beauty of fresh, wholesome ingredients melded together.
I whipped up a batch for a veggie lasagna, and with the leftovers, I tossed it with some bowties and a quick zucchini fry-up. Each meal felt like a little celebration of flavor, perfect for any Meatless Monday or a cozy weeknight dinner. Simple, honest, and utterly delicious – this sauce is your new kitchen staple.
Ingredients:
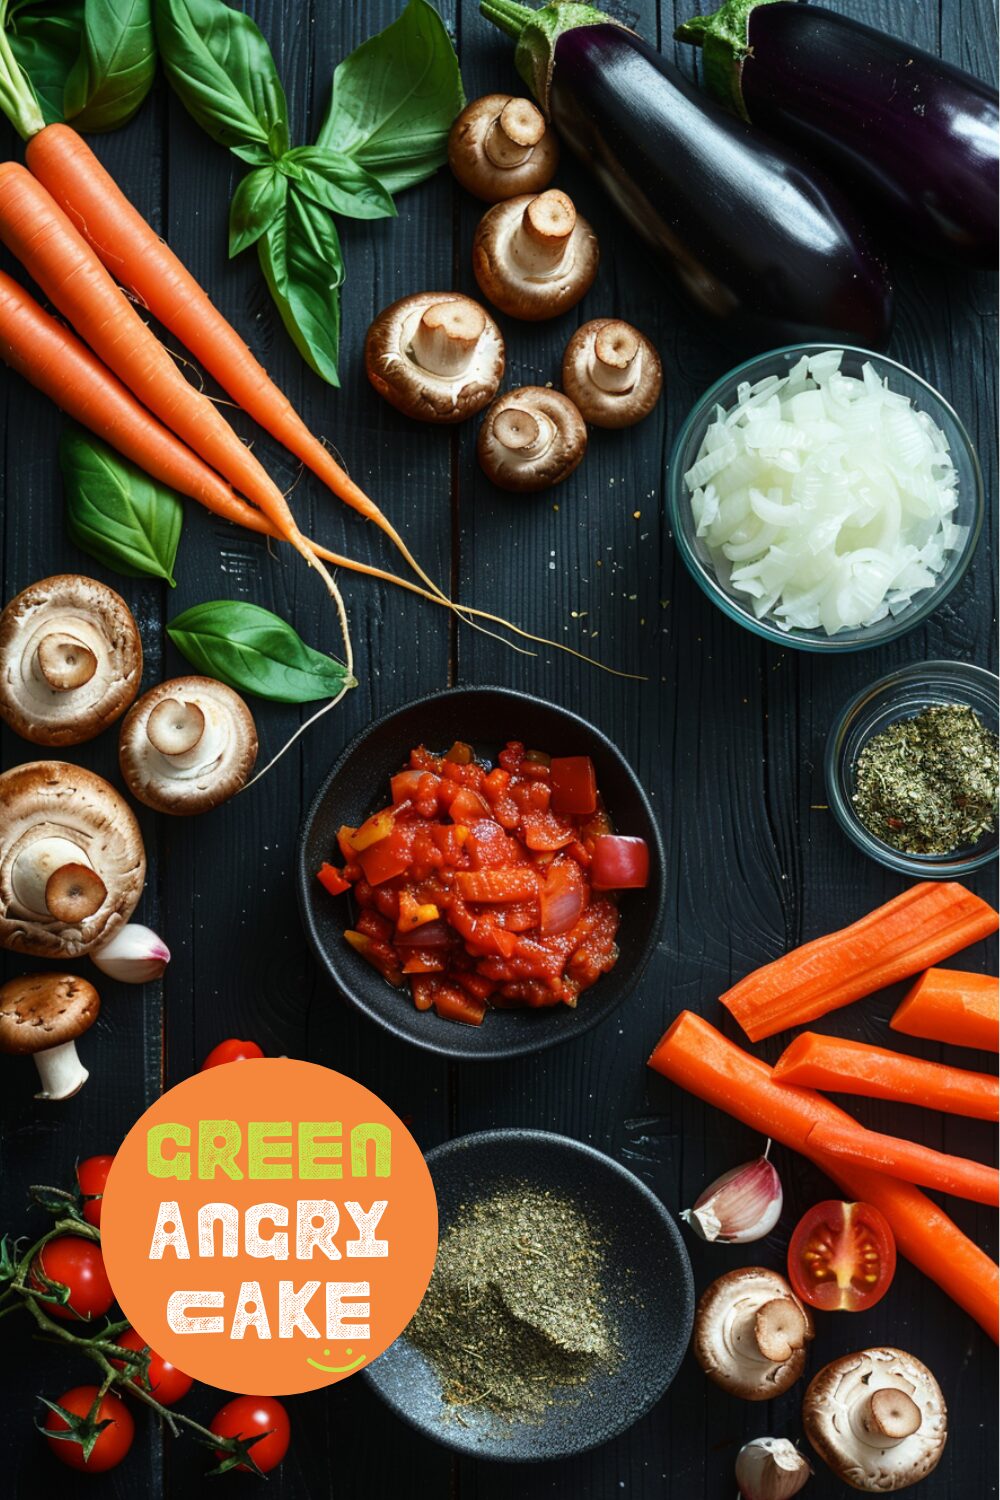
- 2 tablespoons olive oil
- 1-2 small eggplants (I used Japanese eggplants), diced
- 8 ounces mushrooms, diced or sliced
- 1 onion, diced
- 2 carrots, diced
- 2 cloves garlic, minced
- 1 (28 oz) can crushed tomatoes
- 1/2 teaspoon dried oregano
- 1/2 teaspoon crushed red pepper flakes, or to taste
- 1 teaspoon sugar
- 2 sprigs fresh basil
- salt to taste
How to make Rustic Vegetable Tomato Sauce
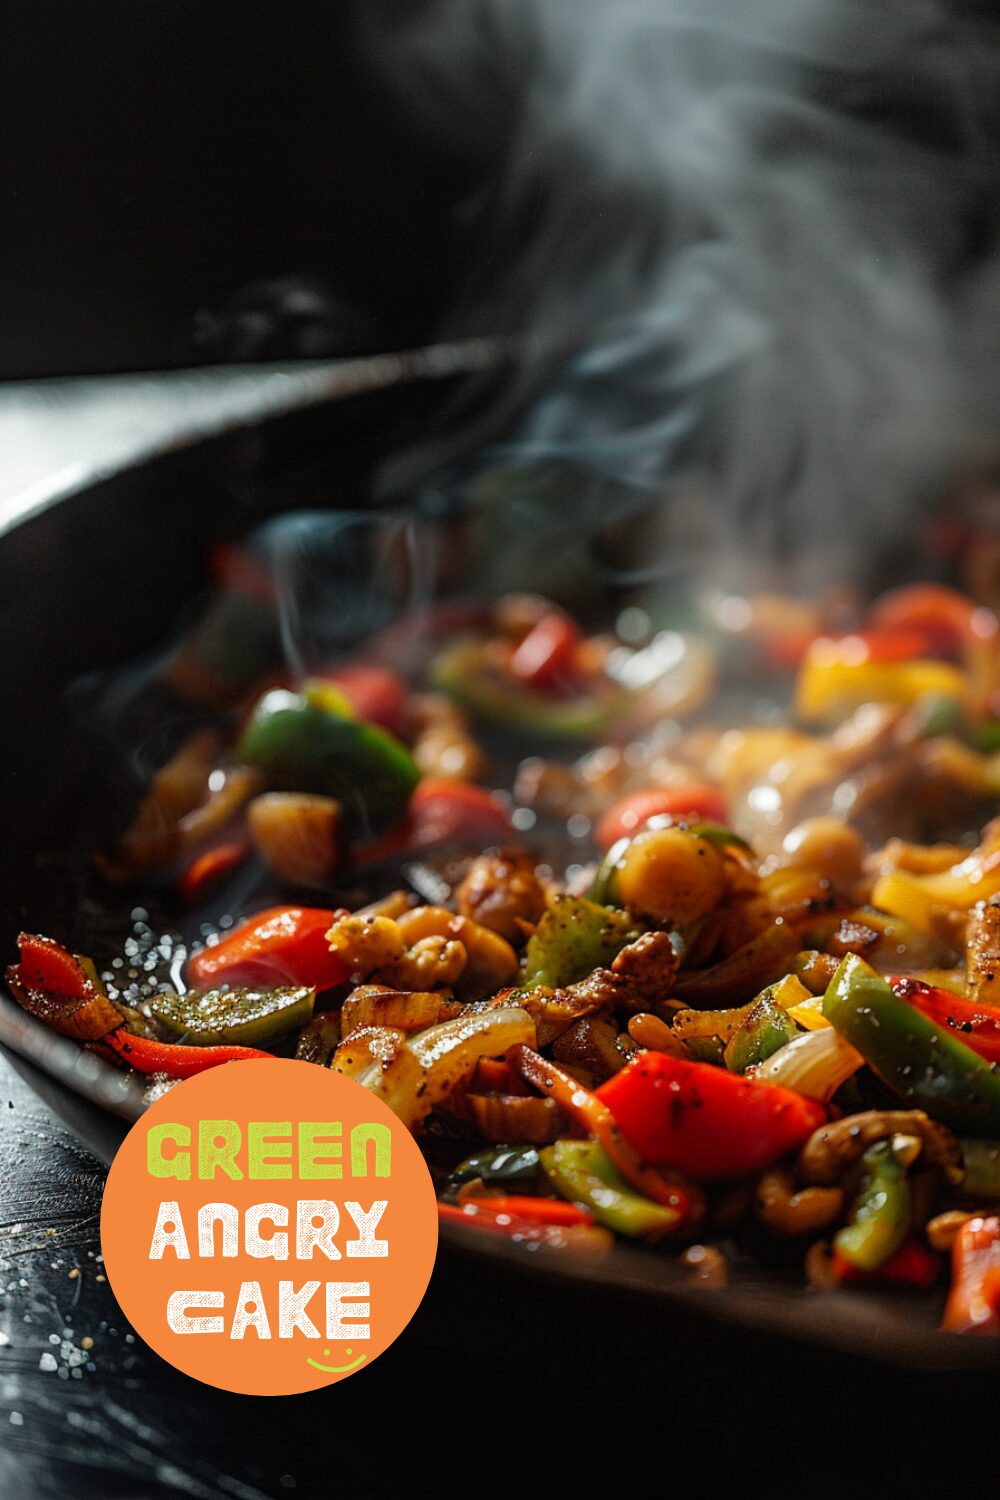
- Heat up the oil in a large skillet or pot over medium high heat. When hot, add all of the vegetables and cook, stirring only occasionally, until quite brown and seared, 8-10 minutes.
- Stir in the crushed tomatoes, oregano, crushed red pepper flakes, and sugar. Add the basil and simmer, on low, for 20 minutes. Taste and season with salt. Enjoy with pasta, on rice, or any other way you like marinara!
Helpful Hints:
- For an extra depth of flavor, try roasting the vegetables before adding them to the sauce.
- This sauce can be made ahead of time and stored in the fridge for up to a week or frozen for up to three months.
- If you prefer a smoother sauce, blend it with an immersion blender until you reach your desired consistency.
-
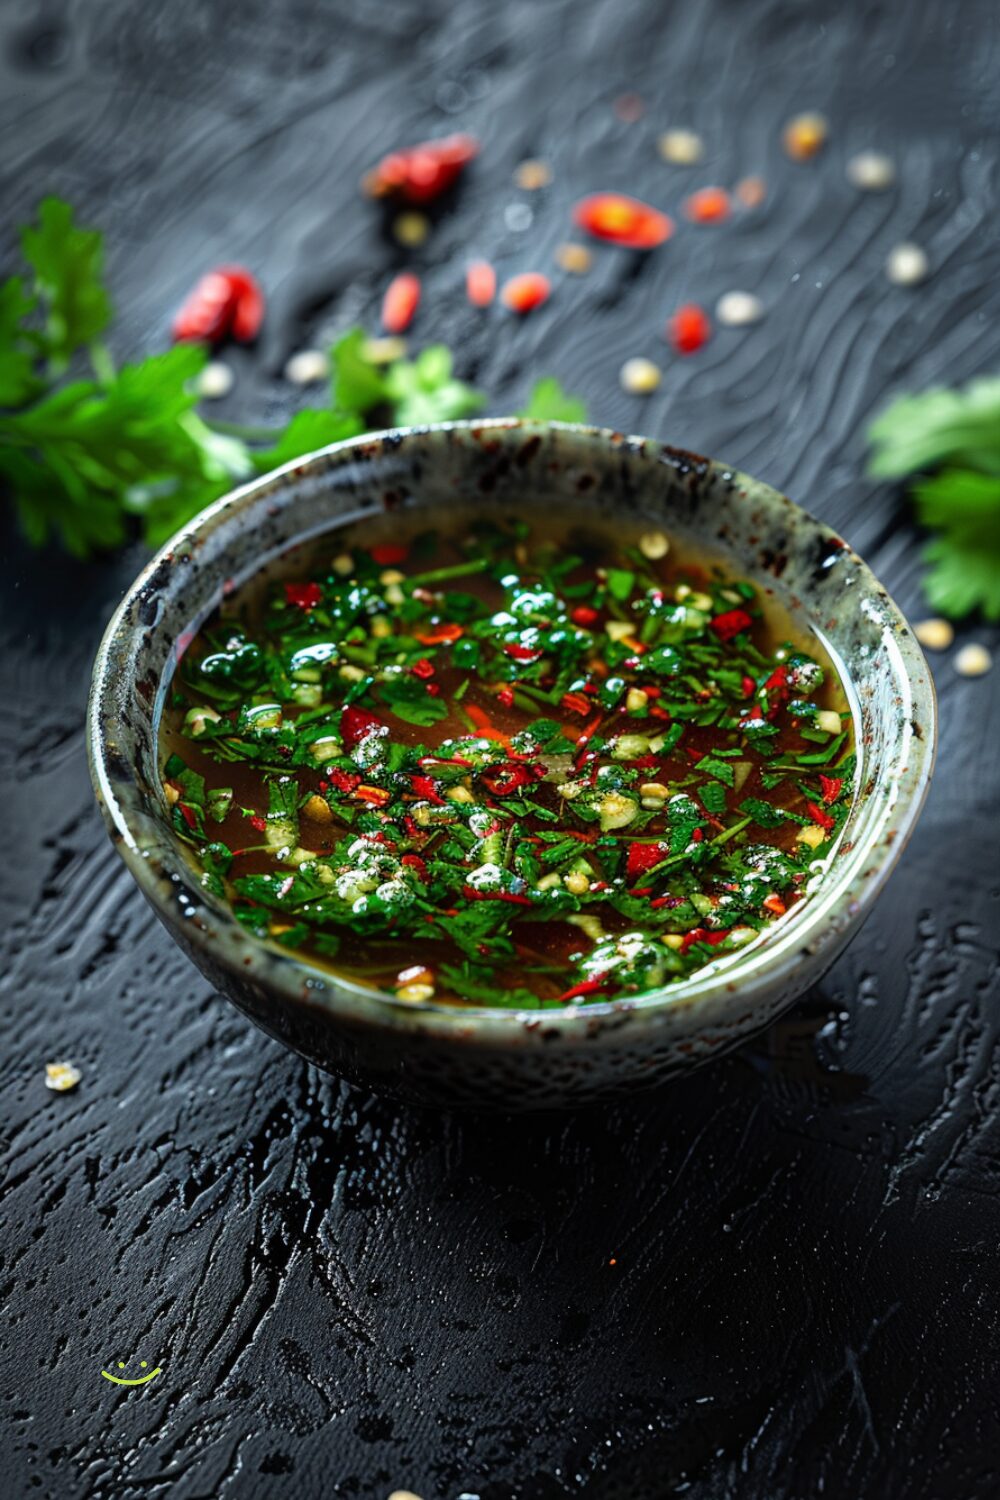
Vietnamese Fish Sauce Dipping Sauce: Nuoc Cham
A classic Vietnamese sweet, sour, and salty dipping sauce made with fish sauce, lime, sugar, garlic, and chilis. Liquid gold! Super easy to make and delicious with grilled meat, rice, noodles, rolls, and more!
When it comes to Vietnamese cuisine, one staple sauce reigns supreme: Nước Chấm. This bright, tangy, and perfectly balanced sauce is a culinary gem, elevating everything it touches with its sweet, sour, and savory notes. It’s the kind of sauce that makes a dish unforgettable.
Nước Chấm is a versatile dipping sauce that complements a wide range of dishes. From fresh spring rolls and grilled meats to noodle bowls and fried rice, this sauce adds a burst of flavor that transforms simple ingredients into a symphony of taste. Made with just a few basic ingredients – fish sauce, lime, sugar, garlic, and chilis – it’s a testament to the power of simplicity in cooking.
Making Nước Chấm is an art form passed down through generations, each family with its unique twist. This particular recipe, inspired by my mother-in-law’s version, strikes a harmonious balance of flavors, creating a sauce that’s both fragrant and addictive.
What is Nước Chấm?
Nước Chấm is a traditional Vietnamese dipping sauce made from fish sauce, lime juice, sugar, garlic, and chilis. It’s known for its complex flavor profile that balances sweet, sour, salty, and spicy elements.
Ingredients
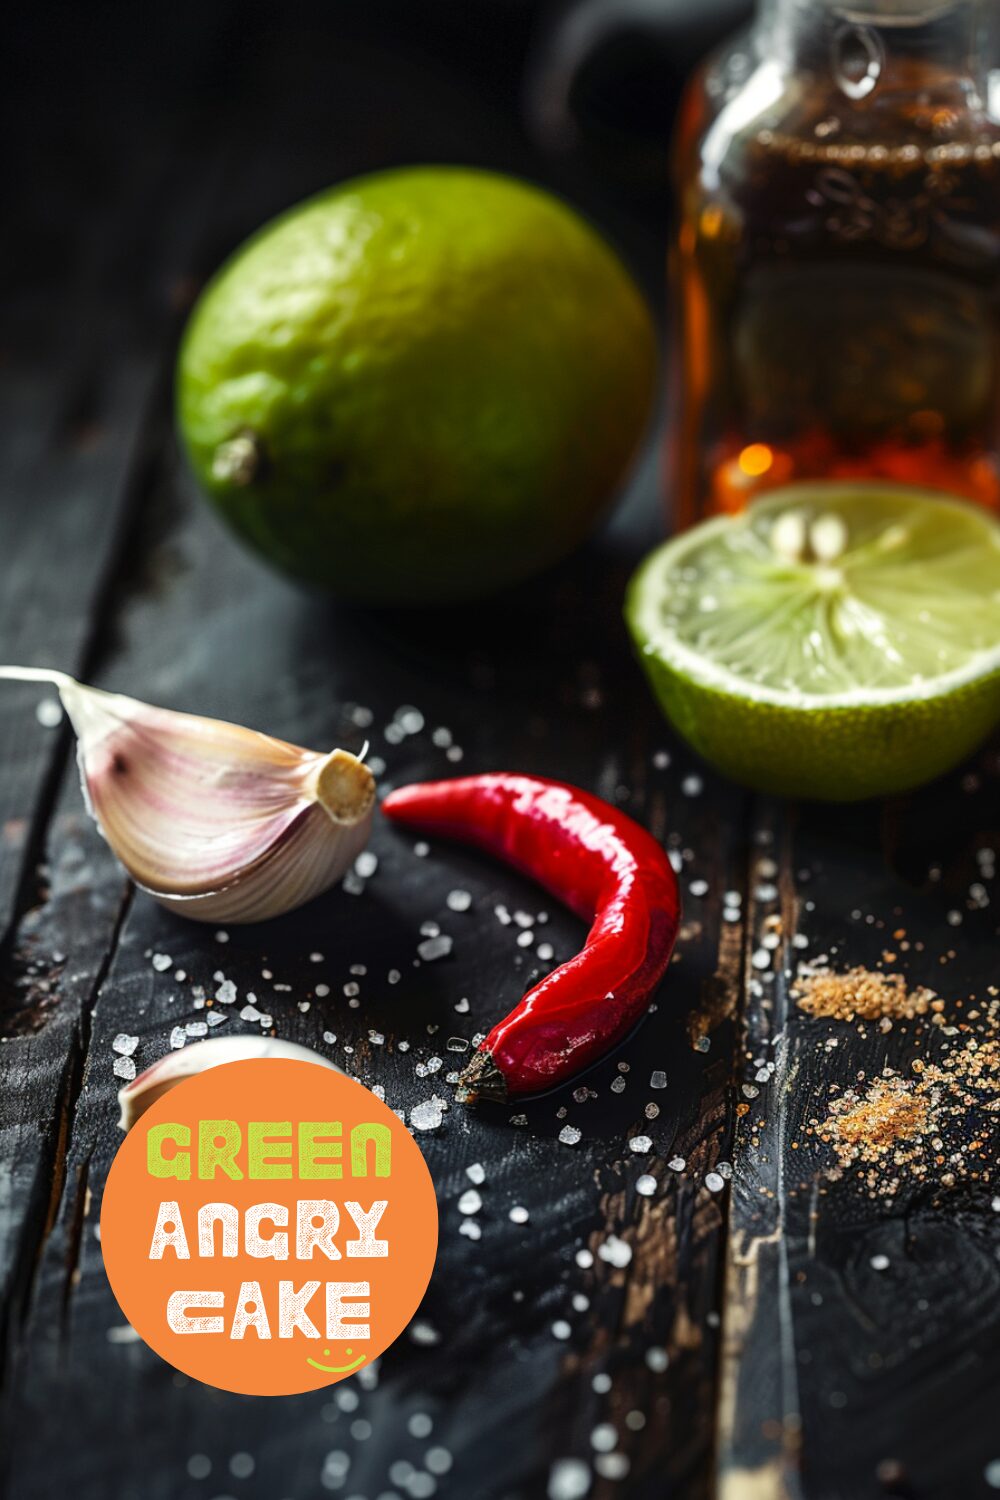
- 1 clove of garlic
- 1 red bird’s eye chili
- 3-4 tablespoons sugar
- 1 1/2 – 1 3/4 cups of water
- Juice of 1/2 lime (or to taste)
- 1/4 cup fish sauce
How to make Fish Dipping Sauce: Nuoc Cham
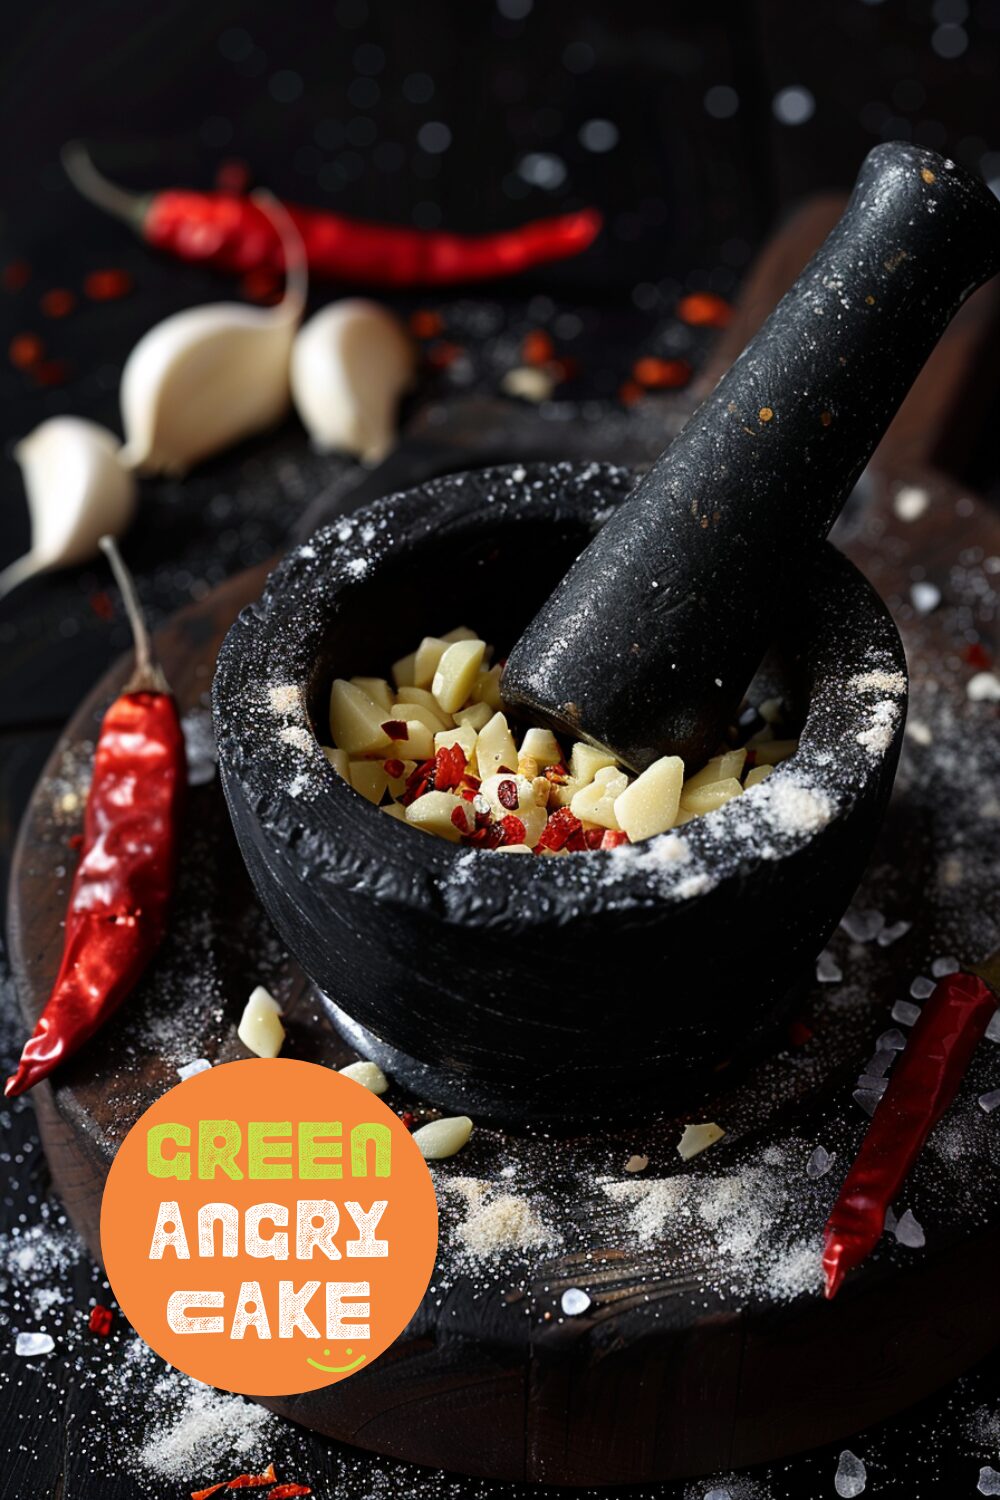
- Crush Aromatics: In a mortar and pestle, crush the garlic, chili, and sugar together until the garlic and chili are broken down into tiny pieces and the sugar becomes fragrant. Alternatively, mince the garlic and slice the chilis finely and stir into the sugar.
- Dissolve and Mix: Transfer the sugar, garlic, and chili mixture to a bowl. Add the water and stir until the sugar dissolves completely. Squeeze in the lime juice and mix well.
- Add Fish Sauce: Stir in the fish sauce gradually, tasting as you go until you achieve a perfect light amber color and balanced flavor.
- Rest and Serve: For best results, let the sauce sit in the fridge for a day to allow the flavors to meld. However, it can be used immediately if needed.
Helpful Hints
- Adjust to Taste: Feel free to adjust the proportions of sugar, lime, and fish sauce to suit your taste preferences. This recipe leans towards the sweeter side, but you can easily tweak it to make it more tangy or savory.
- Consistency: If you prefer a thicker sauce, reduce the amount of water used.
- Storage: Store the sauce in an airtight container in the refrigerator. It will keep well for up to a week.
-
Smoky and Savory Green Chile Sauce
In New Mexico, they ask, “red, green, or Christmas?” It’s a choice between red chile, green chile, or both. This green chile sauce, smoky and savory, is a beloved staple, perfect for smothering your favorite dishes. Imagine a sauce that’s rich with the flavor of roasted chiles, blended with onions and garlic, simmered to perfection. It’s not just a sauce; it’s a taste of New Mexican tradition.
Green chile sauce is more than a condiment—it’s a versatile ingredient that adds a burst of flavor to everything it touches. Whether it’s draped over enchiladas, spooned onto burgers, or mixed into chilaquiles, this sauce brings a smoky, slightly spicy kick that elevates any dish.
Making green chile sauce at home is simple and rewarding. The process of roasting the chiles, peeling them, and simmering them with aromatics fills your kitchen with a tantalizing aroma. The result is a thick, glossy sauce that you’ll want to pour over everything. Once you make it, you’ll understand why it’s a cornerstone of New Mexican cuisine.
What is Green Chile Sauce?
Green chile sauce is a rich, flavorful sauce made from roasted green chile peppers, onions, garlic, and chicken stock. It’s a staple in New Mexican cooking, known for its smoky, slightly spicy flavor.
Ingredients
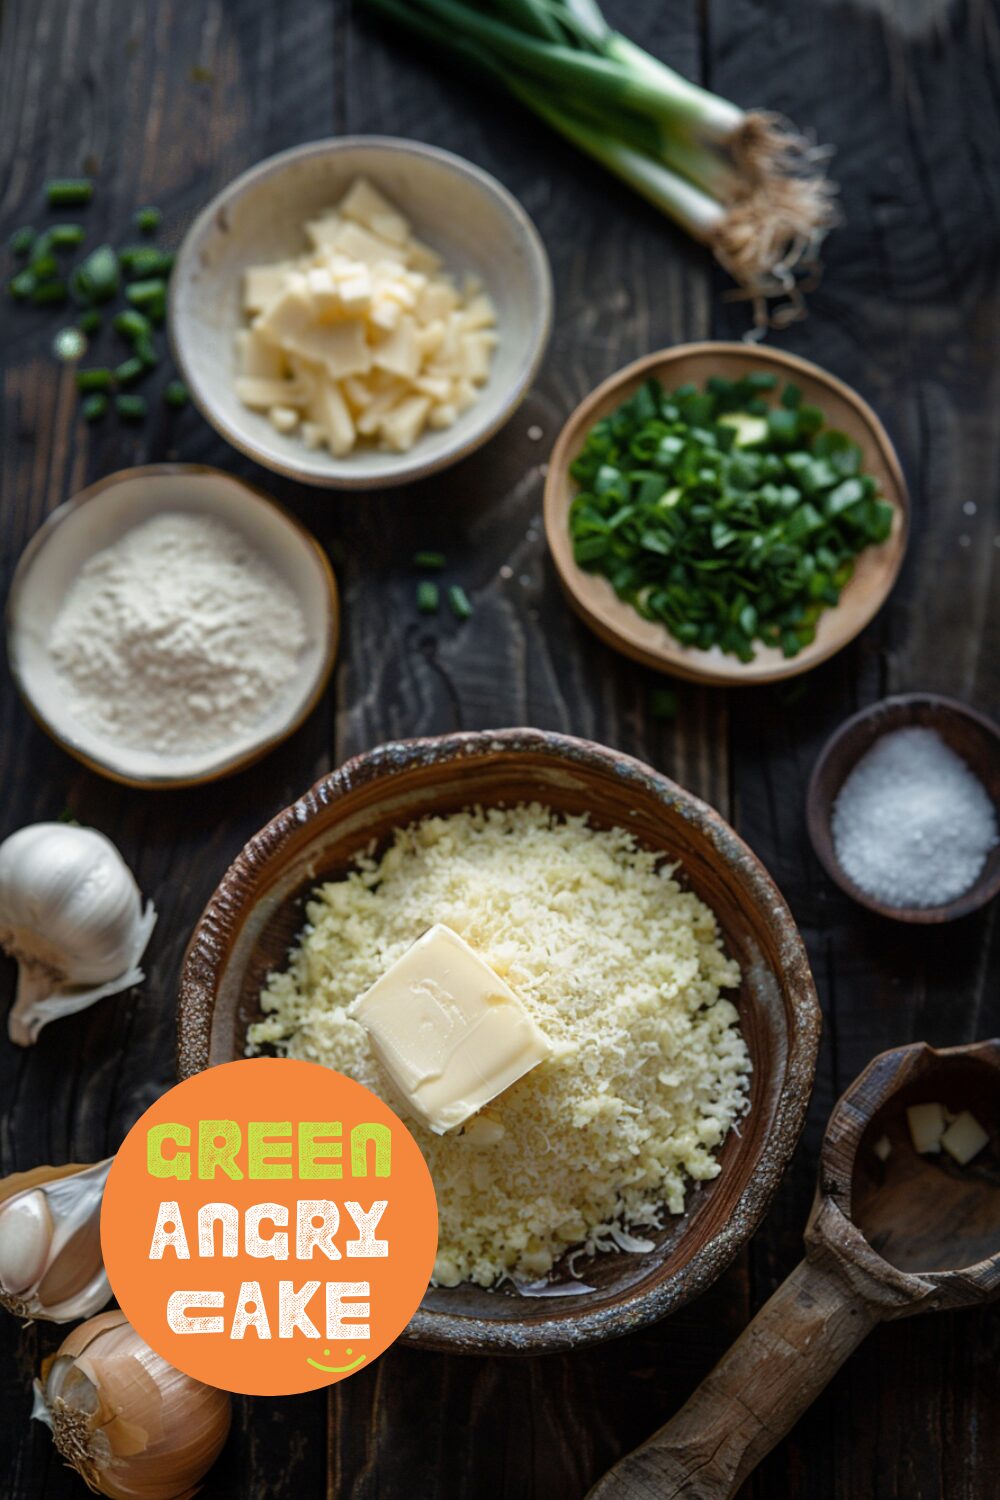
- 2 tbsp butter
- 1 medium onion, finely diced
- 3 cloves garlic, minced
- 1 tbsp all-purpose flour
- 1.5 cups green chile, roasted and chopped
- 2 cups chicken stock (low sodium recommended)
Hot to make Smoky and Savory Green Chile Sauce
- Roast the Chiles: Start by roasting your green chiles until they are blistered and charred. Place them in a heatproof container to sweat, then peel off the skins. Remove the stems and seeds, then chop the chiles.
- Sauté Aromatics: In a saucepan, melt the butter over medium heat. Add the onion and garlic and cook until they are soft and fragrant, about 5 minutes.
- Add Flour and Chiles: Stir in the flour and cook for another 1-2 minutes. Add the chopped chiles and mix well.
- Simmer: Gradually add the chicken stock while stirring. Bring the mixture to a simmer and cook for about 15 minutes, until the sauce thickens. Season with salt and pepper to taste.
- Serve: Use the sauce to smother enchiladas, burgers, or any dish that could use a smoky, savory kick.

Helpful Hints
- Roasting Tips: Roast your chiles until the skins are thoroughly blistered. This enhances the smoky flavor and makes peeling easier.
- Storage: Green chile sauce can be stored in the refrigerator for up to a week or frozen for up to three months.
- Versatility: This sauce pairs well with a variety of dishes, from enchiladas to burgers, adding a unique flavor profile.
-
Creamy Sour Cream Sauce
Sour cream sauce adds delicious tart creaminess to chicken, fish, potatoes, and more. This sauce is a quick, simple, and delightful addition to any meal.
Imagine the tangy, creamy richness of sour cream, enhanced with just the right touch of garlic and onion. It’s the kind of sauce that elevates your dishes, adding depth and flavor. Drizzle it over tacos, dip your nachos, or spoon it onto baked potatoes. It’s a versatile, no-fuss solution for transforming the ordinary into the extraordinary.
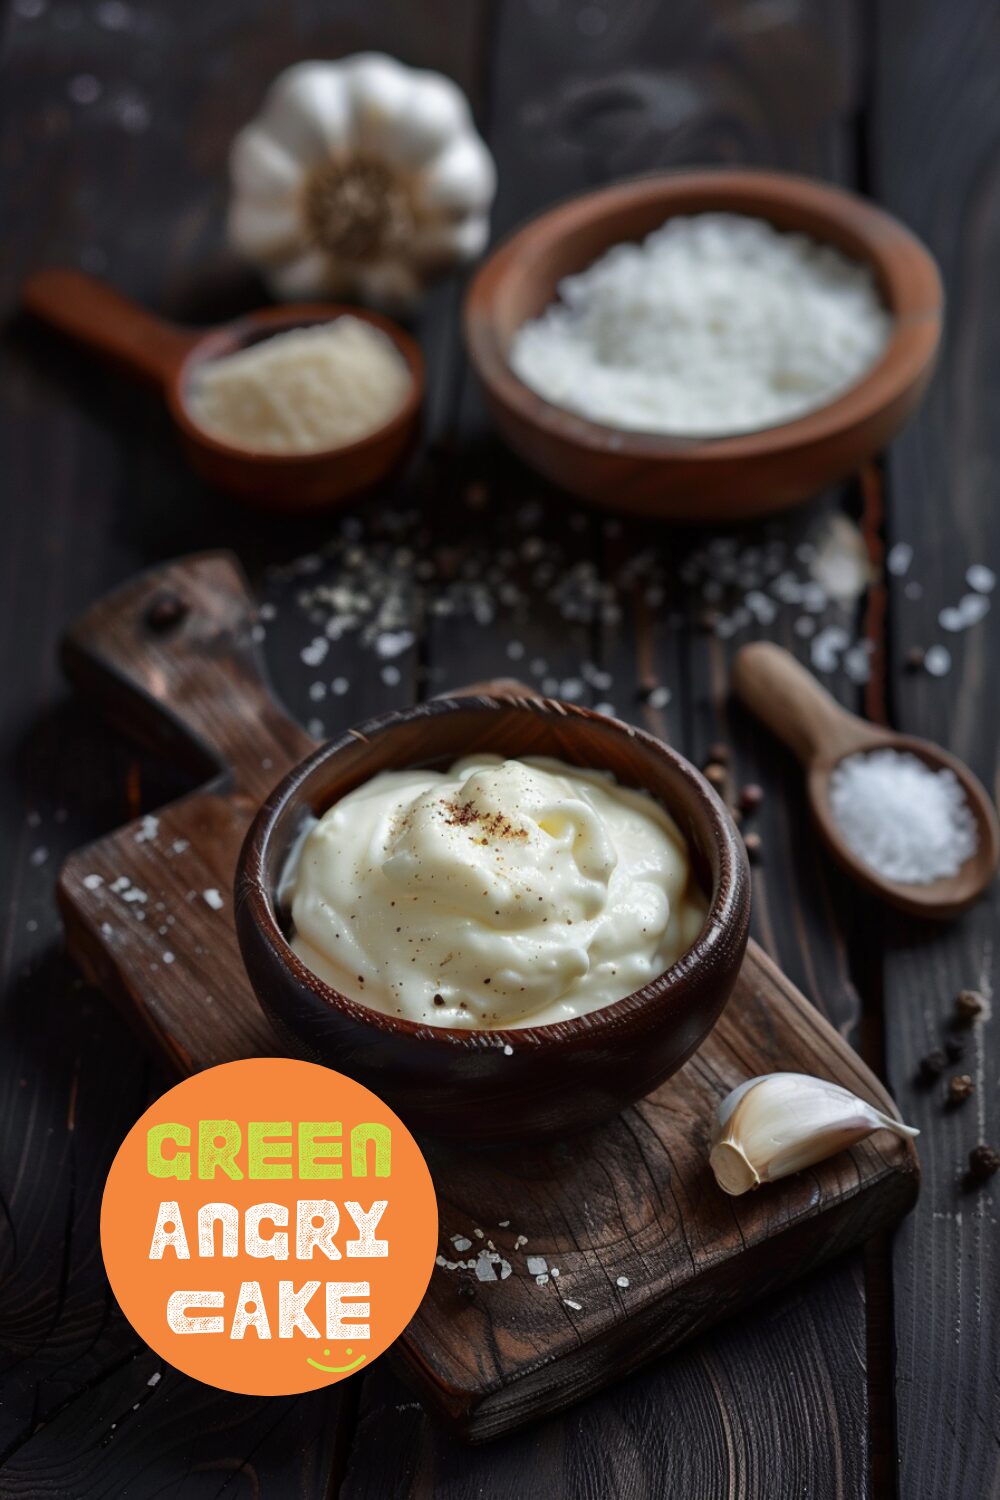
Ingredients
- 1 cup sour cream
- 2 tbsp milk of choice, whole milk preferred
- 1/4 tsp onion powder
- 1/4 tsp garlic powder
How to make Creamy Sour Cream Sauce
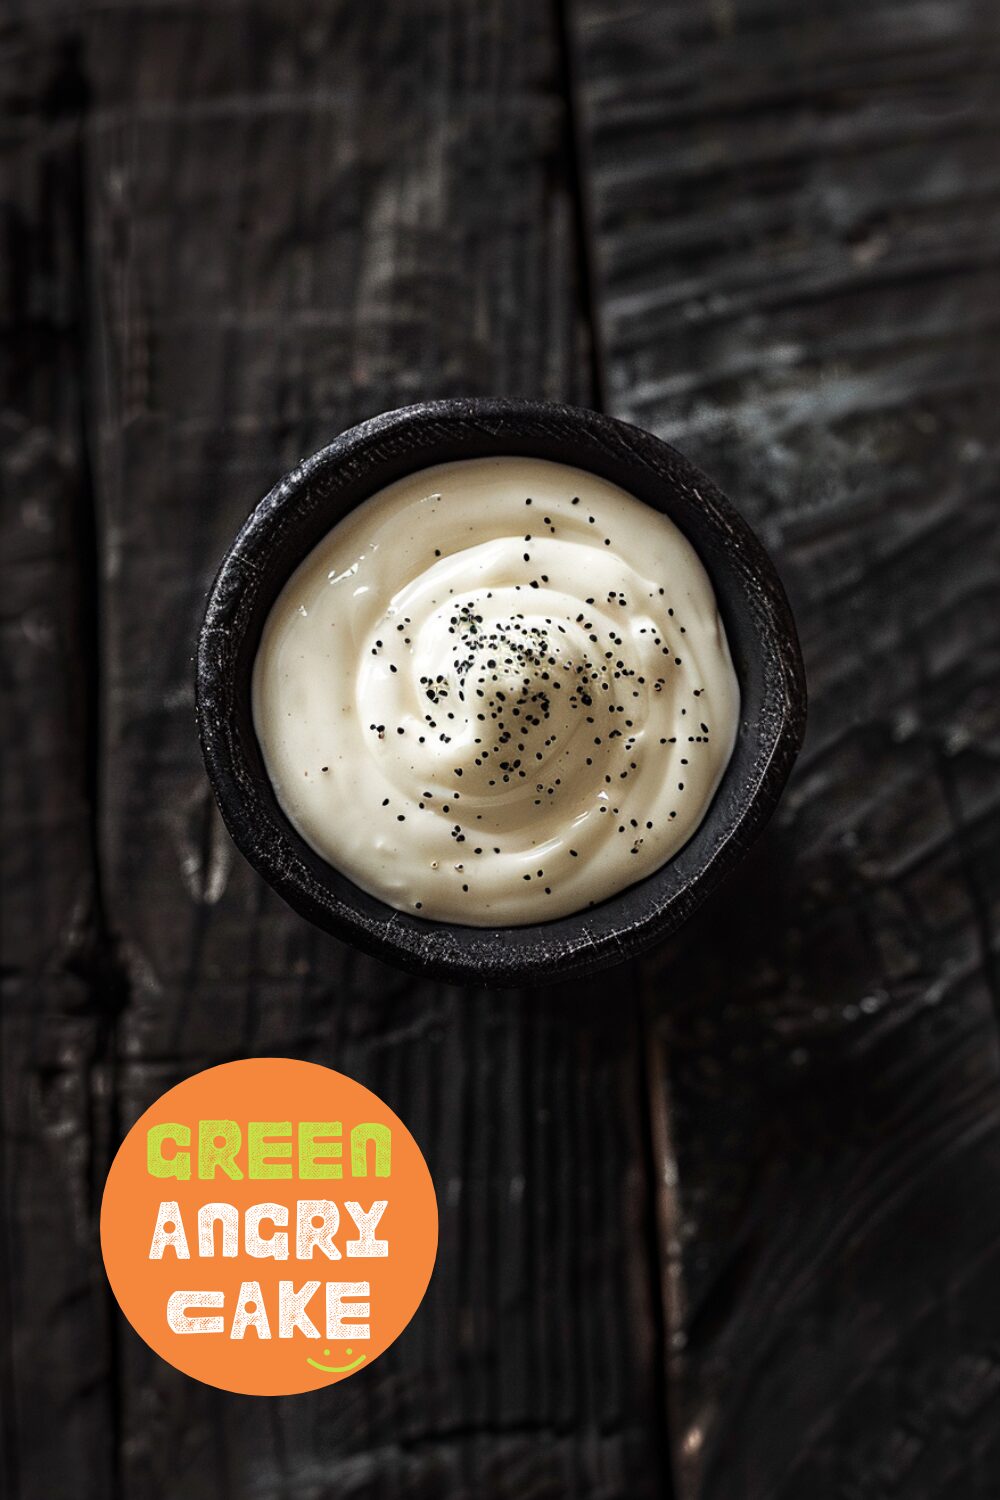
- In a bowl, stir together the sour cream, milk, onion powder, and garlic powder.
- Taste and season with salt and freshly ground pepper to taste.
- If you need your sauce to be looser, stir in more milk, 1 tsp at a time, until the desired consistency.
Notes
- Sauce will keep in the fridge, covered, for up to 1 week.
Helpful Hints
- If you want a bit of extra tanginess, add a squeeze of fresh lemon or lime juice.
- Thinly sliced green onions or chives can add a classic sour cream and onion flavor.
- Use as a topping for paprika chicken, wings, salmon, steak, tacos, chili, tostadas, baked potatoes, beef tenderloin, chilaquiles, lasagna soup, enchiladas, tortilla soup, and even pasta.
-
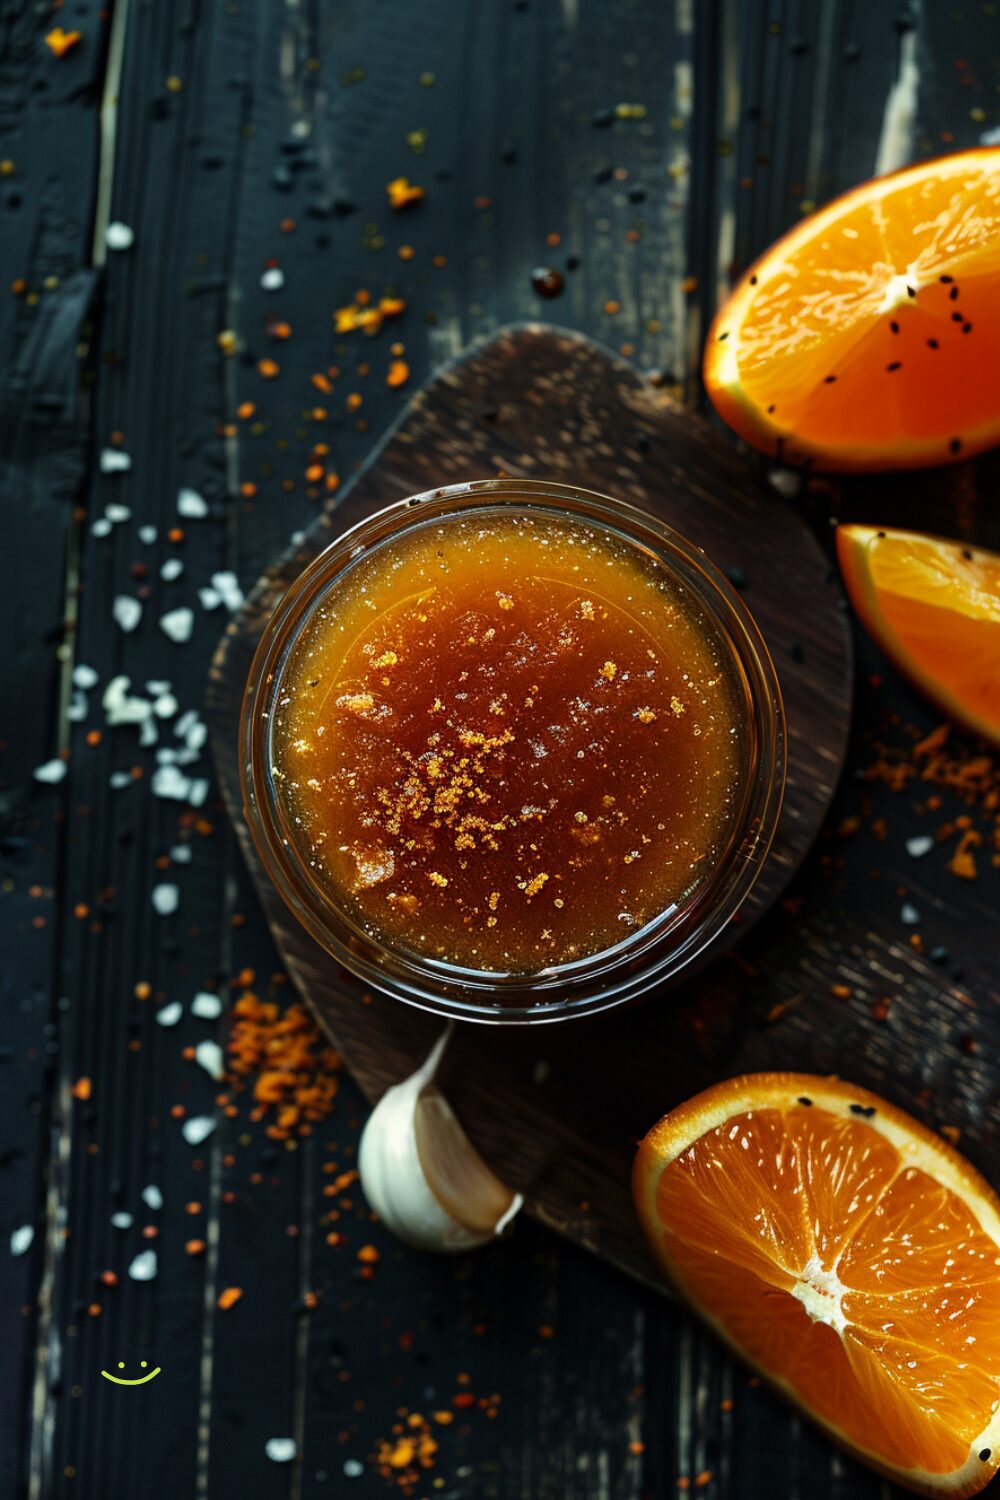
Tangy Orange Glaze
Tangy Orange Glaze is a delightful blend of sweet, tangy, and irresistible flavors. Made with fresh orange juice, orange zest, soy sauce, vinegar, brown sugar, and garlic, this sauce is a versatile addition to any kitchen. You’ll want to drizzle or dip everything in it. Trust me when I say that Tangy Orange Glaze is a game-changer. Its sweet-tanginess pairs perfectly with chicken, beef, pork, fish, and vegetables. Heck, it even tastes good on its own.
What is Tangy Orange Glaze?
Tangy Orange Glaze is a thick and glossy sauce typically used in American Chinese cuisine to coat bite-sized pieces of crispy chicken, shrimp, pork, beef, or vegetables.
What does it taste like?
It’s sweet and tangy, with a shiny, orange hue. It resembles sweet and sour sauce but with a more pronounced orange flavor. If you’ve ever had Panda Express orange chicken, you know just how delicious this sauce is.
What is Tangy Orange Glaze made of?
The glaze is made from fresh orange juice and simple pantry ingredients: soy sauce, rice vinegar, brown sugar, garlic powder, ginger powder, and cornstarch.
How to make Tangy Orange Glaze
Forget buying bottled sauce at the store; making this glaze at home is incredibly easy. All you need to do is:
- Add orange juice, soy sauce, rice vinegar, sugar, garlic, and ginger powder to a small saucepan. Bring it to a simmer, whisking occasionally, over medium-high heat until the sugar dissolves.
- While the sugar dissolves, whisk 1 tbsp cornstarch with 1 tbsp water. Add the cornstarch slurry to the sauce and bring everything up to a simmer, whisking occasionally, until the sauce heats, bubbles, thickens, and turns glossy.
That’s it! Remove the pan from the heat, and you’re ready to glaze your favorite protein.
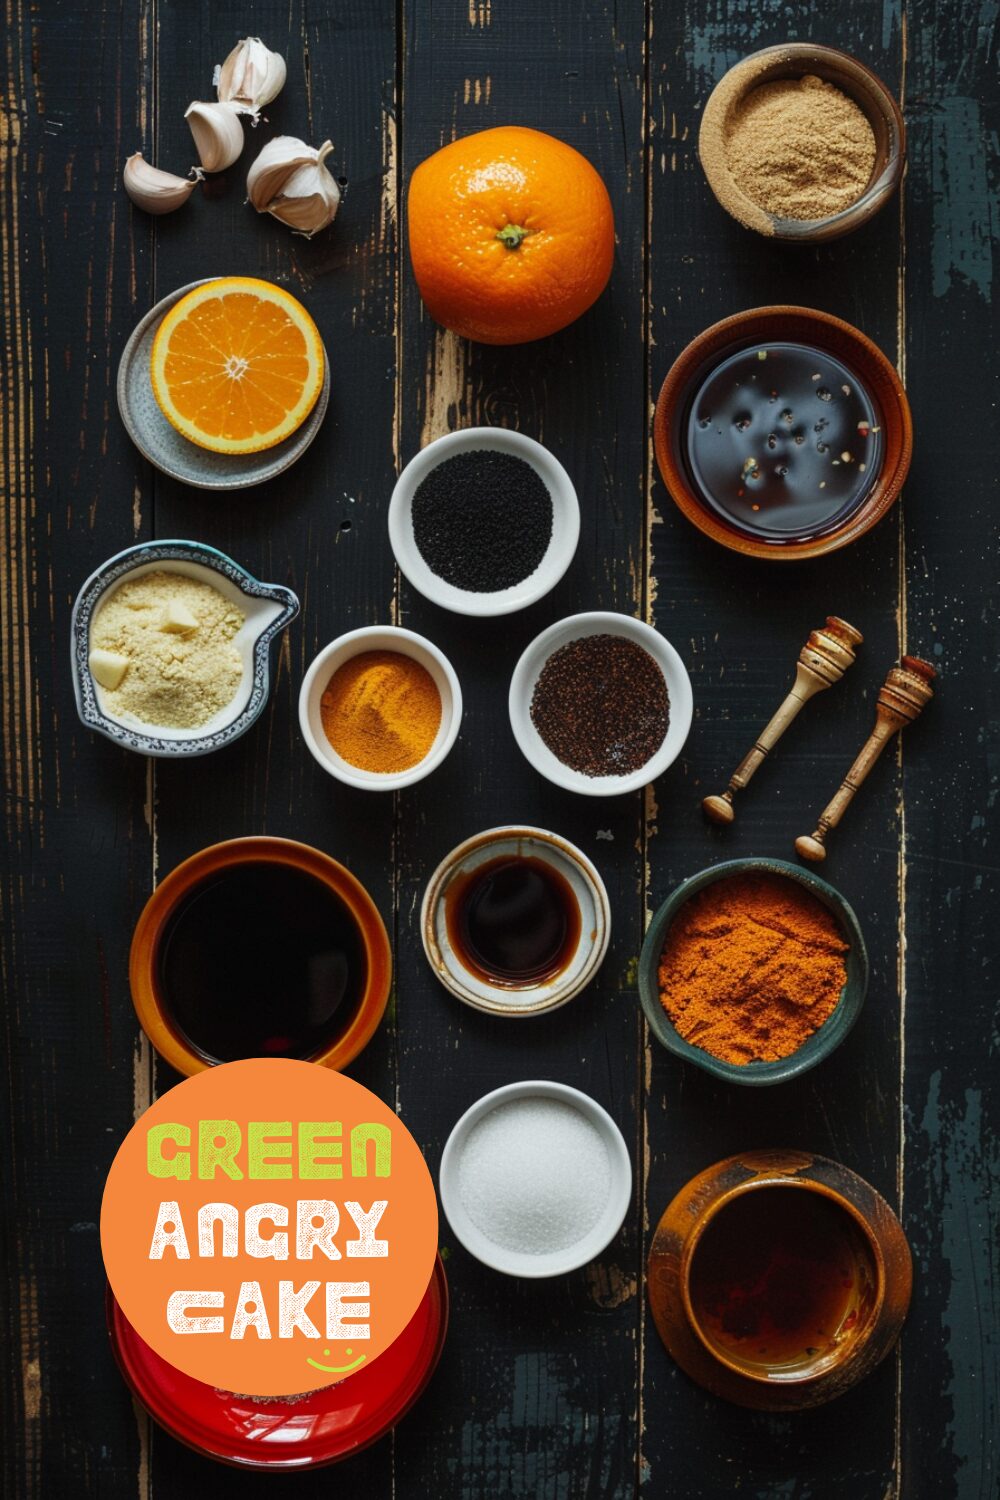
Ingredients
- 1 large orange, zest and juice (about 1/2 cup juice)
- 1/4 cup sugar or brown sugar
- 2 tbsp soy sauce
- 2 tbsp rice vinegar
- 1 tsp garlic powder
- 1 tsp ground ginger
- 1 tbsp cornstarch
How to make a Tangy Orange Glaze
- Add the orange juice, zest, brown sugar, soy sauce, rice vinegar, garlic powder, and ginger powder to a small saucepan. Whisk over medium-low heat until the sugar dissolves and the sauce starts to bubble.
- Whisk the tbsp of cornstarch with 1 tbsp water, then whisk it into the sauce. Bring the sauce up to medium heat, whisking occasionally, until it starts to bubble, thicken, and turn glossy.
- Remove from the heat and enjoy immediately on your desired dish.

Helpful Hints
For super easy orange chicken, grab a bag of frozen nuggets from the store, bake or air fry them, and toss them in this sauce. OR, simply cut up boneless, skinless chicken thighs into 1-inch pieces, season with salt and pepper, toss in cornstarch, and pan-fry in hot oil until crispy and cooked through. Toss in the sauce, and boom: orange chicken.
-
Golden Cheddar Scallion Biscuits
There’s something magical about the aroma of freshly baked biscuits. These golden cheddar scallion biscuits rise high and flake perfectly, embodying comfort in every bite. The richness of cheddar mingles with the subtle sharpness of scallions, creating a biscuit that’s both savory and satisfying.
Imagine pulling a tray of these biscuits from the oven, their golden tops gleaming with a buttery sheen. The crisp, flaky exterior gives way to a tender, melt-in-your-mouth center. They’re perfect for any meal, whether accompanying a hearty stew or simply enjoyed on their own with a pat of butter.
Making these biscuits is a joy, a simple yet rewarding task. The ingredients come together effortlessly, creating a dough that transforms into layers of buttery perfection. Each biscuit is a testament to the beauty of homemade comfort food, offering a taste of warmth and care with every bite.
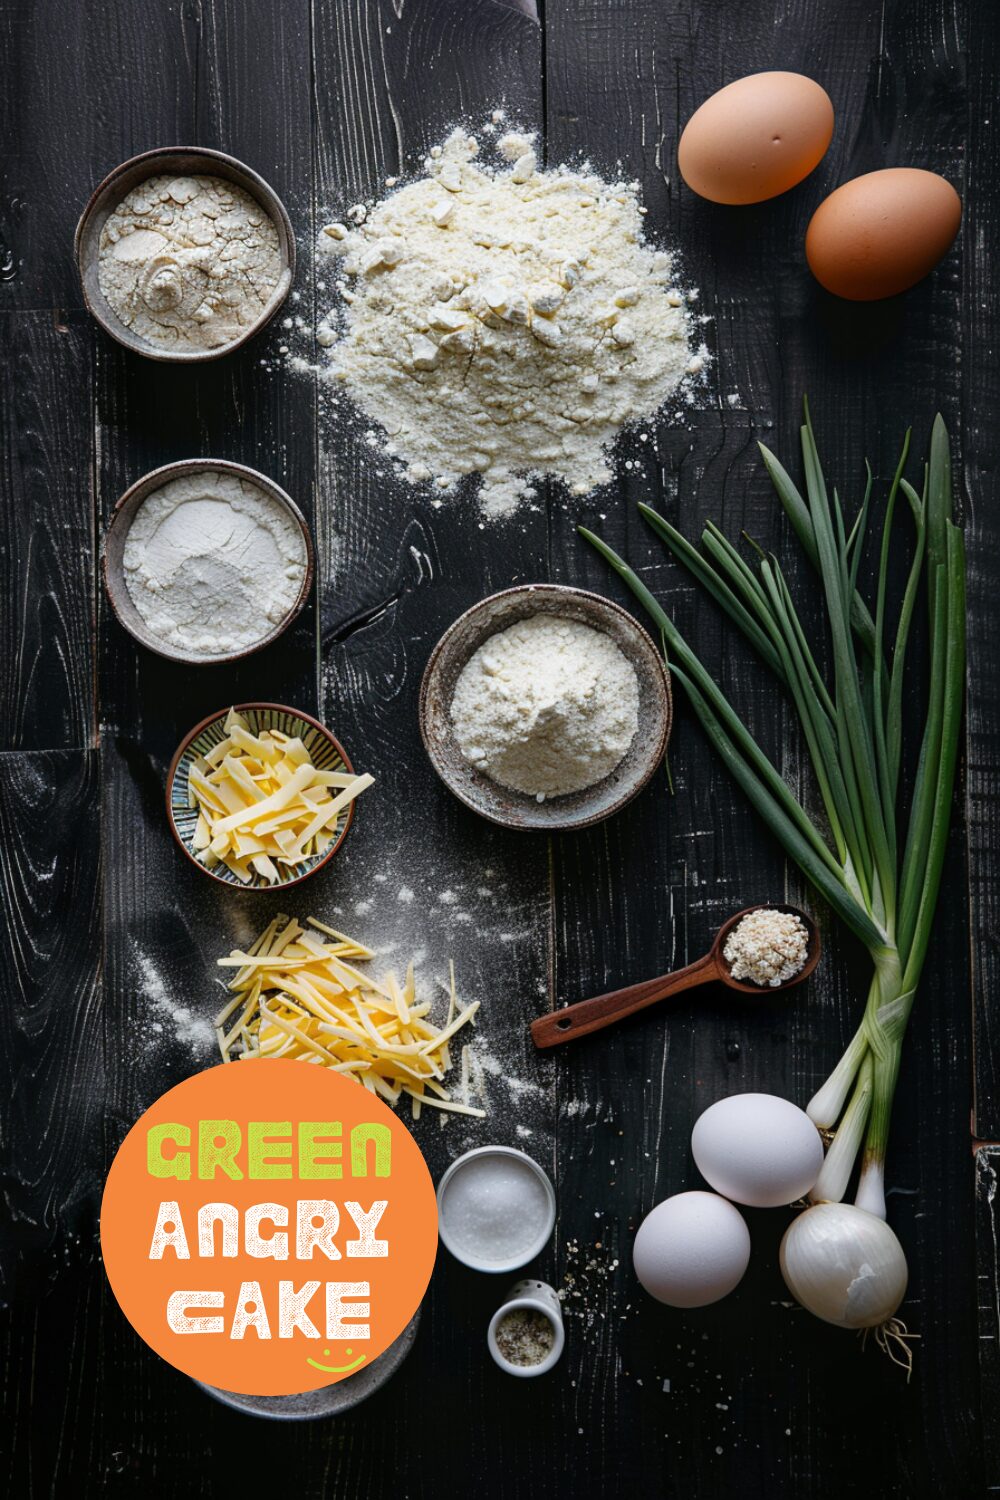
Ingredients
- 2 cups all-purpose flour, plus more for dusting
- 1 tablespoon baking powder
- 1/4 teaspoon baking soda
- 1 teaspoon salt
- 1/4 teaspoon garlic powder
- 6 tablespoons unsalted butter, very cold
- 1 cup shredded cheddar cheese
- 1/3 cup thinly sliced scallions
- 1 cup buttermilk
- 1 large egg, whisked with a splash of water, for egg wash
How to make Perfectly Flaky Cheddar Scallion Biscuits
- Preheat the oven to 425°F (220°C).
- In a large bowl, whisk together the flour, baking powder, baking soda, salt, and garlic powder.
- Grate the cold butter into the flour mixture using the largest holes on a box grater. Toss the butter shreds with the flour until they are well-coated.
- Stir in the shredded cheddar and sliced scallions.
- Pour the buttermilk into the flour mixture and use a silicone spatula or wooden spoon to stir until a dough just forms.
- Turn the dough onto a well-floured surface and gently pat it into a 1/2-inch thick rectangle. Fold the bottom third up and the top third down over the bottom third, as if folding a letter.
- Gently pat the dough down to 1/2-inch thick again and repeat the folding process two more times, making sure the final dough is about 1 inch thick.
- Use a floured biscuit cutter to cut out rounds from the dough, being careful not to twist the cutter. Gently pat the scraps together and cut until you’ve used up all the dough.
- Place the rounds, sides gently touching, on a baking sheet. Brush the tops with the egg wash.
- Bake for 13-15 minutes, or until the biscuits are golden brown and risen high. Enjoy warm!

Helpful Hints
- Ensure your butter is very cold before grating to achieve the flakiest biscuits.
- Avoid overworking the dough to keep the biscuits light and tender.
- Brushing the tops with egg wash gives the biscuits a beautiful, golden finish.
-
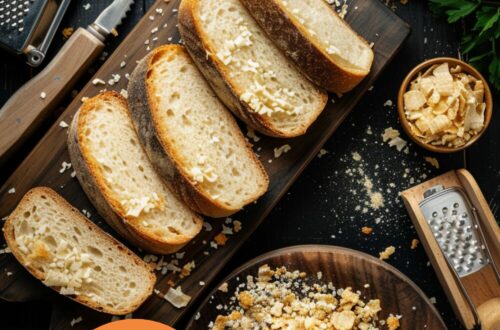
Perfectly Crispy Texas Toast
In Texas, everything is bigger, and the toast is no exception. Thick-cut slices, golden and crisp, with a buttery, garlicky punch. This is Texas toast, pure carb heaven. Simple, yet immensely satisfying. Each bite delivers a crackly crust and a soft, tender center. It’s a celebration of flavor and texture, perfect for any meal.
Imagine sinking your teeth into a piece of Texas toast, fresh off the pan. The garlic butter seeps into the bread, creating a savory symphony. It’s the kind of toast that makes you appreciate the small things in life, like the perfect crunch or the way butter melts just right.
Making Texas toast at home is a breeze. No need for store-bought, frozen boxes. With a few basic ingredients and a hot pan, you can whip up this classic treat in minutes. It’s the ideal companion for barbecue, soups, or even as a stand-alone snack. Simple, straightforward, and utterly delicious.
Ingredients
- 1 tbsp butter, melted
- 1 tbsp oil
- 1 clove garlic, minced or 1 tsp garlic powder
- 1/2 tsp dried parsley
- Salt and freshly ground pepper, to taste
- 4 slices of thick cut bread
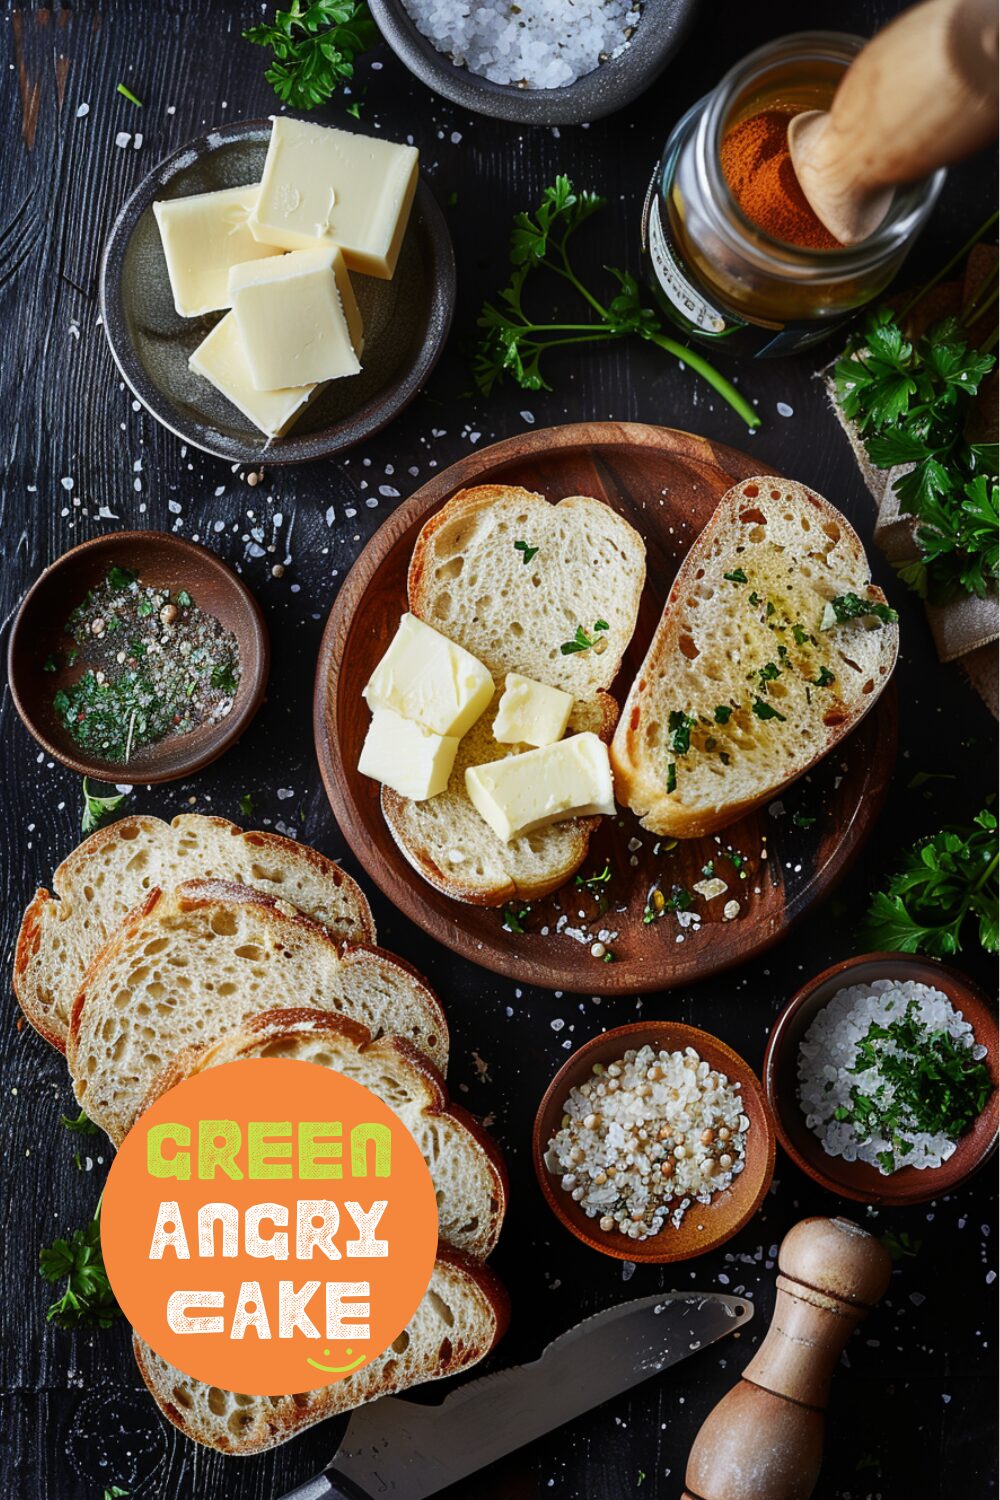
How to make Perfectly Crispy Texas Toast
- Make garlic butter. In a small bowl, mix together the melted butter, oil, garlic, parsley, salt, and pepper.
- Brush the butter. Brush both sides of each slice of bread with the garlic butter mixture.
- Grill. Heat a frying pan over medium heat. Grill the bread until toasty and golden, flipping once. Repeat as needed and enjoy hot!

Helpful Hints
- Mix it up: Add fresh herbs, onion powder, or crushed red chili flakes to the garlic butter for a twist.
- Cheesy delight: Sprinkle shredded cheese on the toast in the pan for a crunchy, cheesy layer.
- Perfect Pairing: Serve with chili, soups, stews, or as a breakfast side.
