-
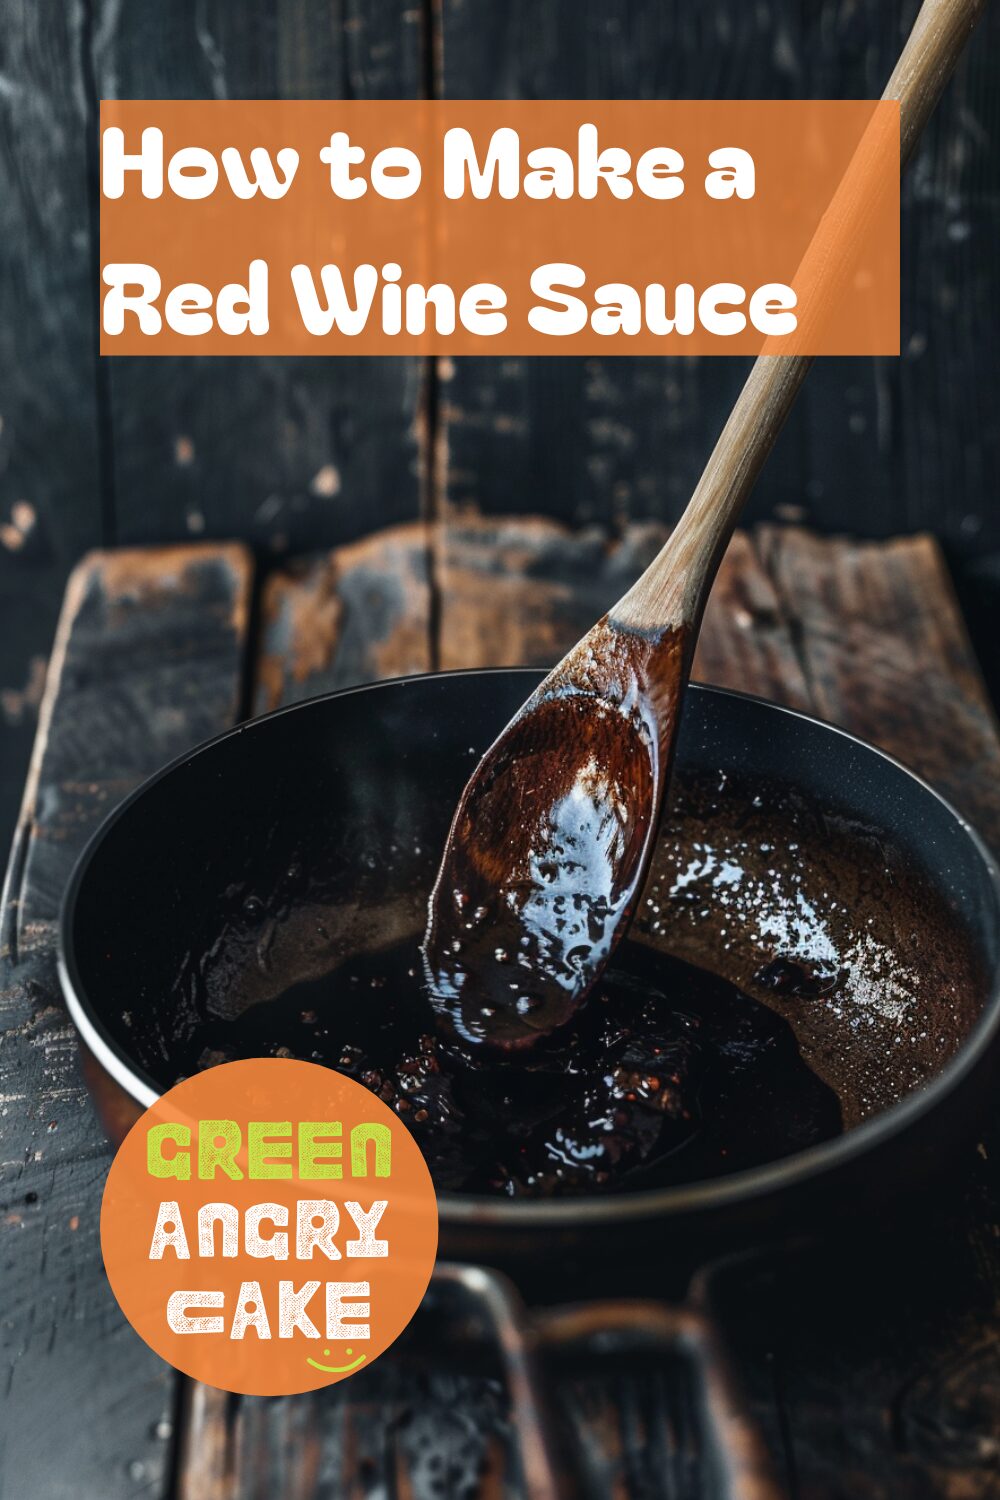
How to Make a Red Wine Sauce
Enhance your sauce preparation skills with our guide on red wine sauce making techniques. Learn how to make a red wine sauce perfectly using simple steps. Our step-by-step instructions ensure you get the most out of your ingredients, making your red wine sauce rich and flavorful every time.
Equipment Needed:
- Chopping board
- Knife
- Two sauté pans
- Sieve
Step-by-Step Instructions for Red Wine Sauce Making Techniques:
- Prepare the Onion:
- Slice half an onion and brown the slices in a large sauté pan. Leave them for 4-5 minutes until the bottom side is blackened.
- Add Red Wine:
- Add the red wine and cook on high heat to evaporate the alcohol.
- Add Vinegar and Stock:
- Add balsamic vinegar followed by the beef stock. Leave it on a rapid boil until the volume of liquid has reduced by about 75%, which should take about 10 minutes.
- Strain the Sauce:
- Pass the mixture through a sieve into a clean pan.
- Adjust Flavor and Thicken:
- Add a pinch of sugar to offset the bitterness. Then add a knob of butter, which will thicken the sauce and give it a lovely shine.
Making a red wine sauce is a simple yet essential technique in culinary arts. Therefore, knowing how to make a red wine sauce properly is crucial to achieving the perfect flavor and consistency. With these red wine sauce making techniques, you can easily prepare a delicious sauce to complement various dishes.
Helpful Hint:
- For an extra depth of flavor, you can add a sprig of thyme or rosemary while the sauce is reducing.
Alternative Uses for Red Wine Sauce:
- Steak Sauce: Serve over grilled or pan-seared steaks.
- Roast Accompaniment: Pour over roasted meats like beef or lamb.
- Vegetable Drizzle: Drizzle over roasted or grilled vegetables for added flavor.
-
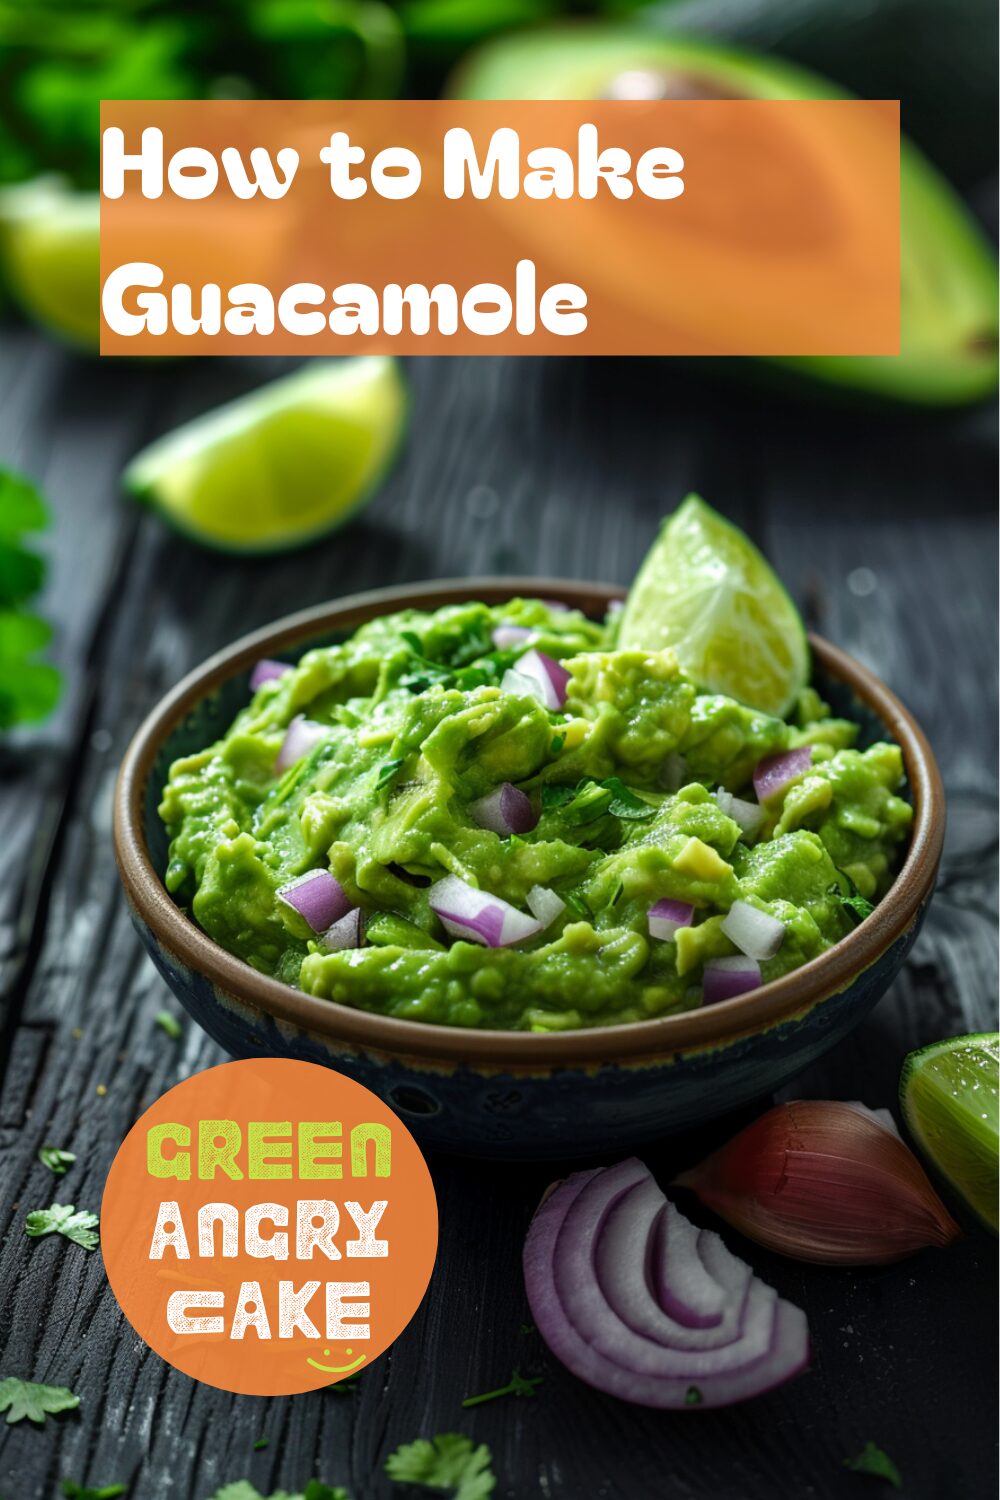
How to Make Guacamole
Enhance your dip preparation skills with our guide on guacamole making techniques. Learn how to make guacamole perfectly using simple steps. Our step-by-step instructions ensure you get the most out of your ripe avocados, making your guacamole fresh and flavorful every time.
Equipment Needed:
- Board
- Knife
- Bowl
Step-by-Step Instructions for Guacamole Making Techniques:
- Prepare the Avocados:
- The key is using ripe avocados – not too soft and not too hard.
- Prepare three avocados by de-stoning, removing from the shell, and slicing. Put the slices in a large bowl.
- Mash the Avocados:
- Mash with a fork until almost all the avocado is smooth, leaving a few chunkier pieces for texture.
- Add Onion and Coriander:
- Finely chop half a red onion and a bunch of coriander, stalks and leaves, and add to the bowl.
- Add Lime Juice:
- Squeeze in the juice of 1 lime by hand, placing one hand underneath the lime to catch any pips that fall out.
- Optional Additions:
- You can also add 1 small chopped red chilli or 1 small firm tomato, very finely chopped.
- Season and Serve:
- Season with salt and pepper, mix, and serve with tortilla chips.
Making guacamole is quick and easy. Therefore, knowing how to make guacamole properly is essential to achieve the perfect balance of flavors and texture. With these guacamole making techniques, you can easily prepare a delicious dip for any occasion.
Helpful Hint:
- To prevent the guacamole from browning, cover it with plastic wrap directly on the surface before refrigerating.
Alternative Uses for Guacamole:
- Sandwich Spread: Use guacamole as a spread on sandwiches or wraps.
- Burger Topping: Add guacamole as a topping for burgers.
- Salad Dressing: Mix guacamole with a bit of water or lemon juice for a creamy salad dressing.
-
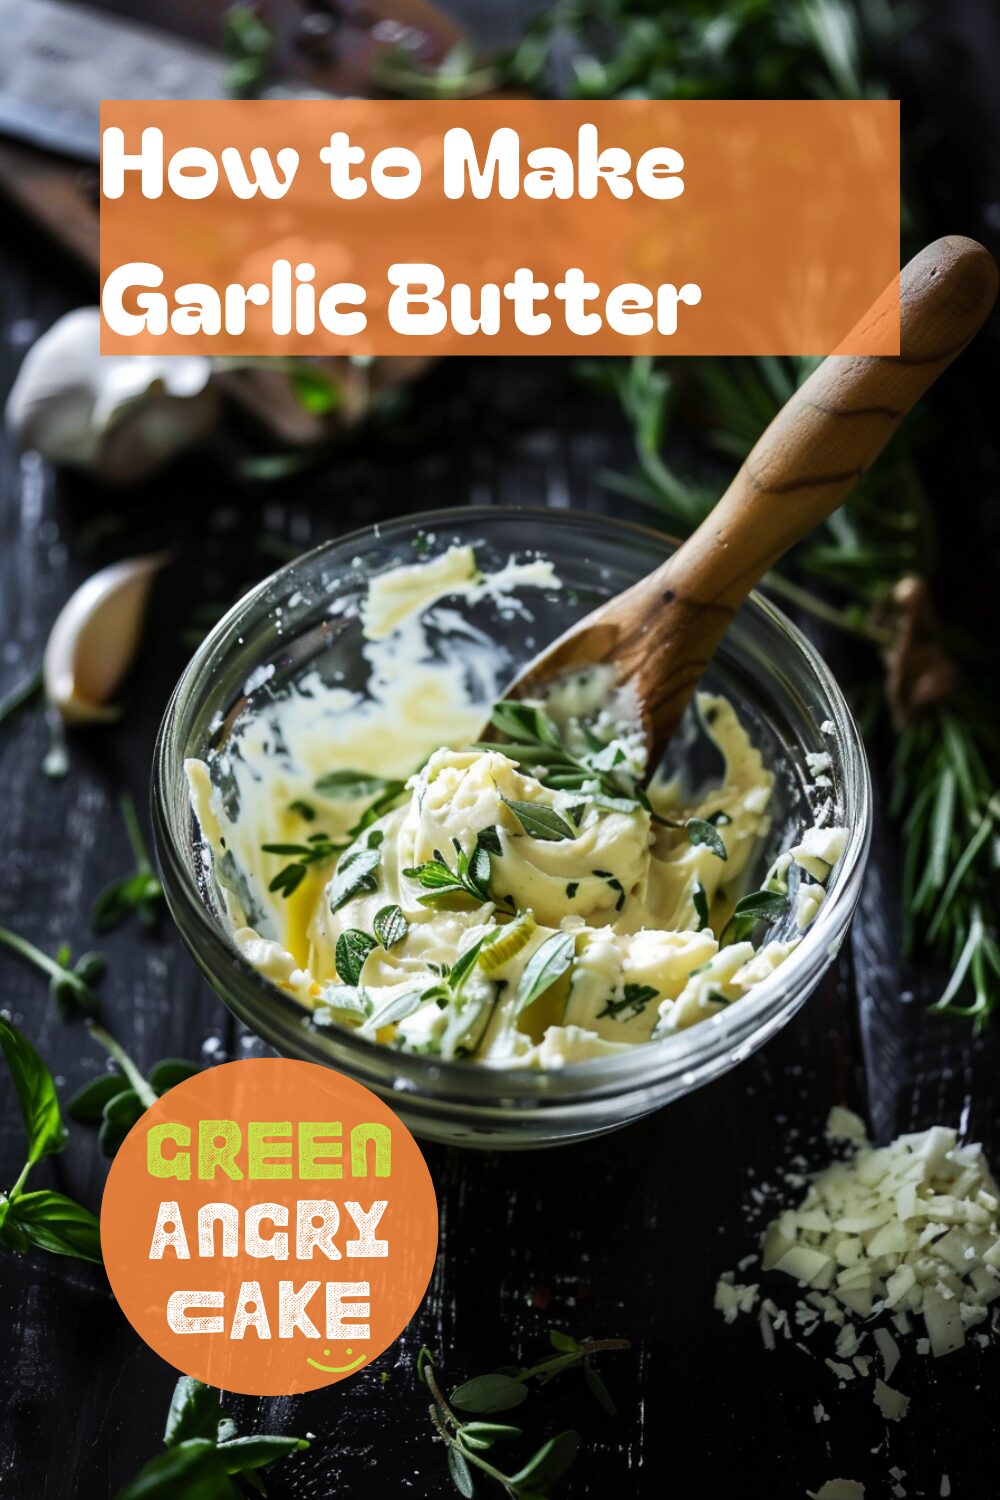
Mastering Garlic Butter – Simple Methods for Delicious Results
Enhance your flavoring skills with our guide on garlic butter making techniques. Learn how to make garlic butter perfectly using simple steps. Our step-by-step instructions ensure you get the most out of your ingredients, making your garlic butter rich and flavorful every time.
How to Make Garlic Butter
Equipment Needed:
- Knife
- Glass bowl
- Wooden spoon
- Cling film
Step-by-Step Instructions for Garlic Butter Making Techniques:
- Soften the Butter:
- Cut the butter into cubes and either microwave it for 30 seconds or leave it in lukewarm water for 2 minutes.
- Beat the Butter:
- Beat the softened butter with a wooden spoon until it is soft and creamy.
- Prepare the Garlic:
- Crush a garlic clove with the flat side of a knife. Add salt and continue to break it down until it forms a paste.
- Combine Ingredients:
- Add the garlic paste and chopped herbs to the butter. Stir until well combined.
- Shape the Butter:
- Spoon the garlic butter onto a laid-out sheet of cling film. Roll it into a sausage shape using the cling film to cover the butter and twist the ends to seal it.
- Refrigerate:
- Pop the rolled butter into the fridge to harden.
- Serve:
- Unwrap and serve with steaks, potatoes, vegetables, or bread.
- Storage Tips:
- The wrapped and sealed butter will store for up to 3 days in the fridge or for up to 1 month in the freezer.
Making garlic butter is quick and easy. Therefore, knowing how to make garlic butter properly is essential to achieve the perfect balance of flavors and texture. With these garlic butter making techniques, you can easily prepare a delicious accompaniment for various dishes.
Helpful Hint:
- For extra flavor, add a pinch of chili flakes or lemon zest to the garlic butter mixture.
Alternative Uses for Garlic Butter:
- Garlic Bread: Spread the garlic butter on slices of bread and toast for a quick and delicious garlic bread.
- Flavoring Vegetables: Melt garlic butter over steamed or roasted vegetables for added flavor.
- Pasta Sauce: Toss garlic butter with hot pasta for a quick and flavorful sauce.
-
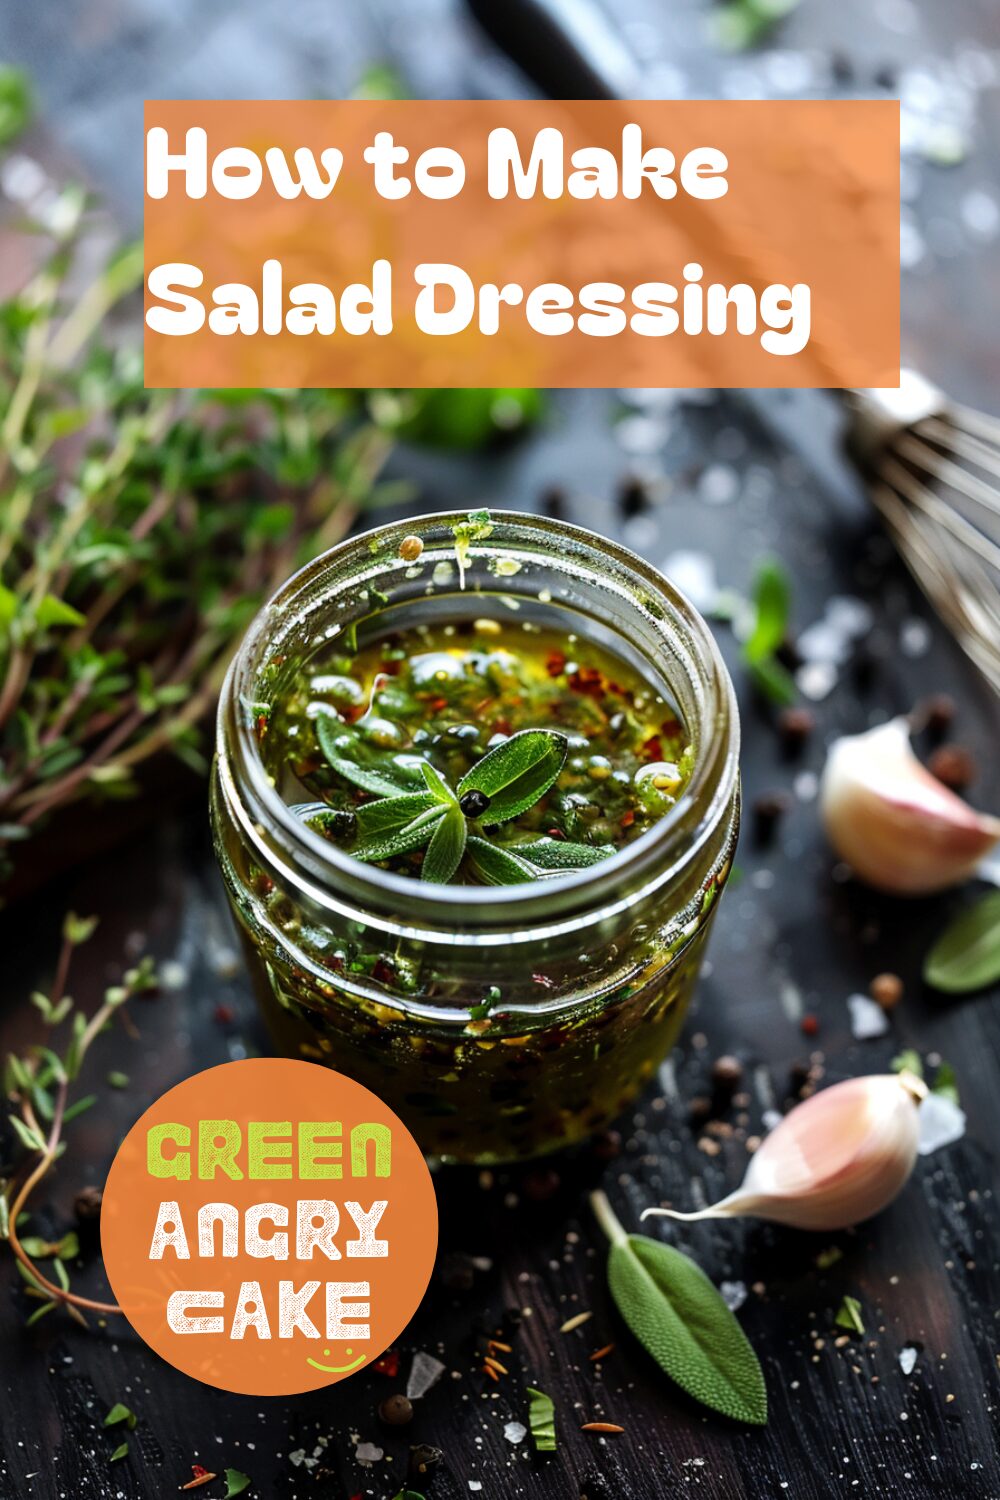
How to Make Salad Dressing
Enhance your salad preparation skills with our guide on salad dressing techniques. Learn how to make a perfect salad dressing using simple steps. Our step-by-step instructions ensure you get the most out of your ingredients, making your salad dressing rich, balanced, and flavorful every time.
Equipment Needed:
- Clean jam jar
- Whisk (optional)
Step-by-Step Instructions for Salad Dressing Making Techniques:
- Understand the Basics: All salad dressings are a combination of oil and vinegar, balanced to add richness and sharpness in the right measures and emulsified to coat the salad leaves evenly. Oil and vinegar mixed together will naturally separate, but some substances will cause them to hold together, or emulsify, for long enough to dress and eat a salad.
- Prepare a Classic Vinaigrette: For a classic French vinaigrette, combine three parts oil with one part vinegar – usually wine vinegar or cider vinegar. Pour into a clean jam jar.
- Add Emulsifiers and Seasoning: Add mustard to help bring it together; plus salt and pepper to taste. Then whisk or close the lid tightly and shake until completely mixed. Taste and adjust any of the ingredients to your liking.
- Create Creamier Dressings: Mayonnaise, double cream, or egg yolk can be used as emulsifiers for creamier dressings. Flavor your dressing with your favorite soft herbs – parsley, mint, chives, or basil – or a little garlic.
Making salad dressing is quick and versatile. Therefore, knowing how to make salad dressing properly is essential to achieve the perfect balance of flavors and texture. With these salad dressing techniques, you can easily prepare a delicious dressing for any salad.
Helpful Hint:
- For a tangier dressing, increase the amount of vinegar or add a squeeze of lemon juice.
Alternative Uses for Salad Dressing:
- Marinade: Use salad dressing as a marinade for meats or vegetables before grilling or roasting.
- Dipping Sauce: Serve as a dipping sauce for fresh vegetables or bread.
- Sandwich Spread: Spread on sandwiches or wraps for added flavor.
-
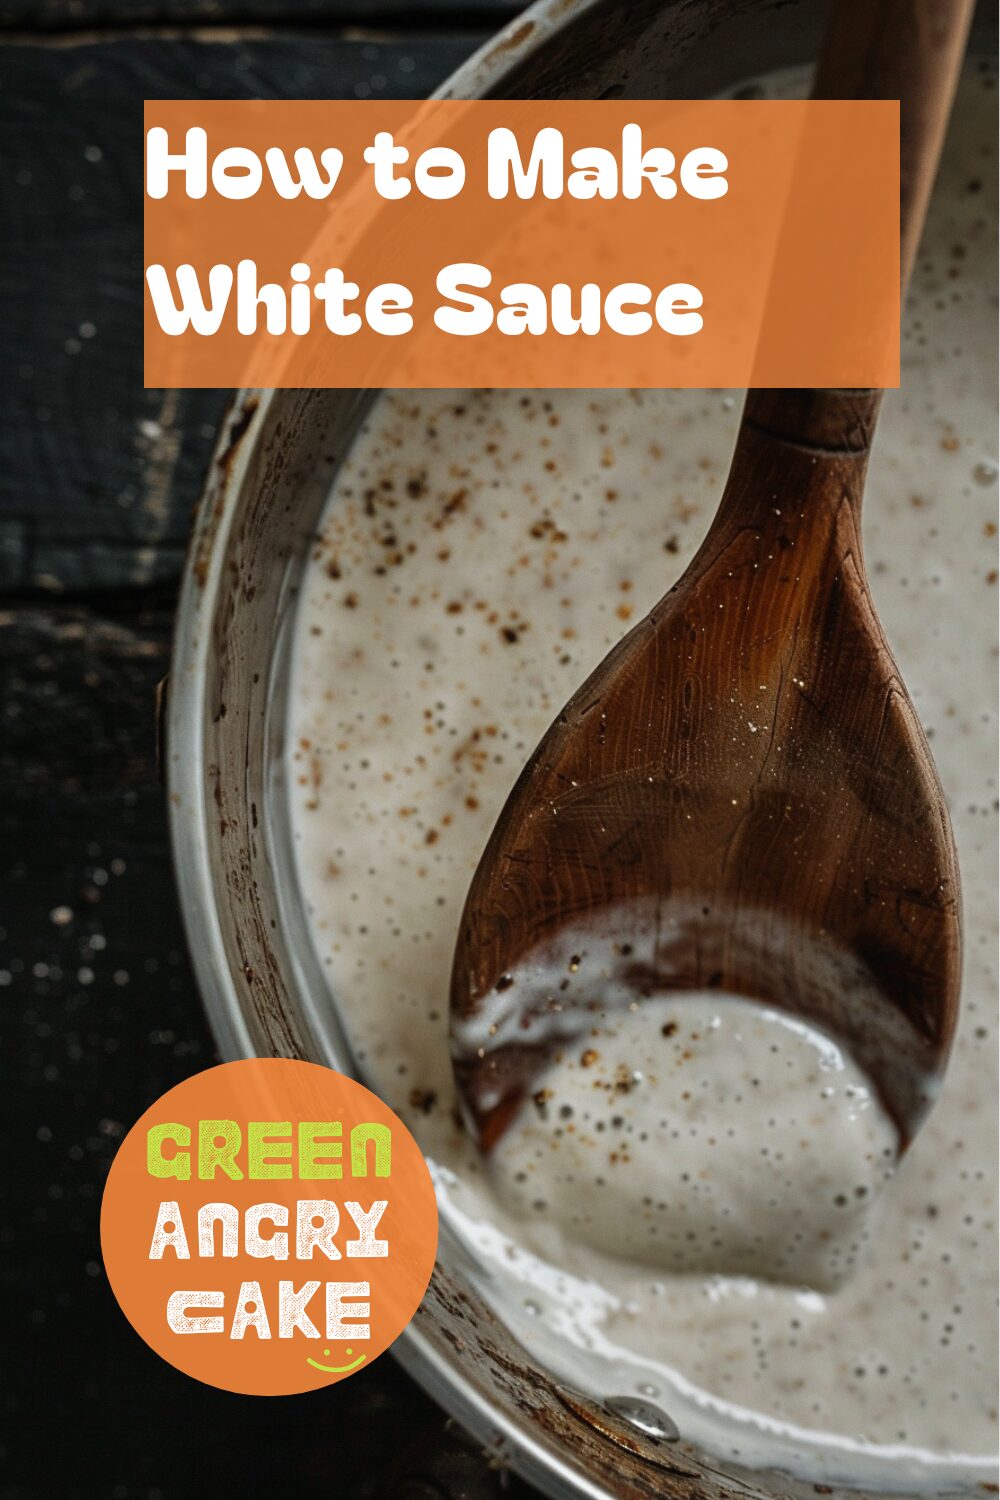
Mastering White Sauce – Simple Methods for Delicious Results
Enhance your sauce preparation skills with our guide on white sauce making techniques. Learn how to make a smooth white sauce perfectly using simple steps. Our step-by-step instructions ensure you get the most out of your ingredients, making your white sauce creamy and lump-free every time.
How to Make White Sauce
Equipment Needed:
- Heavy-based saucepan
- Wooden spoon
Step-by-Step Instructions for White Sauce Making Techniques:
- Melt the Butter: Melt one part butter in a non-stick, heavy-based saucepan placed over a medium heat.
- Make the Roux: Stir in one part plain flour and cook for 2 minutes. This is your roux. It will smell like baking biscuits.
- Add Milk Gradually: Add milk a little at a time, stirring constantly. It will start off very thick and clump into a dough, but give it time and keep stirring until all the milk has absorbed.
- Continue Adding Milk: Keep adding milk, once each addition has been completely absorbed, stirring slowly all the time. (Stirring slowly at the beginning means you won’t get any lumps.)
- Achieve Desired Consistency: Once the sauce achieves the consistency you want, continue to cook for 1 minute, stirring all the time to stop the sauce from catching on the bottom of the pan.
- Season and Add Flavors: If you are making a savory sauce, season with salt and pepper. You can now add grated cheese and mustard or a grating of nutmeg. For a Christmas pudding sauce, add sugar and brandy.
Making white sauce is a fundamental cooking technique. Therefore, knowing how to make white sauce properly is crucial to achieving the perfect texture and flavor. With these white sauce making techniques, you can easily prepare a creamy and delicious sauce for various dishes.
Helpful Hint:
- For extra smoothness, you can strain the sauce through a fine sieve before serving.
Alternative Uses for White Sauce:
- Cheese Sauce: Add grated cheese to the white sauce for a creamy cheese sauce.
- Béchamel Sauce: Use the white sauce as a base for béchamel sauce in lasagna or moussaka.
- Sweet Sauce: Add sugar and vanilla extract to the white sauce for a dessert topping.
-
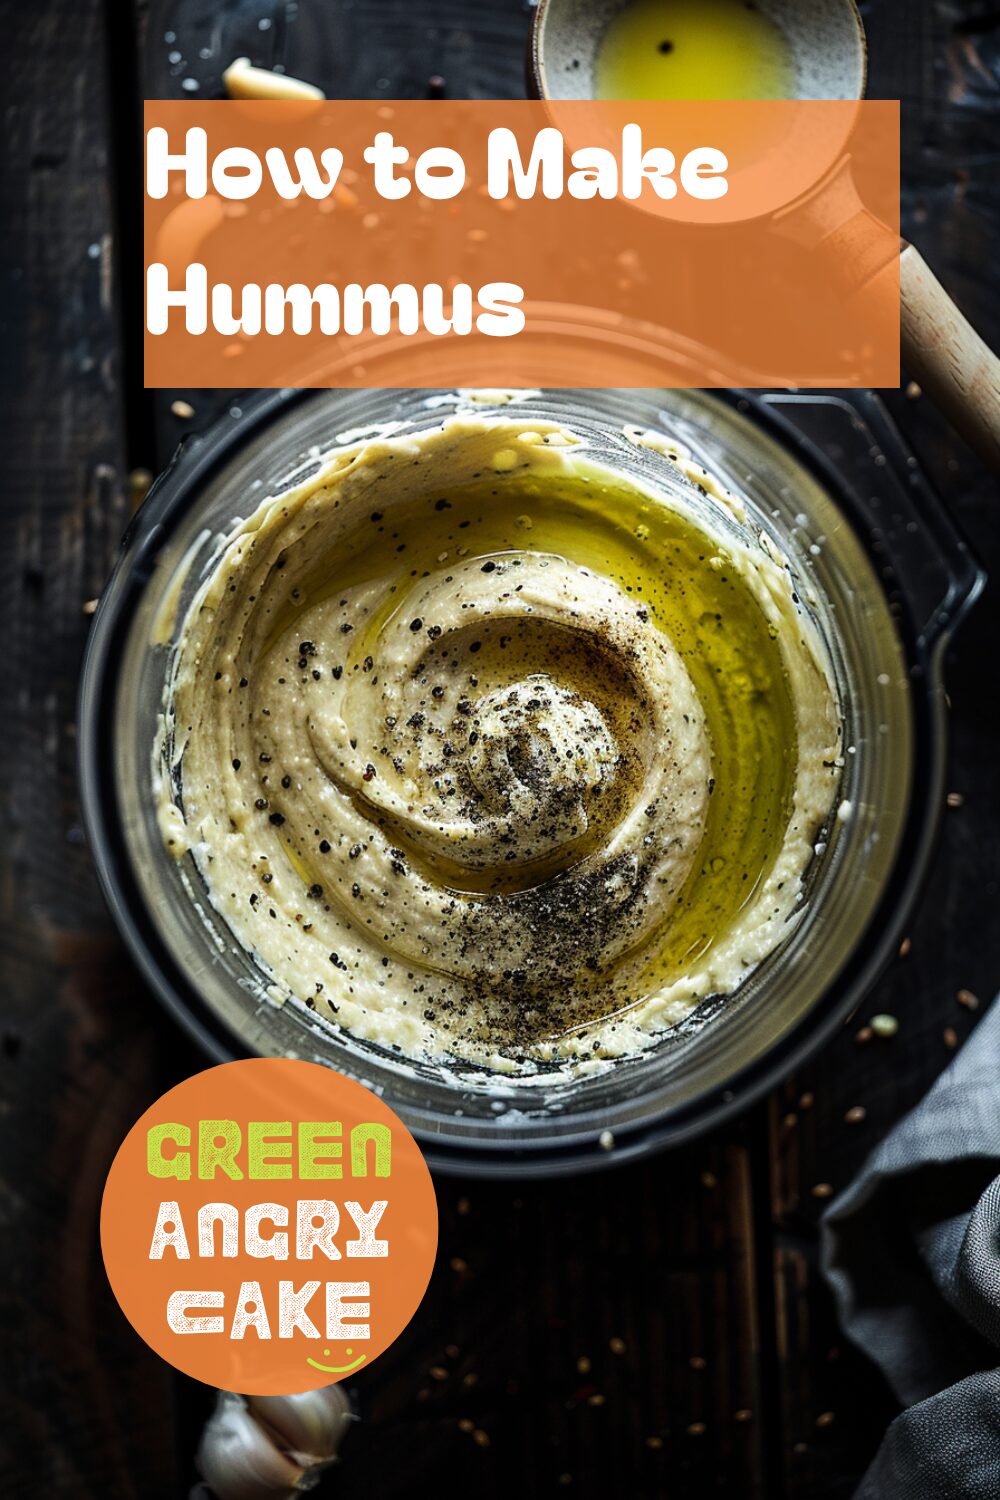
How to Make Hummus
Enhance your dip preparation skills with our guide on hummus making techniques. Learn how to make hummus perfectly using simple steps. Our step-by-step instructions ensure you get the most out of your ingredients, making your hummus creamy and flavorful every time.
Equipment Needed:
- Sieve
- Jug
- Food processor or blender
- Rubber spatula
- Serving bowl
Step-by-Step Instructions for Hummus Making Techniques:
- Drain the Chickpeas: Drain a 400g tin of chickpeas in a sieve over a bowl to reserve the chickpea water. This is useful to help loosen the mix if it’s too thick.
- Prepare the Ingredients: Tip the chickpeas into a food processor or blender. Add a small, peeled garlic clove and 2 heaped tablespoons of tahini.
- Add Lemon Juice and Chickpea Water: Squeeze half a lemon into the food processor and add 1 tablespoon of the reserved chickpea water.
- Season and Blitz: Season with sea salt and blitz for 2–3 minutes, until the mix starts to come together.
- Scrape and Adjust: Stop the processor and use a rubber spatula to scrape the hummus down the sides of the bowl and back into the mix. Adjust the seasoning, and add a little more chickpea water if it’s too thick. You can add a handful of chopped coriander if you like. Blitz until smooth or to your desired consistency.
- Serve: Put in a serving bowl and use as a dip for vegetables, crisps, or pitta triangles.
Making hummus is quick and easy. Therefore, knowing how to make hummus properly is essential to achieve the perfect texture and flavor. With these hummus making techniques, you can easily prepare creamy and delicious hummus for any occasion.
Helpful Hint:
- For a smoother hummus, peel the chickpeas before blending.
Alternative Uses for Hummus:
- Hummus Spread: Use hummus as a spread on sandwiches or wraps.
- Hummus Salad Dressing: Mix hummus with a bit of water or lemon juice for a creamy salad dressing.
- Hummus Pasta Sauce: Add hummus to pasta for a quick and creamy sauce.
-
Perfect Gravy – Step-by-Step Guide
Enhance your sauce preparation skills with our guide on gravy making techniques. Learn how to make delicious gravy from meat juices using simple steps. Our step-by-step instructions ensure you get the most out of your meat juices, making your gravy rich and flavorful every time.
How to Make Gravy
Equipment Needed:
- Flameproof roasting tray (preferably the same one you cooked your meat in)
- Jug
- Spoon
- Medium-sized bowl
- Tablespoon
- Measuring jug
- Wooden spoon
- Serving jug
Step-by-Step Instructions for Gravy Making Techniques:
- Prepare the Roasting Juices: Rest your roasted meat while you make the gravy. Carefully pour the roasting juices from the meat pan into a jug and leave to stand for 1 minute. The fat will rise to the surface, leaving the darker, more flavorful juices at the bottom.
- Skim the Fat: Spoon out the fat into a bowl. Skimming the fat produces a clearer liquid and allows the full flavor of the meat juices to come through without a fatty or bitter aftertaste.
- Make the Roux: Put the same roasting pan that the meat was cooked in on the hob over medium heat. Add 1 tablespoon of the meat fat that you skimmed off the top back into the pan. Stir in 1 tablespoon of plain flour until all combined and slightly browned, which should take around 2 minutes. This is your roux, which thickens the gravy and should be the consistency of a smooth paste.
- Add Meat Juices: Add the skimmed meat juices, stirring with a wooden spoon to ensure a smooth consistency and to scrape off any caramelized meat or vegetables stuck to the bottom of the roasting pan, as these add great flavor and depth.
- Add Stock: Gradually pour in 1 pint of good quality meat stock, stirring as you go. Bring to the boil, then simmer for 10 minutes, stirring regularly with a wooden spoon to prevent lumps.
- Season and Serve: Season with salt and pepper and serve piping hot.
Making gravy from meat juices is a simple yet essential method that results in a delicious sauce. Therefore, knowing how to make gravy properly is crucial to achieving the perfect texture and flavor. With these gravy making techniques, you can easily prepare rich and flavorful gravy for any roast meat.
Helpful Hint:
- For extra depth of flavor, add a splash of red wine or Worcestershire sauce to the gravy while it simmers.
Alternative Uses for Gravy:
- Gravy for Potatoes: Use the gravy to pour over mashed or roasted potatoes.
- Gravy for Pies: Add the gravy to meat pies for extra moisture and flavor.
- Gravy for Stews: Incorporate the gravy into stews for a richer taste.
-
Perfect Curry Base – Step-by-Step Guide
Enhance your curry preparation skills with our guide on making a versatile curry base. Learn how to make a curry base perfectly using simple steps. Our step-by-step instructions, inspired by Sumayya Usmani, ensure you get the most out of your ingredients, making your curry base flavorful and ready for any addition.
How to Make a Curry Base
Equipment Needed:
- Saucepan
- Spatula
Step-by-Step Instructions for Curry Base Cooking Techniques:
- Heat the Oil and Ghee: To make the curry base, heat oil and ghee in a saucepan with a lid, until hot.
- Add Seeds: Add cumin, nigella, and coriander seeds and allow to splutter. Other seeds such as fenugreek and mustard seeds also work well.
- Add Ginger and Garlic: Turn the heat to low and add fresh grated ginger and garlic. Stir, ensuring they don’t burn or stick to the bottom of the pan.
- Add Tomatoes and Spices: Add chopped fresh tomatoes, tomato purée, turmeric, chili powder, salt to taste, and methi. Stir-fry for 6–8 minutes, or until the oil rises to the top and the tomatoes are soft.
- Add Main Ingredients: Add the parboiled potatoes, vegetables, paneer, or pieces of meat and cold water. Stir and increase the heat to medium. Cover the pan with the lid and cook for 10–12 minutes, or until the vegetables or meat are cooked and the liquid has evaporated (you might need to top up the water). You want a thick sauce.
- Serve: Serve sprinkled with dill, chili, and a squeeze of lemon juice.
Making a curry base is a versatile and essential method that results in a delicious sauce. Therefore, knowing how to make a curry base properly is crucial to achieving the perfect texture and flavor. With these curry base cooking techniques, you can easily prepare a flavorful base for any curry dish.
Helpful Hint:
- You can store the curry base in the refrigerator for up to three days or freeze it for later use.
Alternative Uses for Curry Base:
- Curry Soup: Use the curry base as a foundation for a hearty soup with added broth and vegetables.
- Curry Dip: Thicken the curry base and use it as a dip for breads or appetizers.
- Curry Marinade: Use the curry base as a marinade for meats before grilling or roasting.
-
Mastering Rice Cooking – Simple Methods
Enhance your side dish preparation skills with our guide on rice cooking techniques. Learn how to cook rice perfectly using simple steps. Our step-by-step instructions ensure you get the most out of your rice, making it fluffy and delicious every time.
How to Cook Perfect Rice
Equipment Needed:
- Mug (for measuring)
- Sieve
- Saucepan
- Wooden spoon
Step-by-Step Instructions for Rice Cooking Techniques:
- Measure the Rice: Use a mug to reliably measure the right amount of water for cooking your rice. For fluffy rice, put one cup of white rice into a sieve and rinse with cold water until the water begins to run clear. (If you are making stickier rice, you can skip this step.)
- Add Water: Put the rice into a saucepan with two cups of cold water.
- Bring to a Boil: Bring the water to the boil and cook for the time stated on the packet, or until softened and most of the water has been absorbed by the rice. Different types of rice will need different cooking times. Easy-cook rice will be much quicker than normal rice, for example.
- Adjust for Brown Rice: If you are cooking brown rice, you may need half a cup more water. You can add this at a later stage if your rice is looking too dry before it is fully cooked.
Cooking rice perfectly is a simple yet essential skill. Therefore, knowing how to cook rice properly is crucial to achieving the perfect texture and flavor. With these rice cooking techniques, you can easily prepare perfectly cooked rice for any meal.
Helpful Hint:
- Let the rice rest for a few minutes with the lid on after cooking to allow it to finish steaming and become even fluffier.
Alternative Uses for Cooked Rice:
- Fried Rice: Use cooked rice in a stir-fry with vegetables and protein.
- Rice Pudding: Combine cooked rice with milk, sugar, and spices for a delicious dessert.
- Rice Salad: Add cooked rice to a fresh salad with mixed greens and a light dressing.
-
How to Make a Stir-Fry
Enhance your cooking skills with our guide on stir-fry techniques. Learn how to make a stir-fry perfectly using simple steps. Our step-by-step instructions ensure you get the most out of your ingredients, making your stir-fry delicious and perfectly cooked every time.
Equipment Needed:
- Sharp knife
- Chopping board
- Wok
- Tongs or wooden spoon
Step-by-Step Instructions for Stir-Fry Cooking Techniques:
- Prepare the Meat: Chop your choice of meat, such as chicken, turkey, or beef, into bite-sized pieces.
- Prepare the Flavorings: Finely chop your choice of flavorings such as onions, garlic, ginger, or chili.
- Prepare the Vegetables: Thickly slice your choice of vegetables, such as carrots, peppers, courgette, or mangetout.
- Brown the Meat: Heat a little oil in a wok and brown the meat until golden on all sides. Remove from the wok and set aside.
- Cook the Flavorings: Heat a little more oil in the wok and add the flavorings. Stir-fry for a few minutes.
- Cook the Vegetables: Add the vegetables and stir-fry for a few minutes.
- Combine Ingredients: Add cooked noodles or rice and return the meat to the pan. Stir-fry until everything is hot and the meat has cooked through.
- Add Sauce: Add your favorite sauce such as soy sauce, chili sauce, or hoisin sauce. Stir thoroughly and serve!
Making a stir-fry is easy and versatile. Therefore, knowing how to make a stir-fry properly is essential to achieve the perfect texture and flavor. With these stir-fry cooking techniques, you can easily prepare a delicious stir-fry for any meal.
Helpful Hint:
- For extra flavor, marinate the meat in your favorite sauce for at least 30 minutes before cooking.
Alternative Uses for Stir-Fry Ingredients:
- Stir-Fry Wraps: Use the stir-fry mixture in a wrap with lettuce and a drizzle of sauce.
- Stir-Fry Salad: Add the stir-fry mixture to a bed of fresh greens for a hearty salad.
- Stir-Fry Soup: Add the stir-fry mixture to a broth for a quick and flavorful soup.
