-
Perfectly Cooked Pasta – Step-by-Step Guide
Enhance your pasta cooking skills with our guide on cooking pasta perfectly. Italian-born food writer Anna Del Conte shares her secrets to achieving perfectly cooked pasta every time. Learn how to cook pasta using simple steps that ensure it is perfectly al dente and full of flavor.
Equipment Needed:
- Large pot
- Wooden spoon
- Colander
Step-by-Step Instructions for Pasta Cooking Techniques:
- Use Plenty of Water: Fill a large pot with plenty of water. Using a large amount of water helps prevent the pasta from sticking together.
- Add Plenty of Salt: Bring the water to a rolling boil and add a generous amount of salt. The water should be as salty as the sea, which enhances the flavor of the pasta.
- Bring to a Boil: Ensure the water is at a rolling boil before adding the pasta. The high heat helps cook the pasta evenly.
- Add the Pasta: Add your pasta to the boiling water. Stir immediately with a wooden spoon to prevent sticking.
- Cook Until Al Dente: Cook the pasta according to the package instructions until it is al dente, meaning it should be firm to the bite. Taste a piece a minute or two before the recommended cooking time to ensure it is not overcooked.
- Do Not Overdrain: When the pasta is cooked, drain it in a colander but do not overdrain. Leaving a little bit of the cooking water helps keep the pasta moist and prevents it from becoming too dry.
Cooking pasta perfectly is a simple yet essential skill. Therefore, knowing how to cook pasta properly is crucial to achieving the perfect texture and flavor. With these pasta cooking techniques from Anna Del Conte, you can easily prepare perfectly cooked pasta for any meal.
Helpful Hint:
- Save a cup of the pasta cooking water before draining. It can be used to adjust the consistency of your pasta sauce.
Alternative Uses for Cooked Pasta:
- Pasta Salad: Use cooked pasta in a salad with mixed vegetables and a light dressing.
- Baked Pasta: Combine cooked pasta with your favorite sauce and cheese, then bake until golden and bubbly.
- Pasta Soup: Add cooked pasta to a hearty soup for added texture and flavor.
-
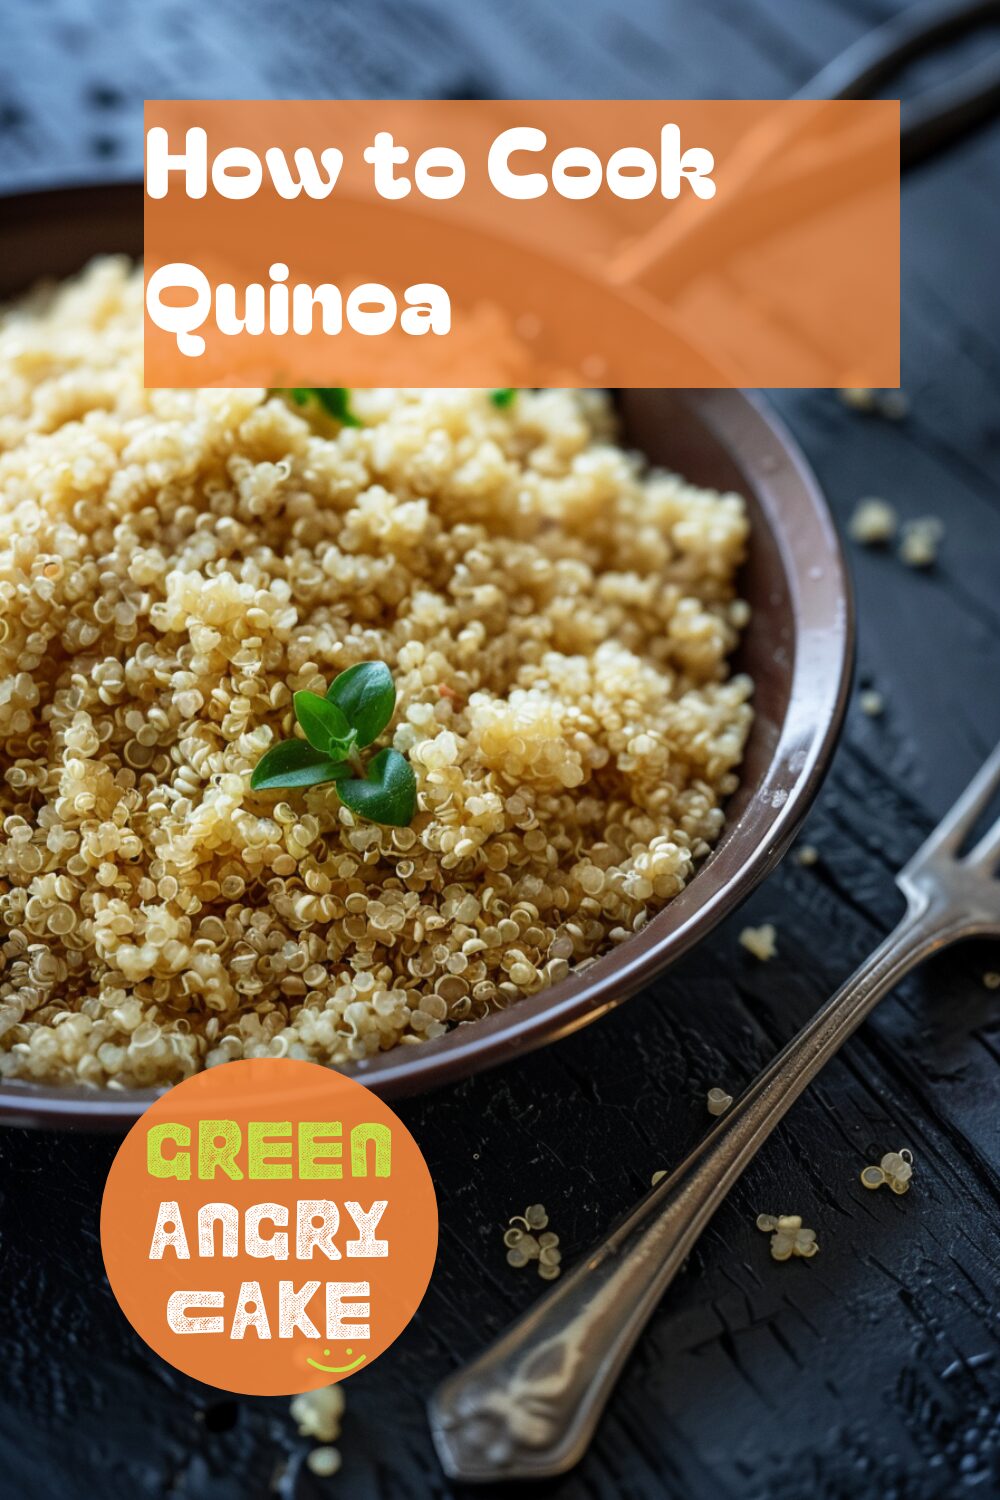
Quinoa Cooking Techniques – How to Cook Quinoa
Enhance your side dish preparation skills with our guide on quinoa cooking techniques. Learn how to cook quinoa perfectly using simple steps. Our step-by-step instructions ensure you get the most out of your quinoa, making it fluffy and delicious every time.
How to Cook Quinoa
Equipment Needed:
- Sieve
- Pan
- Wooden spoon
- Fork
Step-by-Step Instructions for Quinoa Cooking Techniques:
- Rinse the Quinoa: For two servings, use 100g quinoa. Rinse quinoa in a sieve under cold running water. This helps to remove some of the bitterness and stops it from sticking together.
- Add Water and Salt: Tip the quinoa into a pan and add three times the amount of water (300ml) along with a pinch of salt. Stir once with a wooden spoon to stop the quinoa from sticking together.
- Bring to a Boil: Place the pan over medium heat and bring to the boil. Once boiling, give it another stir.
- Simmer: Reduce the heat and simmer for 15-18 minutes, or until the liquid is absorbed and the quinoa grains become softer and a little translucent around the edges.
- Fluff and Serve: Once the water is absorbed, remove from the heat, fluff up with a fork and serve hot or leave to cool to enjoy later.
Cooking quinoa is a quick and versatile method that results in a nutritious side dish. Therefore, knowing how to cook quinoa properly is essential to achieve the perfect texture and flavor. With these quinoa cooking techniques, you can easily prepare fluffy and delicious quinoa for any meal.
Helpful Hint:
- For extra flavor, cook the quinoa in vegetable or chicken broth instead of water.
Alternative Uses for Cooked Quinoa:
- Quinoa Salad: Use cooked quinoa in a salad with mixed greens, tomatoes, and cucumbers.
- Stuffed Peppers: Fill bell peppers with cooked quinoa mixed with vegetables and bake.
- Quinoa Breakfast Bowl: Mix cooked quinoa with yogurt, fruits, and nuts for a nutritious breakfast.
-
Perfectly Cooked Couscous – Simple Cooking Methods
Enhance your side dish preparation skills with our guide on couscous cooking techniques. Learn how to cook couscous perfectly using simple steps. Our step-by-step instructions ensure you get the most out of your couscous, making it fluffy and flavorful every time.
How to Cook Couscous
Equipment Needed:
- Heatproof bowl
- Kettle
- Clingfilm
- Fork
Step-by-Step Instructions for Couscous Cooking Techniques:
- Prepare the Couscous: Pour your couscous into a heatproof bowl. For added flavor, crumble a stock cube over the couscous if desired.
- Boil the Water: Bring a kettle of water to the boil and pour it over the couscous to cover by roughly 1cm/½in.
- Add Seasoning: Pour in a glug of good quality olive oil and squeeze half a cut lemon over the couscous. Season with salt and pepper if not using a stock cube.
- Mix Flavors: Stir to mix the flavors through the couscous.
- Cover and Set Aside: Cover the bowl tightly with clingfilm and set aside for 10 minutes.
- Prepare Additional Ingredients: Meanwhile, chop up herbs and vegetables such as chives and red peppers to mix with the couscous.
- Fluff the Couscous: When ready, remove the clingfilm and use a fork to fluff up the grains of couscous, again spreading the flavors throughout.
- Adjust Seasoning and Add Ingredients: Taste and adjust the seasoning, then add your extra ingredients and stir to mix.
Cooking couscous is a quick and versatile method that results in a delicious side dish. Therefore, knowing how to cook couscous properly is essential to achieve the perfect texture and flavor. With these couscous cooking techniques, you can easily prepare fluffy and flavorful couscous for any meal.
Helpful Hint:
- For extra flavor, add a pinch of ground cumin or a handful of raisins to the couscous before covering it with clingfilm.
Alternative Uses for Couscous:
- Couscous Salad: Use cooked couscous in a salad with mixed greens, tomatoes, and cucumbers.
- Stuffed Peppers: Fill bell peppers with cooked couscous mixed with vegetables and bake.
- Couscous Pilaf: Cook couscous with sautéed onions, garlic, and spices for a flavorful pilaf.
-
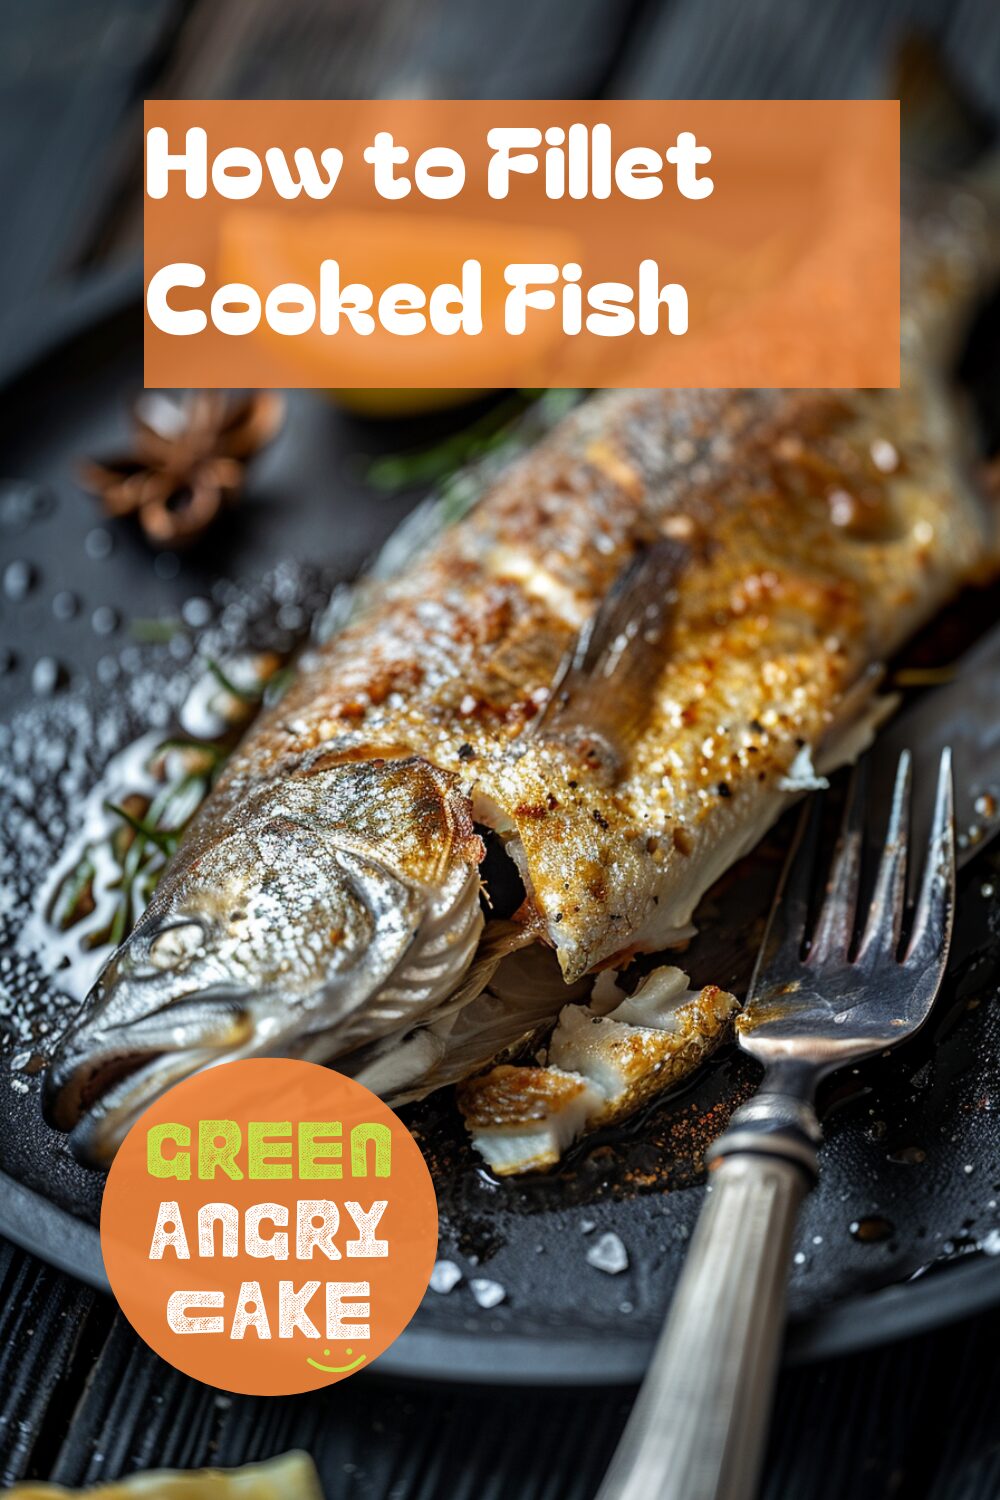
How to Fillet Cooked Fish
Enhance your seafood preparation skills with our guide on cooked fish filleting techniques. Learn how to fillet cooked fish perfectly using simple steps. Our step-by-step instructions ensure you get the most out of your cooked fish, making it easy to enjoy this delicious seafood.
Equipment Needed:
- Knife
- Fork
Step-by-Step Instructions for Cooked Fish Filleting Techniques:
- Place the Fish: Place the fish on its side.
- Make Initial Cuts: Make a cut behind the head that goes down to the spine. Make a similar cut before the tail. (There’s no need to cut the head and tail off completely.)
- Cut Along the Spine: Make a horizontal cut into the side of the fish, following the line of the spine from head to tail. This should separate the side of the fish into two portions, top and bottom.
- Remove the Top Fillet: Use your knife to slide the top fillet up and off the bones.
- Remove the Bottom Fillet: Push the bottom fillet downwards off the bones.
- Remove the Spine: Make a cut through the spine near the tail, then lift the spine and smaller bones out all in one piece. This will let you cut away the fillets from the other side of the fish.
Filleting cooked fish is a straightforward method that results in delicious, boneless portions. Therefore, knowing how to fillet cooked fish properly is essential to enjoy this seafood to the fullest. With these cooked fish filleting techniques, you can easily prepare perfectly filleted fish for your favorite recipes.
Helpful Hint:
- Save the bones and head to make a flavorful fish stock or broth.
Alternative Uses for Filleted Cooked Fish:
- Fish Tacos: Use filleted cooked fish in soft tacos with fresh salsa and lime.
- Fish Salad: Add filleted cooked fish to a fresh salad with mixed greens and a light dressing.
- Fish Sandwiches: Make sandwiches with filleted cooked fish, lettuce, and tartar sauce.
-
Sardine Cleaning Techniques – How to Clean and Fillet Sardines
Enhance your seafood preparation skills with our guide on sardine cleaning techniques. Learn how to clean and fillet sardines perfectly using simple steps. Our step-by-step instructions ensure you get the most out of your sardines, making them ready for your favorite recipes.
How to Clean and Fillet Sardines
Equipment Needed:
- Sharp knife
- Scissors
Step-by-Step Instructions for Sardine Cleaning Techniques:
- Remove Scales: Check to see if the sardine has any large scales on the skin, especially near the head. Remove the scales by scraping with the blade of a knife in short, sharp bursts against the grain of the scales and back again.
- Cut Off Fins: Use scissors to cut off the fins from the top and bottom of the fish.
- Cut Open the Belly: Use scissors to cut the fish open along the belly from tail to head.
- Remove Guts: Turn on a tap at the sink to start a little water running very gently. Put your thumb into the cut belly near the tail and gently scrape up towards the head, pushing the guts out of the body. Discard the guts and gently rinse the fish inside and out under the tap, being careful not to break the skin.
- Butterfly the Fish:
- Place the fish on its side and using a sharp knife cut down either side of the spine at the tail end.
- Turn the fish onto its back and work your fingers along the sides of the spine, from tail to head, to separate the spine from the flesh.
- Cut off the tail and head, with spine attached. You should be left with just the meat of the fish, as a butterfly fillet.
- Trim and Separate Fillets: Trim the outer edges of the butterflied fish to remove any fin parts. If you want two fillets, cut the butterfly in half along where the spine used to be.
Cleaning and filleting sardines is a quick and essential method to prepare them for various dishes. Therefore, knowing how to clean and fillet sardines properly is essential to achieve the perfect texture and flavor. With these sardine cleaning techniques, you can easily prepare sardines for your favorite recipes.
Helpful Hint:
- Use the trimmed off parts to make a flavorful fish stock.
Alternative Uses for Sardine Fillets:
- Grilled Sardines: Use filleted sardines for grilling with your favorite marinade.
- Sardine Salad: Add filleted sardines to a fresh salad with mixed greens and a light dressing.
- Sardine Pasta: Toss filleted sardines with pasta, garlic, and olive oil for a delicious meal.
-
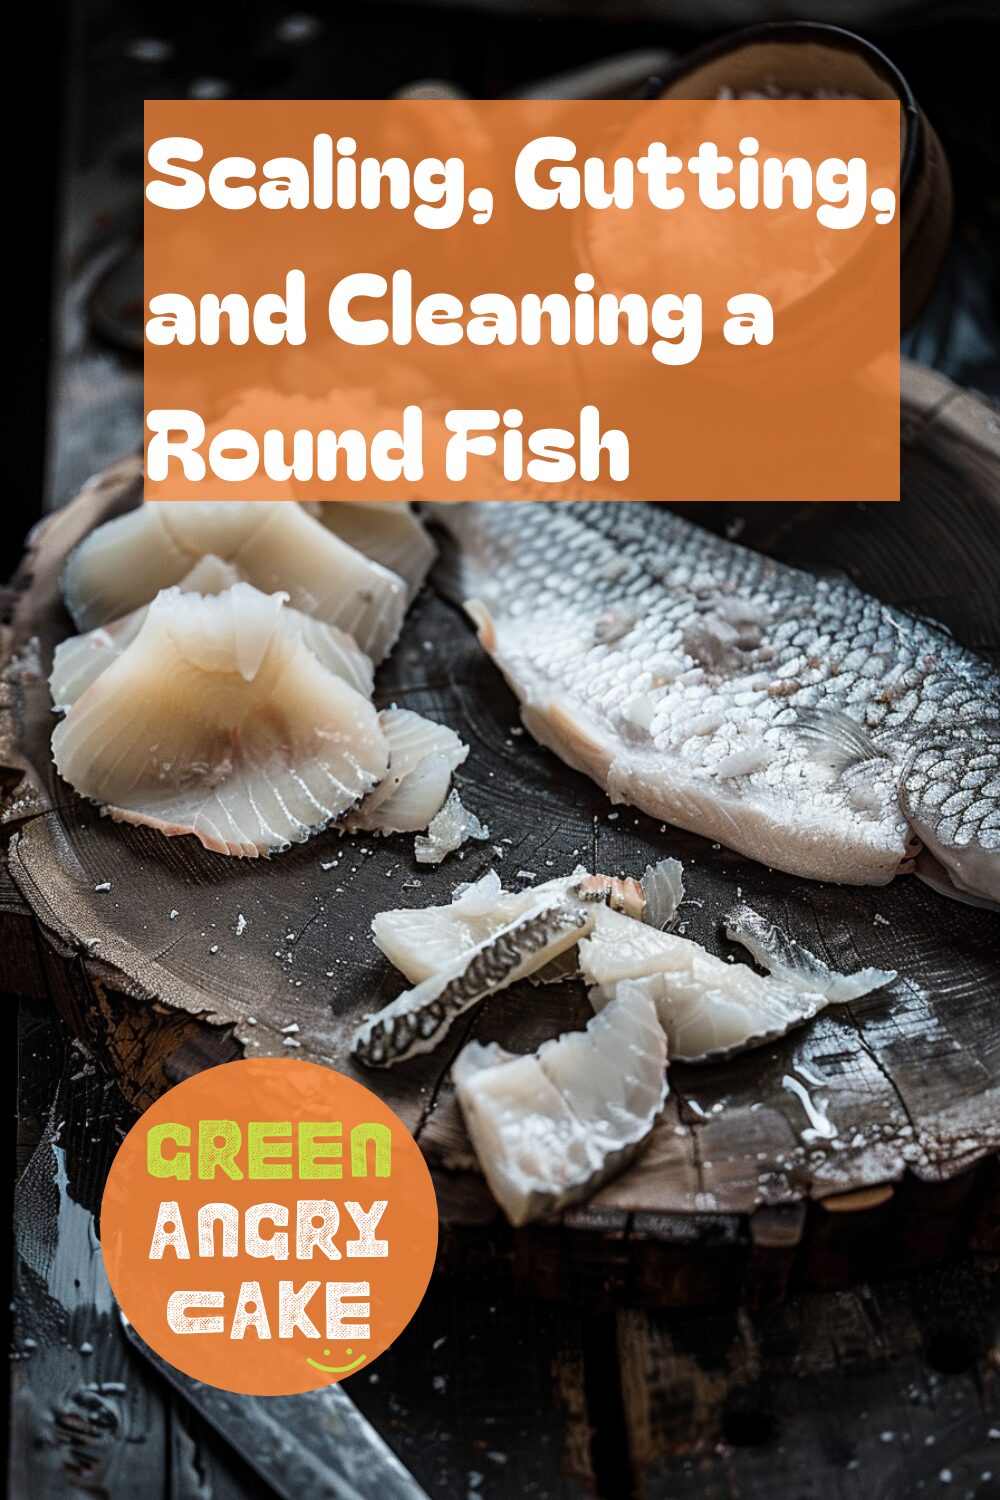
Perfectly Cleaned Fish – Simple Scaling and Gutting Methods
Enhance your seafood preparation skills with our guide on fish cleaning techniques. Learn how to scale, gut, and clean round fish perfectly using simple steps. Our step-by-step instructions ensure you get the most out of your fish, making them ready for your favorite recipes.
Scaling, Gutting, and Cleaning a Round Fish
Equipment Needed:
- Chopping board
- Sharp knife
- Bin liner
Step-by-Step Instructions for Fish Cleaning Techniques:
- Scale the Fish:
- Holding the fish by the tail, scrape the blade in short, sharp bursts against the grain of the scales and back again, working the knife from the tail to the head.
- Rinse the fish.
- Gut the Fish:
- Slice the length of the belly of the fish and pull the guts from it, cutting them out at the top.
- Clean the Fish:
- Run cold water over the fish and inside the belly cavity to clean thoroughly.
Scaling fish is a messy job, but it’s easy once you know how. Therefore, knowing how to scale, gut, and clean round fish properly is essential to prepare them for various dishes. With these fish cleaning techniques, you can easily prepare fish such as mackerel, sea bass, sea bream, haddock, mullet, pollack, snapper, and John Dory for your favorite recipes.
Helpful Hint:
- Use a bin liner to catch the scales and guts for easier cleanup.
Alternative Uses for Cleaned Fish:
- Grilled Fish: Use cleaned fish for grilling with your favorite marinade.
- Fish Stew: Add cleaned fish to a hearty stew with vegetables and spices.
- Baked Fish: Bake cleaned fish with herbs and lemon slices for a simple and delicious meal.
-
Easy Mussel Cleaning – Step-by-Step Guide
Enhance your seafood preparation skills with our guide on mussel cleaning techniques. Learn how to clean and de-beard mussels perfectly using simple steps. Our step-by-step instructions ensure you get the most out of your mussels, making them ready for your favorite recipes.
Cleaning and De-Bearding Mussels
Equipment Needed:
Step-by-Step Instructions for Mussel Cleaning Techniques:
- Initial Cleaning: If your mussels are covered in mud or barnacles, rub handfuls of them together under running water before you start.
- Check for Open Mussels: Tap any mussels that are partly open and discard those that do not close tightly.
- Rinse the Mussels: Rinse or dip each mussel in cold water.
- Remove the Beards: Pull the straggly, hairy ‘beards’ from the mussels.
- Post-Cooking Check: After cooking, discard any mussels that have not fully opened.
Cleaning and de-bearding mussels is a quick and essential method to prepare them for various dishes. Therefore, knowing how to clean and de-beard mussels properly is essential to achieve the perfect texture and flavor. With these mussel cleaning techniques, you can easily prepare mussels for your favorite recipes.
Helpful Hint:
- Soak the mussels in cold, salted water for about 20 minutes before cleaning to help them expel any sand or grit.
Alternative Uses for Cleaned Mussels:
- Mussels in White Wine Sauce: Cook cleaned mussels in a white wine sauce with garlic and herbs for a classic dish.
- Mussels Marinara: Use cleaned mussels in a marinara sauce with tomatoes and basil for a delicious meal.
- Mussels in Coconut Curry: Add cleaned mussels to a coconut curry sauce with lemongrass and ginger for an exotic flavor.
-
Perfectly Extracted Lobster Meat – Simple Methods
Enhance your seafood preparation skills with our guide on lobster meat removal techniques. Learn how to remove meat from cooked lobster perfectly using simple steps. Our step-by-step instructions ensure you get the most out of your lobster, making it easy to enjoy this delicacy.
Removing the Meat from Cooked Lobster
Equipment Needed:
- Lobster picker (or the handle end of a fork or spoon)
- Sharp, heavy knife
Step-by-Step Instructions for Lobster Meat Removal Techniques:
- Remove the Legs: Twist off the legs at the base. Twist the legs from the claws.
- Crack the Claws: Hit the side of the lobster claw carefully but firmly with the heel of a sharp, heavy knife, keeping your fingers well away from the knife blade. When the blade is embedded in the claw, twist the knife until the claw cracks. If this does not happen the first time, repeat the process, hitting the claw in a different place.
- Extract Claw Meat: Wiggle the small pincer and carefully pull it away from the claw to reveal the meat. Remove the meat from the remaining claw in one piece.
- Remove Knuckle Meat: Use kitchen scissors to cut through the inside of the knuckle shell and ease out the meat.
- Remove Tail Meat: Fully extend the lobster body. Hold the tail, shell-side down, in a tea towel and squeeze the tail together to crack and loosen the tail shell. Ease the meat out in one piece.
- Extract Leg Meat: Use a rolling pin to squeeze meat from the thin legs as you would a tube of toothpaste.
Lobster meat can be found in most parts of the lobster, so be sure to pick it thoroughly. Knowing how to remove meat from cooked lobster properly is essential to enjoy this delicious seafood. With these lobster meat removal techniques, you can easily prepare lobster meat for various dishes.
Helpful Hint:
- Save the lobster shells to make a rich seafood stock or bisque.
Alternative Uses for Lobster Meat:
- Lobster Roll: Use extracted lobster meat in a lobster roll with mayonnaise and lemon juice.
- Lobster Salad: Add lobster meat to a fresh salad with mixed greens and a light dressing.
- Lobster Pasta: Toss lobster meat with pasta, garlic, and olive oil for a delicious meal.
-
Tuna Steak Cooking Techniques – How to Cook Tuna Steak
Enhance your seafood cooking skills with our guide on tuna steak cooking techniques. Learn how to cook the perfect tuna steak using simple steps. Our step-by-step instructions ensure you achieve a golden brown outside and slightly pink inside, making your tuna steak delicious and perfectly cooked every time.
How to Cook Tuna Steak
Equipment Needed:
- Non-stick frying pan
- Fish slice
- Serving plate
Step-by-Step Instructions for Tuna Steak Cooking Techniques:
- Season the Tuna Steak: Season the tuna steak with salt and a little pepper and drizzle with olive oil. Rub the salt, pepper, and oil into both sides of the steak.
- Heat the Pan: Heat a non-stick frying pan over medium heat until hot.
- Cook the First Side: Add the tuna steak and resist the temptation to move it around. After 1 ½–2 minutes, check the side touching the pan with a fish slice. When it looks brown and comes away from the pan easily, it is ready to turn. If it sticks to the pan, leave it for another 30 seconds and then gently check again.
- Cook the Other Side: Carefully turn over and sear on the other side for around 1 ½–2 minutes, or until the steak is lightly browned and comes away easily from the pan.
- Rest the Steak: Put the tuna steak on a plate to rest for 1 minute before serving.
Helpful Hint:
- Ideally, you want the tuna steak to be about 2cm/¾ in thick so it is slightly pink in the middle when cooked. If the steak is a different width, adjust your cooking time accordingly.
Alternative Uses for Tuna Steak:
- Tuna Salad: Use cooked tuna steak in a fresh salad with mixed greens, tomatoes, and olives.
- Tuna Sandwich: Add slices of cooked tuna steak to a sandwich with avocado and lettuce.
- Tuna Tacos: Use cooked tuna steak in soft tacos with salsa and lime for a delicious meal.
-
Easy Prawn Peeling – Step-by-Step Guide
Enhance your seafood preparation skills with our guide on prawn peeling techniques. Learn how to peel prawns perfectly using simple steps. Our step-by-step instructions ensure you get the most out of your prawns, making them ideal for stir-frying, sauces, and curries.
How to Peel Prawns
Equipment Needed:
- Sharp knife
Step-by-Step Instructions for Prawn Peeling Techniques:
- Remove the Head: Tear off the head of the prawn. (There’s no need to wash away the dark gunge exposed by the head – this is the brown meat.)
- Remove the Shell: Pull the legs and shell from the prawn, starting from underneath the prawn at the head end. The shell should come off in rings.
- Optional Tail Removal: If desired, leave the tip of the tail on for presentation. Otherwise, pull it off.
Peeling prawns is a quick and essential method to prepare them for various dishes. Therefore, knowing how to peel prawns properly is essential to achieve the perfect texture and flavor. With these prawn peeling techniques, you can easily prepare prawns for stir-frying, sauces, and curries.
Helpful Hint:
- Save the prawn shells and heads to make a rich seafood stock for soups and sauces.
Alternative Uses for Peeled Prawns:
- Prawn Stir-Fry: Use peeled prawns in a stir-fry with vegetables and your favorite sauce.
- Prawn Curry: Add peeled prawns to a creamy curry with coconut milk and spices.
- Prawn Cocktail: Serve peeled prawns with a tangy cocktail sauce for a classic appetizer
