Desserts
Indulge in our sweet dessert recipes, from easy desserts to decadent treats. Explore homemade desserts and baking and pastry recipes that will satisfy your sweet tooth.
-
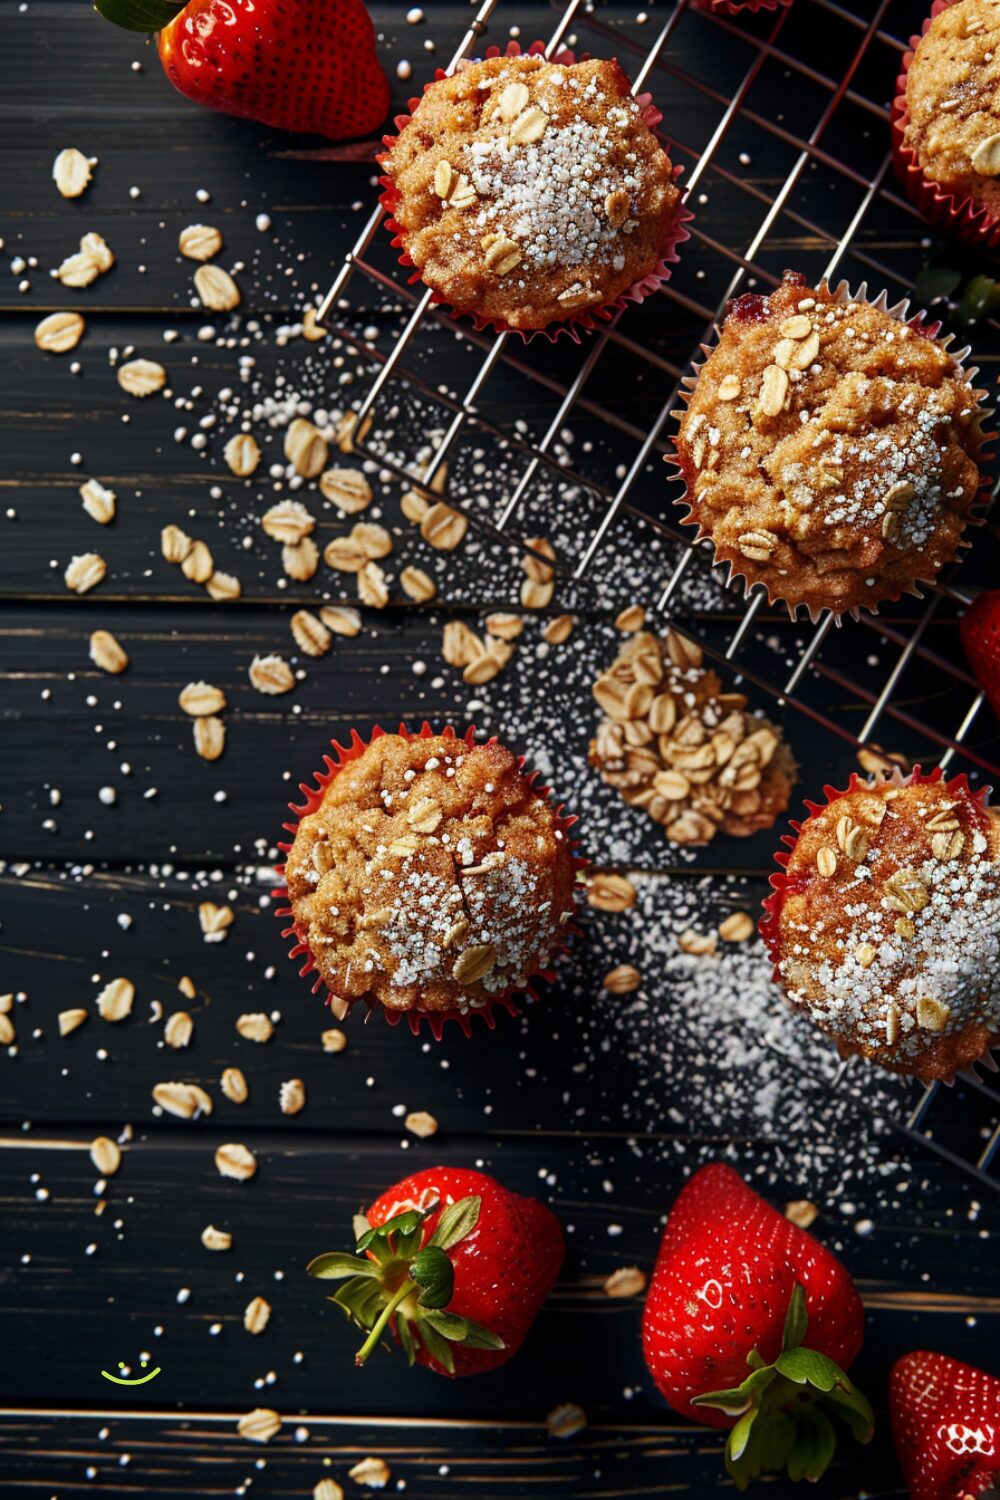
Wholesome Strawberry Oat Muffins
The perfect springtime muffin to remind you of warmer days ahead filled with summer strawberries. These oatmeal strawberry muffins are the perfect combination of healthy and sweet treat. A hearty, healthy(ish) oatmeal muffin studded with sweet strawberries.
Spring is in the air. The cherry blossoms are starting to bloom, and the sunshine is starting to give me serious serotonin. Whenever the weather turns warm, I think about long walks, picnics, and chill vibes hikes. And when I think about hikes, I think about hiking snacks, like these muffins! They’re topped with a sprinkle of crunchy sanding sugar and have a hefty amount of protein-rich, keep-you-full rolled oats. I love the combination of juicy, jammy strawberries with the nuttiness of oats.
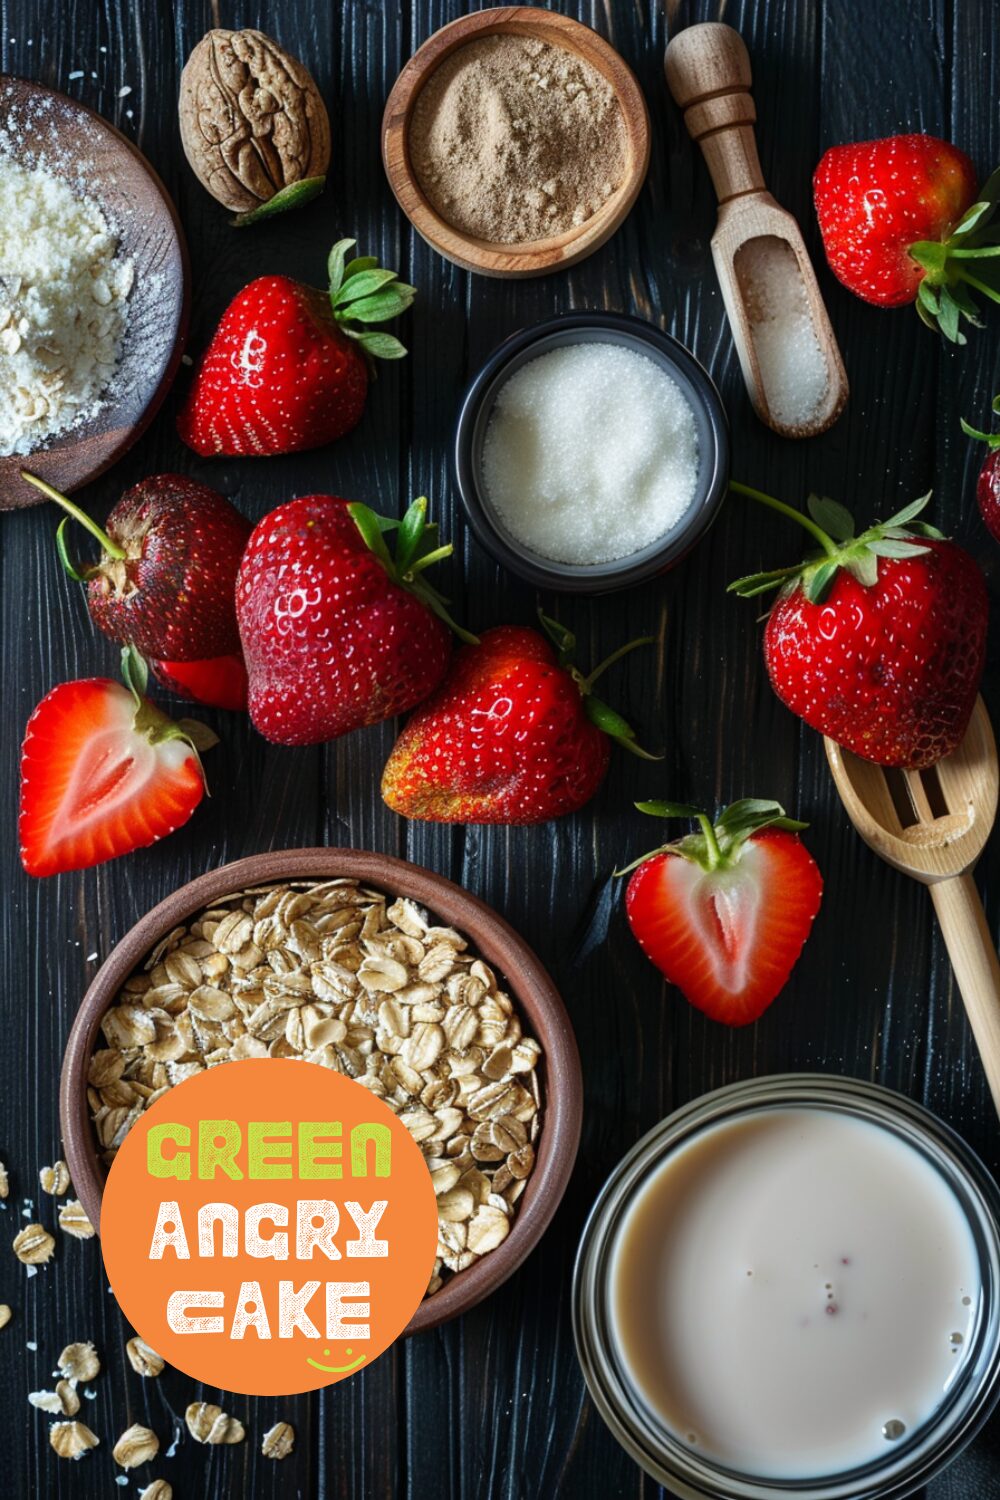
Ingredients
- 1/2 cup milk of choice
- 1/2 cup rolled oats plus extra to sprinkle
- 1 cup strawberries roughly chopped or sliced
- 1/4 cup butter at room temp
- 10 tbsp sugar (1/2 cup + 2 tablespoons)
- 1 large egg
- 1/2 tsp vanilla extract
- 3/4 cup all purpose flour
- 1 tsp baking powder
- 1/4 tsp kosher salt
- 1 tsp coarse sanding sugar or more, for tops
Special Equipment
- Muffin tins
How to make a Wholesome Strawberry Oat Muffins
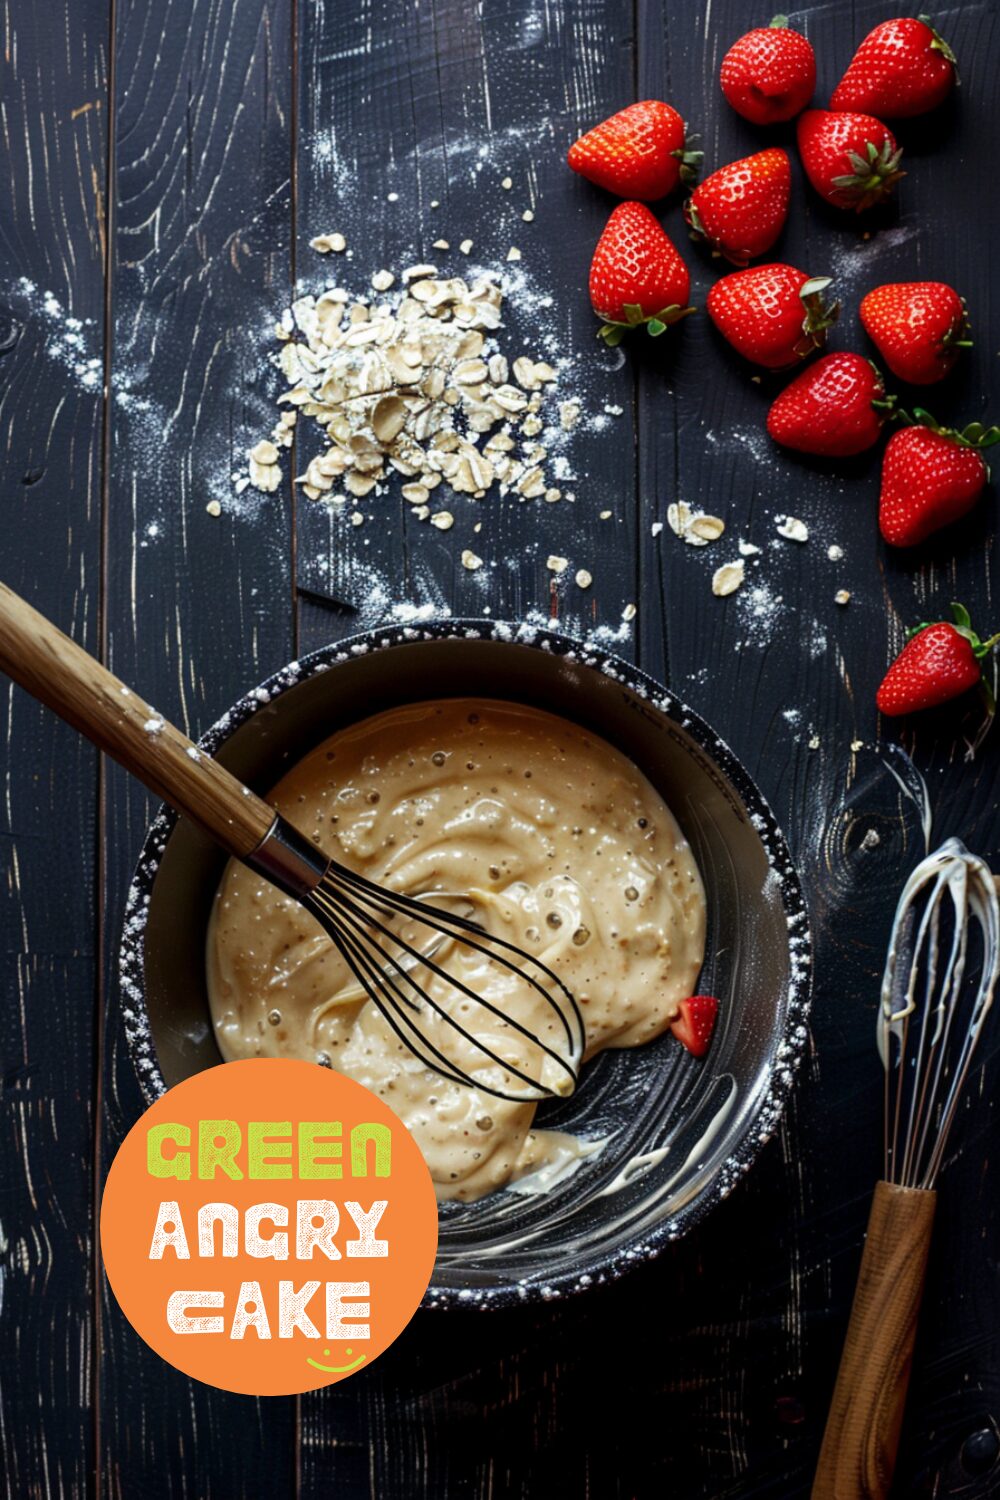
- Preheat the oven to 375°F. Combine the milk and oats together in a small bowl or liquid measuring cup and let soak. In another bowl, optionally toss the strawberries with 1 teaspoon sugar. Set aside. Cream the butter and sugar until light. Add the egg, beating well. Stir in the vanilla and the soaked oats.
- In a bowl, sift together the flour, baking powder, and salt. Gently stir the flour mix to the creamed oats mix.
- Drain the strawberries then fold in gently.
- Line a standard muffin tin with 6 liners, and fill equally with the batter. Sprinkle the sanding sugar and a couple of oats over the tops of the muffins, and bake for 30-35 minutes, or until the tops are golden and toothpick comes out clean.
- Let cool for 10-15 minutes before removing muffins from tins and enjoy!
Helpful Hints
- You can substitute the strawberries with raspberries, blueberries, blackberries, or cherries for a different flavor.
- Add 1/2-3/4 cup chopped chocolate or chocolate chips for a chocolate twist.
- These muffins freeze well for up to 3 months. Just thaw and enjoy!
-
Brown Butter Chocolate Chip Cookies
Soft and chewy with pools of dark chocolate and crisp edges, no mixer needed. These brown butter chocolate chip cookies are simply the best.
Ingredients:
- 1.5 cup all-purpose flour (200g)
- 1/2 tsp baking soda
- 1/2 tsp salt
- 1/2 cup butter plus 1-2 tbsp extra, divided
- 3/4 cup brown sugar (150g)
- 1/4 cup sugar (50g)
- 1 large egg
- 1 tsp vanilla
- 2 cups chopped semi-sweet dark chocolate (about 8oz)
- Flaky sea salt to finish
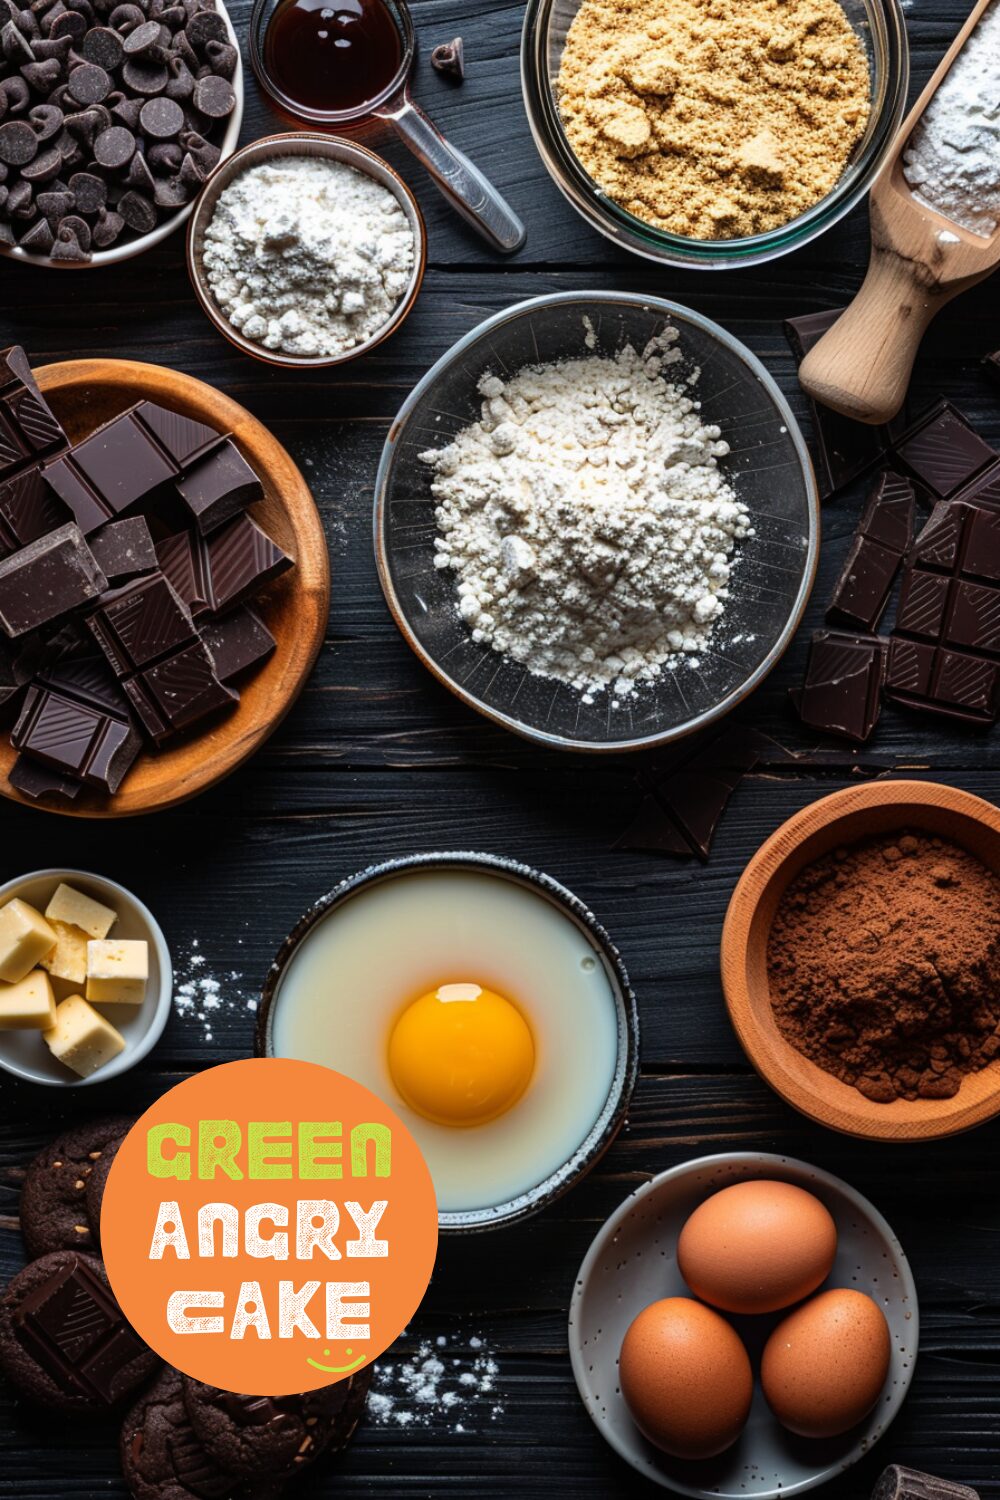
How to make Brown Butter Chocolate Chip Cookies
- Whisk together the flour, salt, and baking soda in a bowl and set aside. Brown 1/2 cup butter in a saucepan, swirling, until butter foams and starts to turn brown and smells nutty. Transfer butter to a liquid measuring cup and see how much water content you lost. You want to have 1/2 cup of butter, so stir in the remaining 1-2 tablespoons of butter if you need it – the butter you add in should melt slowly and not foam up.
- When the butter is melted and slightly cool, whisk in both sugars until incorporated with no lumps. Whisk in the egg until smooth and glossy. Stir in the vanilla and use a rubber spatula to fold in the dry ingredients until no dry spots remain. Fold in the chocolate.
- Use a 1.5 tablespoon cookie scoop and scoop out two balls of dough, so that each cookie is 3 tablespoons large. Smoosh the two balls on top of each other – they should kind of look like a log and you should get about 14-16 cookies depending on how big your chocolate chunks are. Place the logs on a parchment paper lined cookie sheet, cover with plastic wrap and let chill in the fridge for 15-30 minutes, or as long as it takes for your oven to heat up.
- Arrange the racks in the upper and lower thirds of the oven and heat to 375°F. Space out the cookie logs (standing tall) on parchment paper lined rimmed baking sheets, leaving plenty of space in between. Bake, rotating and moving trays halfway if browning unevenly. Bake until golden brown and firm around the edges, 10-12 minutes.
- Remove from the oven and bang the pan down against the countertop (this helps create a couple of ripples like you see on Instagram). Sprinkle with flaky sea salt, let cool on the baking sheets, and enjoy!
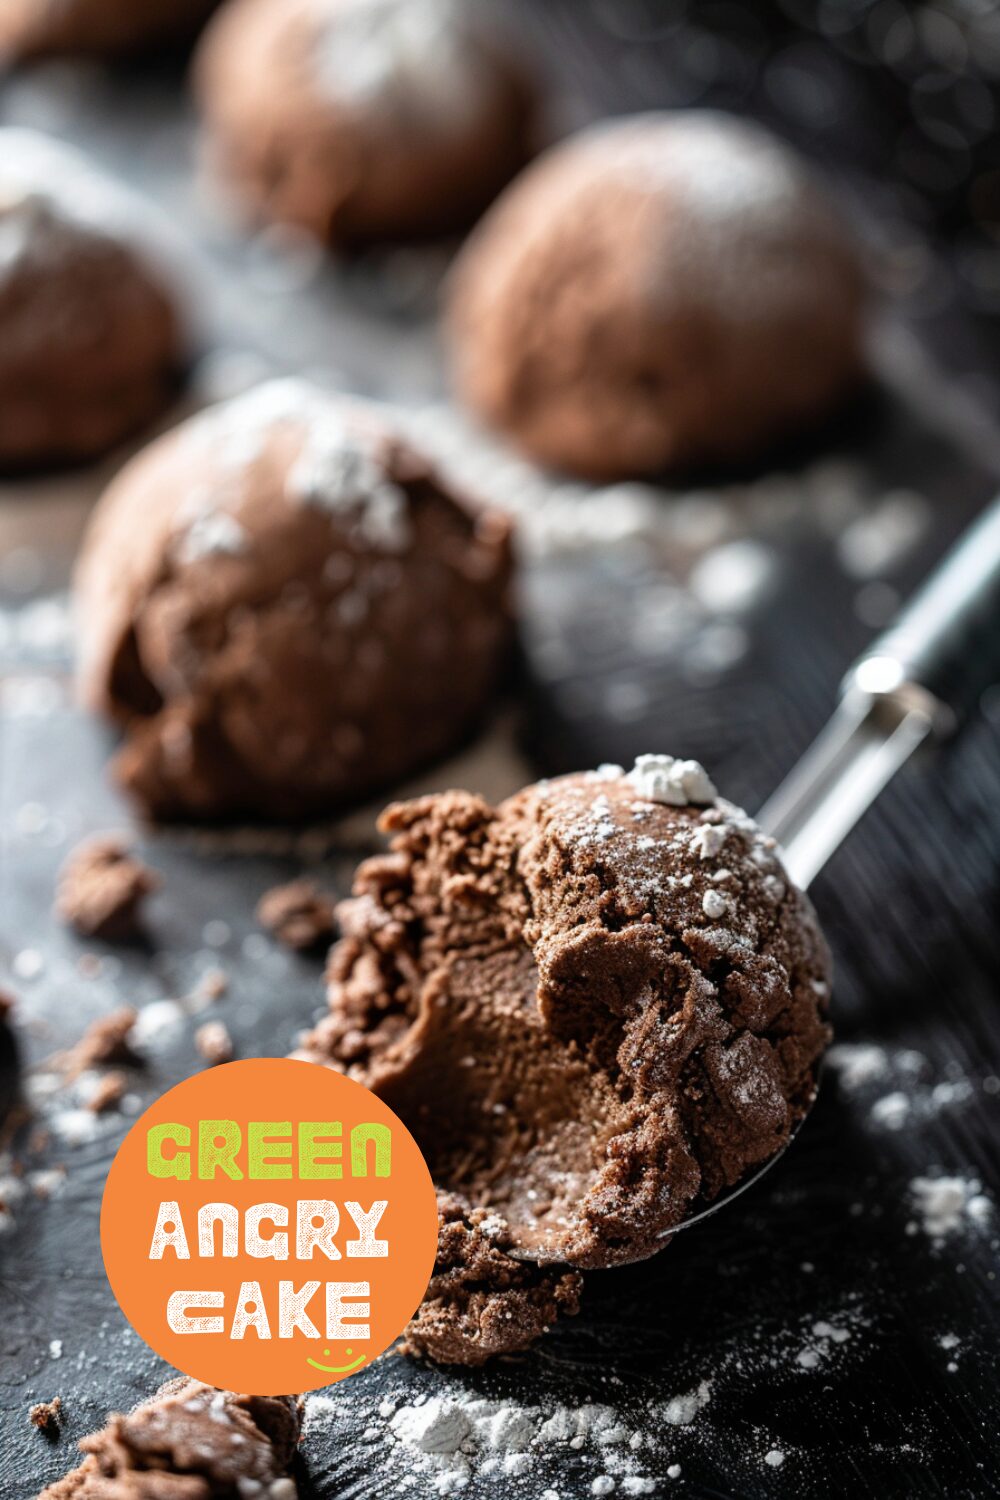
Helpful Hints:
- Ensure your egg is at room temperature to avoid shocking the warm butter.
- Use unsalted butter to control the salt content of your cookies.
- Chilling your dough helps develop a deep caramel flavor and gives you crispy edges, chewy insides, and crackly tops.
- Avoid over-mixing to prevent extra puffy cookies.
-
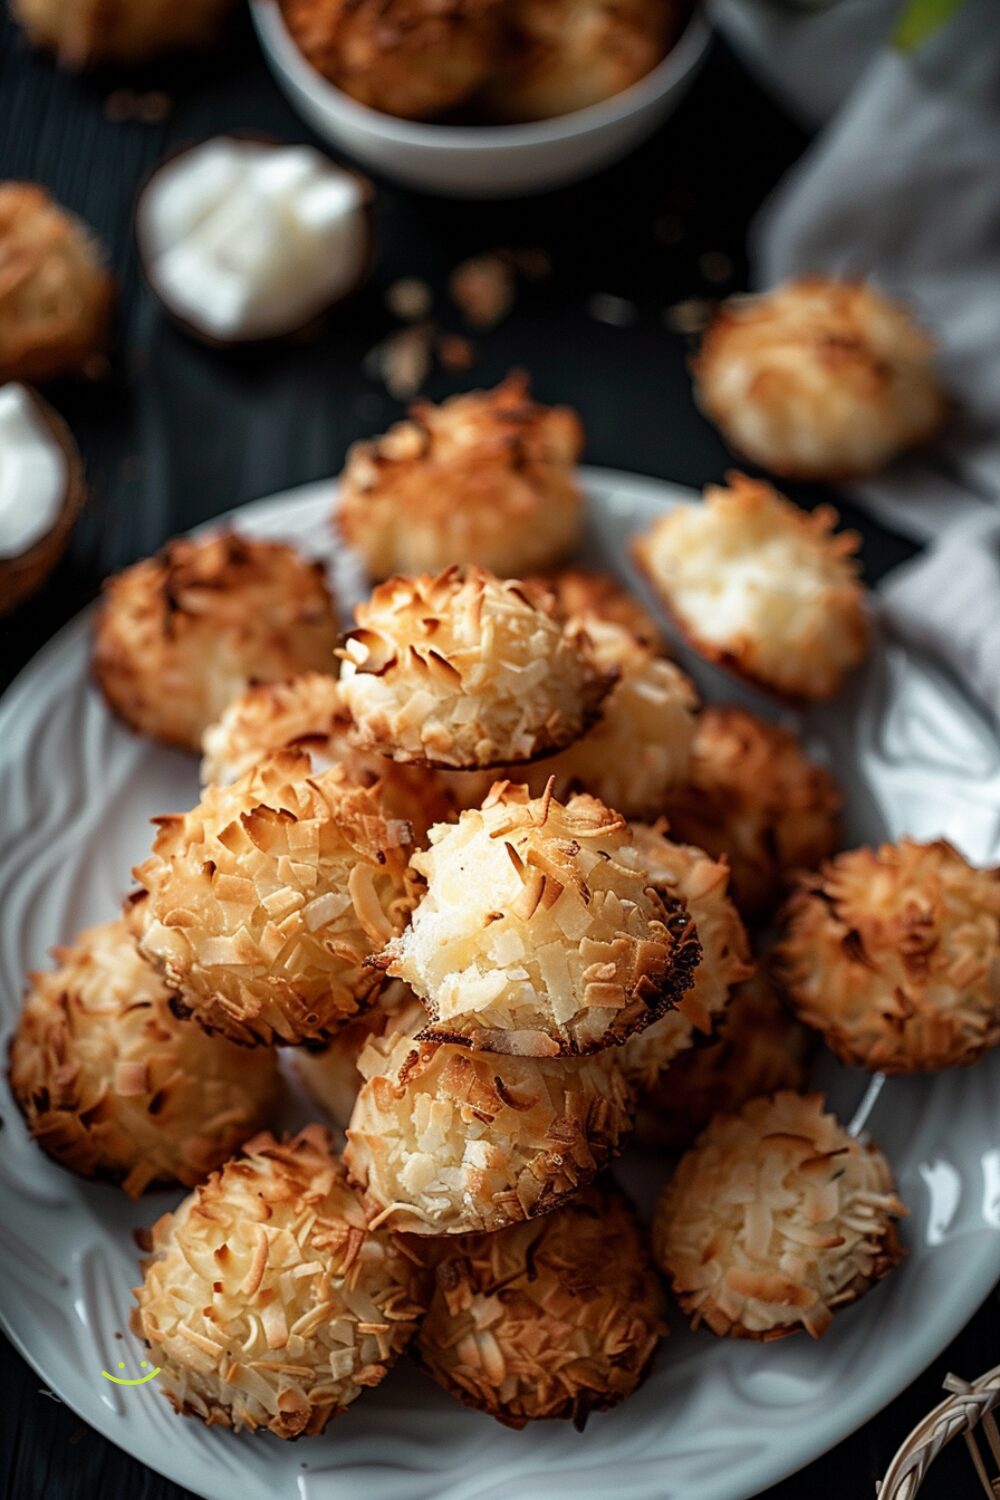
Coconut Macaroons: The Perfect Sweet Treat
Coconut macaroons are a delightful blend of crispy exteriors and chewy, moist interiors, perfect for any occasion. These coconutty haystacks are simple to make and incredibly satisfying. Just a handful of ingredients and minimal effort, and you have a sweet treat that’s perfect with a cup of tea.
Ingredients:
- 172 g unsweetened shredded coconut (6oz, roughly 2 2/3 cups)
- 67 g sugar (2/3 cup)
- 45 g all-purpose flour (1/3 cup)
- 120 g egg whites (about 4 egg whites)
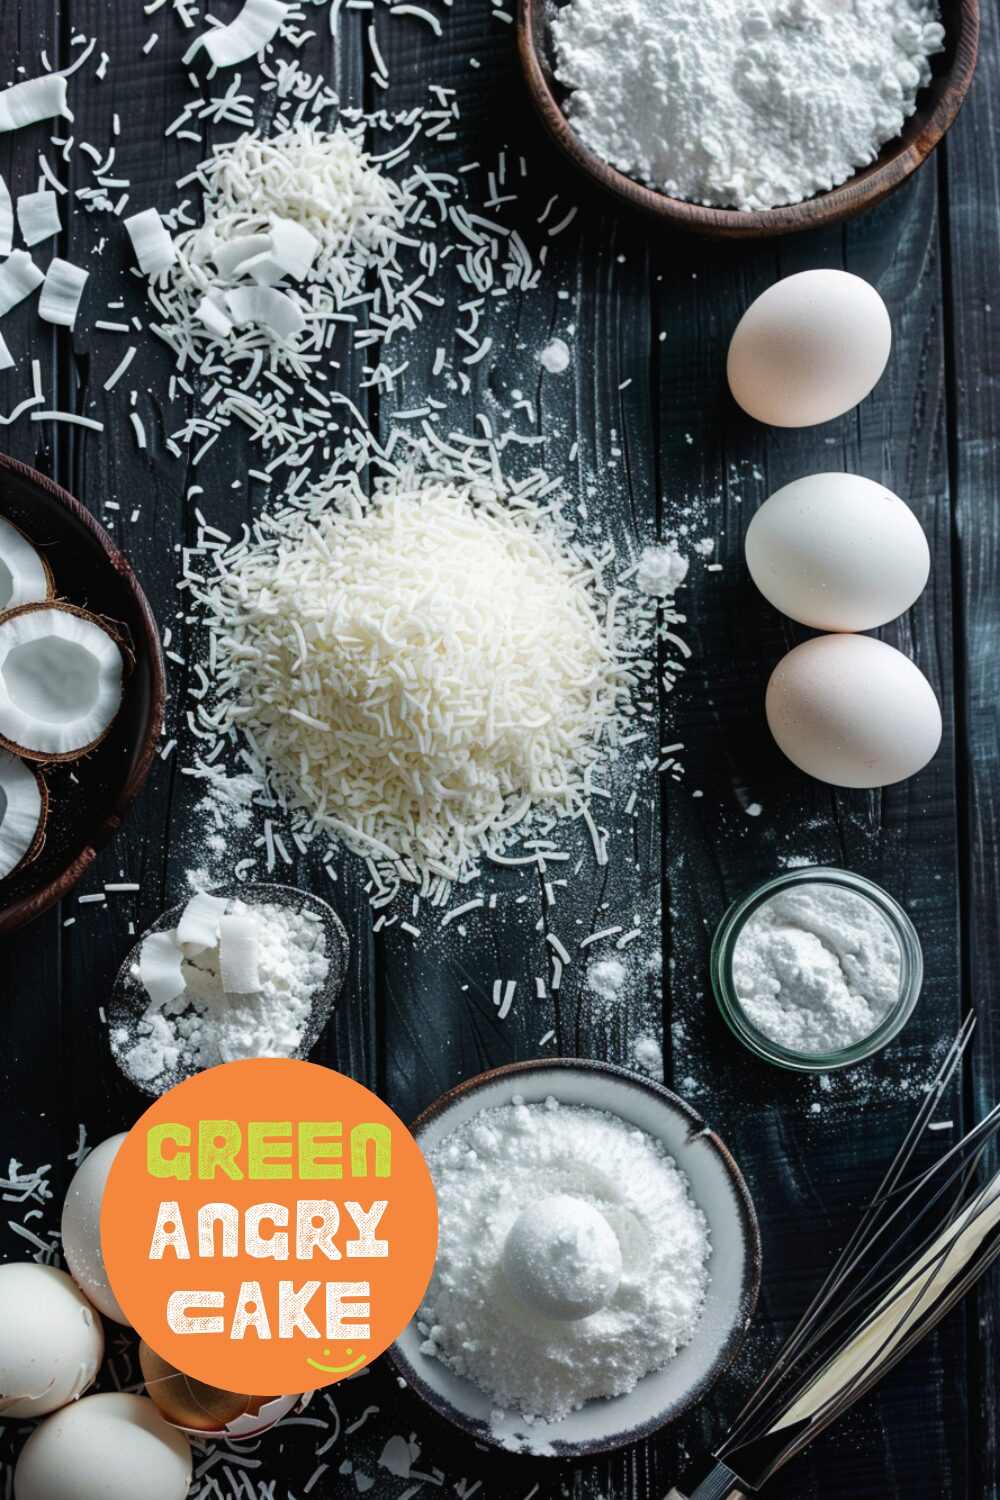
How to Coconut Macaroons
- Preheat oven to 325°F (160°C). Line a baking sheet with parchment paper.
- In a large bowl, combine shredded coconut, sugar, and flour.
- Stir in the egg whites until the mixture is well combined.
- Use a cookie scoop to portion out the batter into mounds and place them on the prepared baking sheet.
- Bake for 18-20 minutes or until the edges are lightly golden brown.
- Let cool on a wire rack and enjoy!
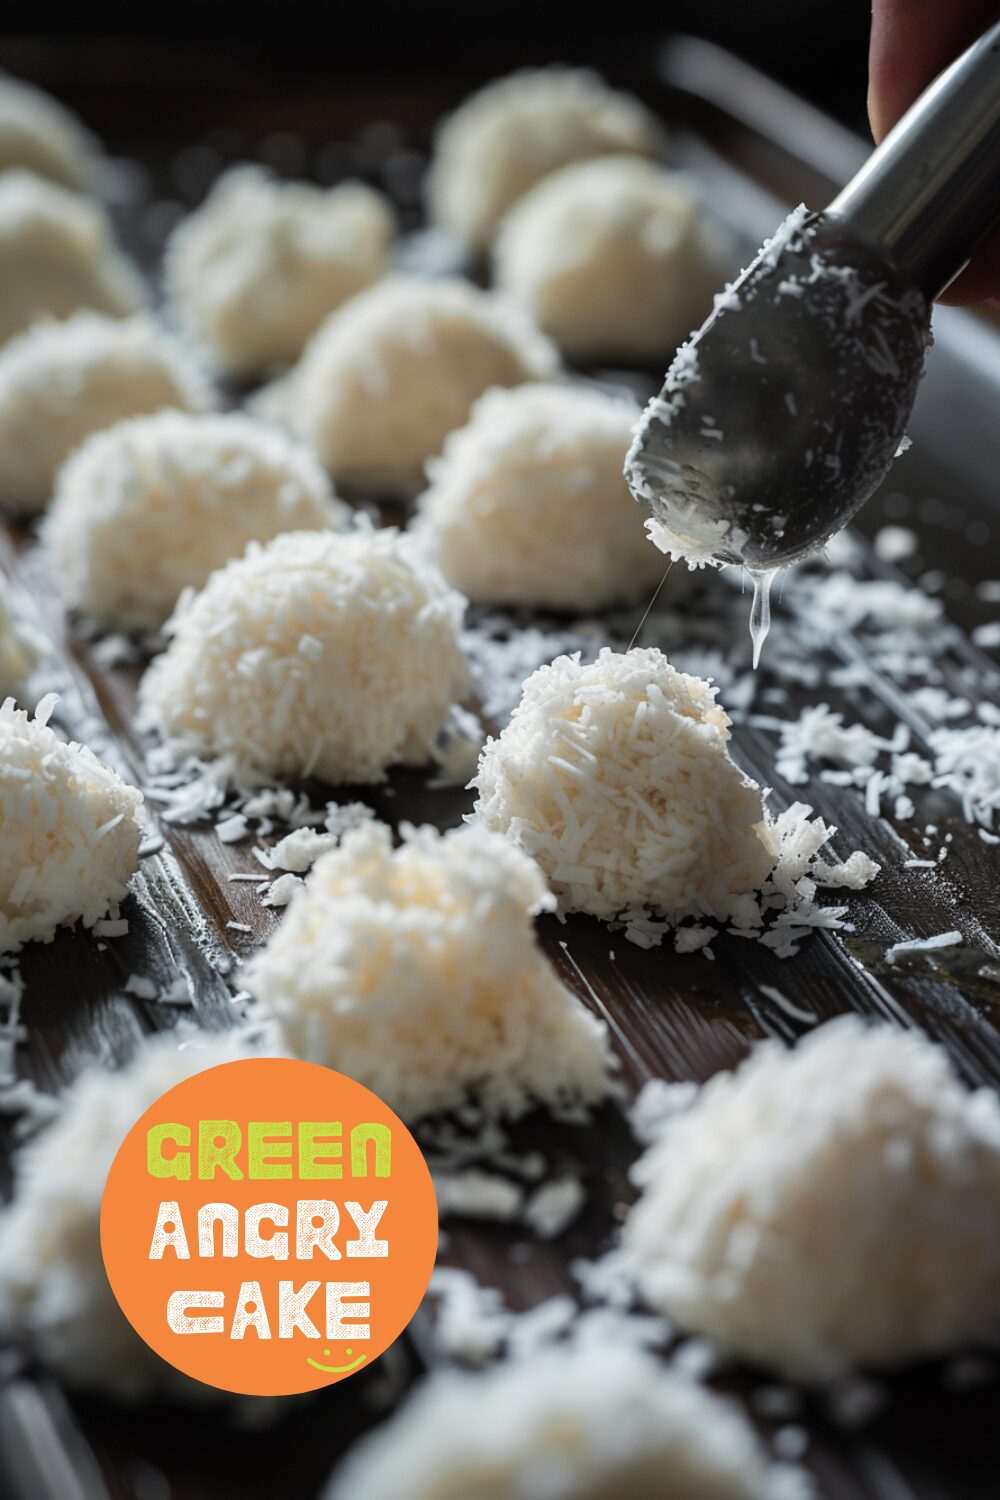
Helpful Hints:
- Use a cookie scoop for evenly sized macaroons.
- For a gluten-free version, substitute all-purpose flour with almond or coconut flour.
- Store macaroons in an airtight container at room temperature for up to 5 days.
-
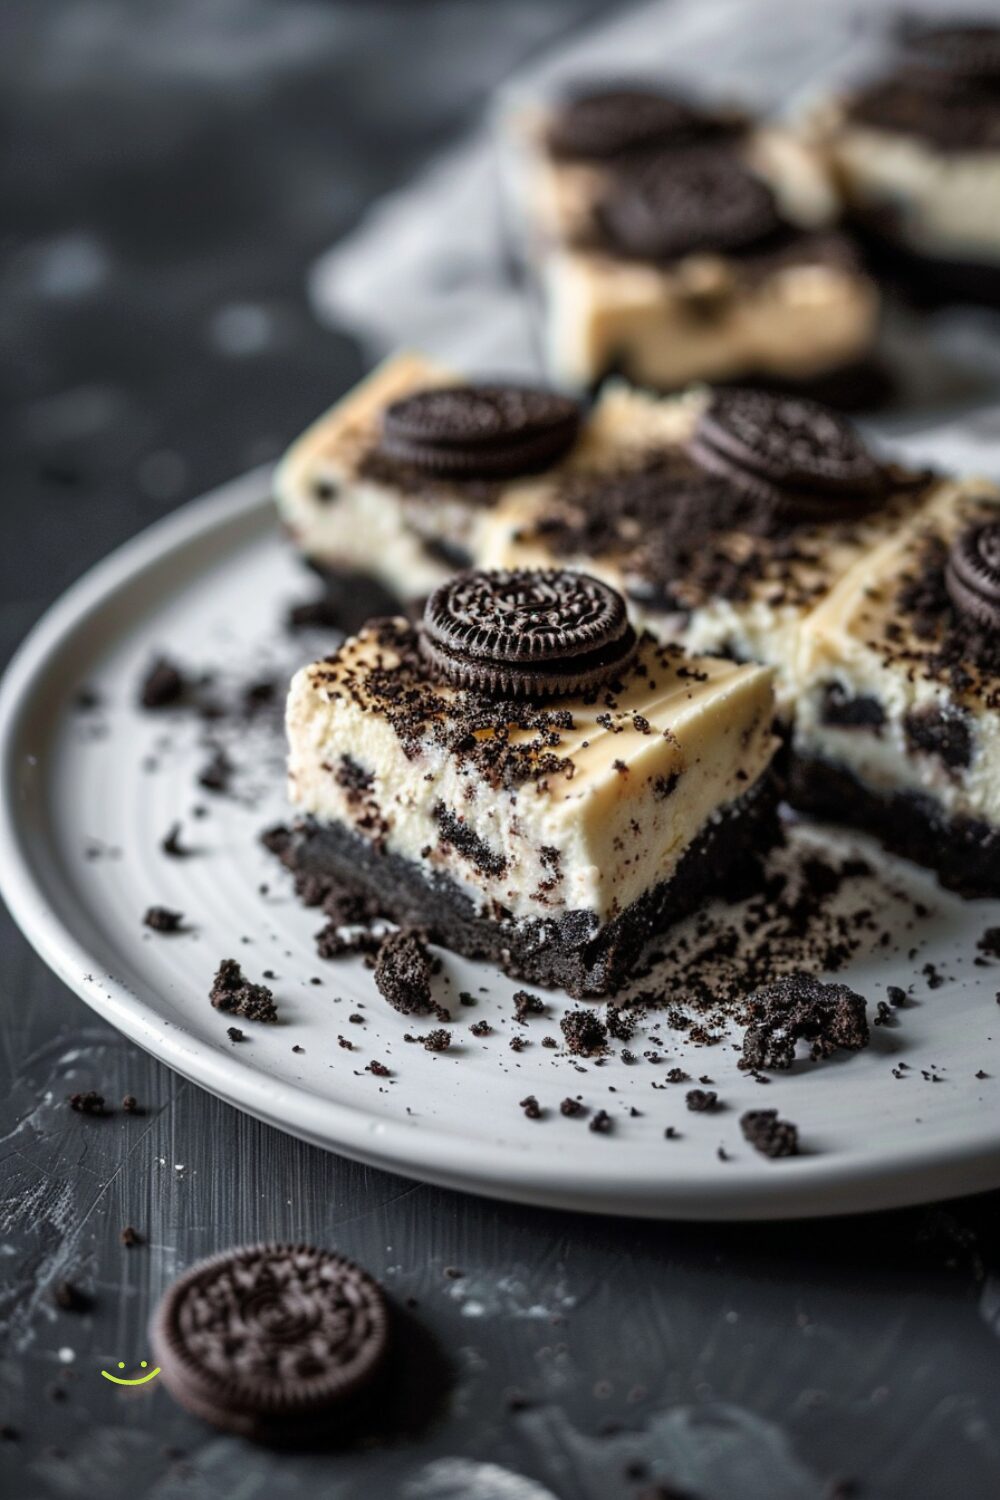
Oreo Cheesecake Bars
In the quiet of the kitchen, there’s a sweet delight waiting to be made. These Oreo cheesecake bars are everything you love about cookies and cream, turned into a creamy, no-bake treat. They’re perfect for those days when you crave something indulgent but don’t want to turn on the oven. With a rich, creamy filling and a crunchy Oreo base, each bite is a little piece of heaven. These bars are so irresistible that once you start, it’s hard to stop. Perfect for any occasion, they’re a simple yet satisfying dessert that’s sure to please.
Ingredients:
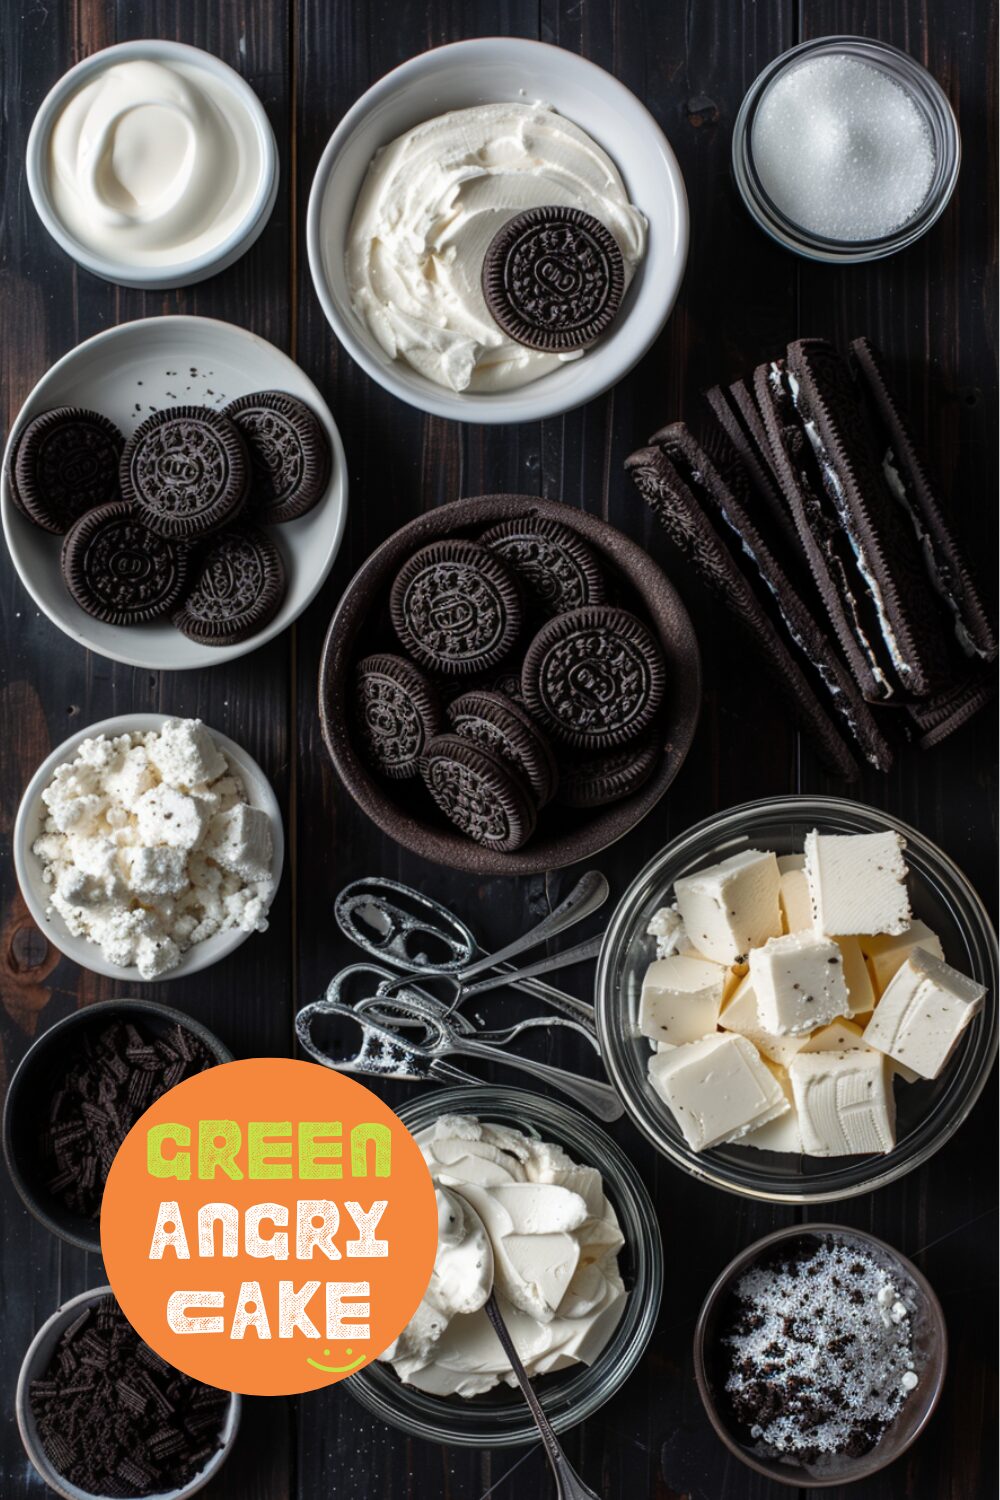
- 40 Oreos, divided
- 1/4 cup butter, melted
- 2 boxes cream cheese, room temp (16 oz, about 4 cups)
- 1 2/3 cups heavy cream (14 oz)
- 1 tsp vanilla, optional
- 1/2 cup sugar
Special Equipment:
- 8×8 inch pan
How to make Oreo Cheesecake Bars
- Use a food processor to crush 24 Oreos into fine crumbs. Alternatively, use a ziplock bag and crush until fine. Mix together with the melted butter then press into an 8×8 inch pan and refrigerate for 10 minutes while you make the filling.
- In a mixing bowl or stand mixer, whip the cream cheese until very smooth. Add the heavy cream, vanilla, and sugar, beating until well combined. Break up 16 Oreos into chunks and fold into the cream cheese mix.
- Pour the filling over the chilled cookie crust and spread evenly. Add some crushed Oreos on top, if desired.
- Freeze for 1-2 hours or until set. Cut into squares and enjoy! You can keep these either in the fridge or the freezer once sliced – the freezer version tastes more ice cream-y and the fridge version tastes more creamy and like regular cheesecake.
Helpful Hints:
For a small batch that makes 4 bars in a small 4.75 inch square pan:
- 10 Oreos, 6 for the base and 4 for mixing in and topping
- 1 tbsp butter, melted
- 100 grams cream cheese, at room temp, about 1/2 cup
- 100 grams heavy cream, about 1/2 cup
- 1/4 tsp vanilla, optional
- 2 tbsp sugar
-
Heavenly Burnt Basque Cheesecake
In the quiet moments of the day, when the sun dips low and the kitchen is bathed in a warm, golden glow, there’s nothing quite like the promise of a Basque cheesecake. With its creamy, almost molten center and deeply caramelized top, this is the cheesecake that dreams are made of. Born in the heart of San Sebastian, this burnt beauty is simplicity at its finest, with only a handful of ingredients coming together to create something truly special.
Imagine slicing through the dark, burnished exterior to reveal the soft, velvety interior. Each bite is a symphony of textures and flavors – the slight bitterness of the top balancing perfectly with the rich, sweet creaminess beneath. It’s a cheesecake that doesn’t demand perfection; in fact, its rustic, cracked top is all part of its charm.
Making a Basque cheesecake is a lesson in the beauty of imperfection. No need for a water bath or a springform pan. Just cream cheese, sugar, eggs, and cream, baked at a high temperature until gloriously burnt. It’s the kind of dessert that feels like a warm embrace – comforting, indulgent, and utterly irresistible.
Ingredients:
- 2 bricks cream cheese, room temp, 8oz bricks
- 3/4 cup sugar (5.2 oz/150 g)
- 4 large eggs
- 3/4 cup heavy cream (6.3 oz/180 g)

How to make Basque Cheesecake
- Heat the oven to 430°F. (If you have convection mode, set the oven to convection.) Line a 6-inch round, 3-inch tall cake pan with parchment paper with an overhang of 2 inches. Double line it to ensure easy removal.
- In a stand mixer, or by hand, beat the cream cheese with the sugar until smooth, making sure the sugar is completely incorporated and the mixture is light, fluffy, and lump-free. Scrape down the bowl as needed.
- Add the eggs, one at a time, ensuring the batter is smooth and incorporated before adding the next. Scrape down the sides of the bowl as needed.
- Slowly pour in the cream, mixing until just combined.
- Pour the batter into the prepared tin and bake for 25-30 minutes. The top should be a dark amber, and the middle should still wobble and jiggle. For a more caramelized top, leave it a bit longer, but note the center will not be as gooey.
- Remove from the oven and let cool in the pan on a wire rack at room temp until completely cool. Remove the cake from the tin and slice at room temperature for a gooey, lava-like cheesecake. If desired, place in the fridge to cool, resulting in a soft and creamy cheesecake without the ooze. Enjoy!
