Fruit & Veg Prep
Master the art of preparing fruits and vegetables with our tips and techniques. Learn easy produce prep, fresh produce preparation, and vegetable cutting techniques to enhance your meals.
-
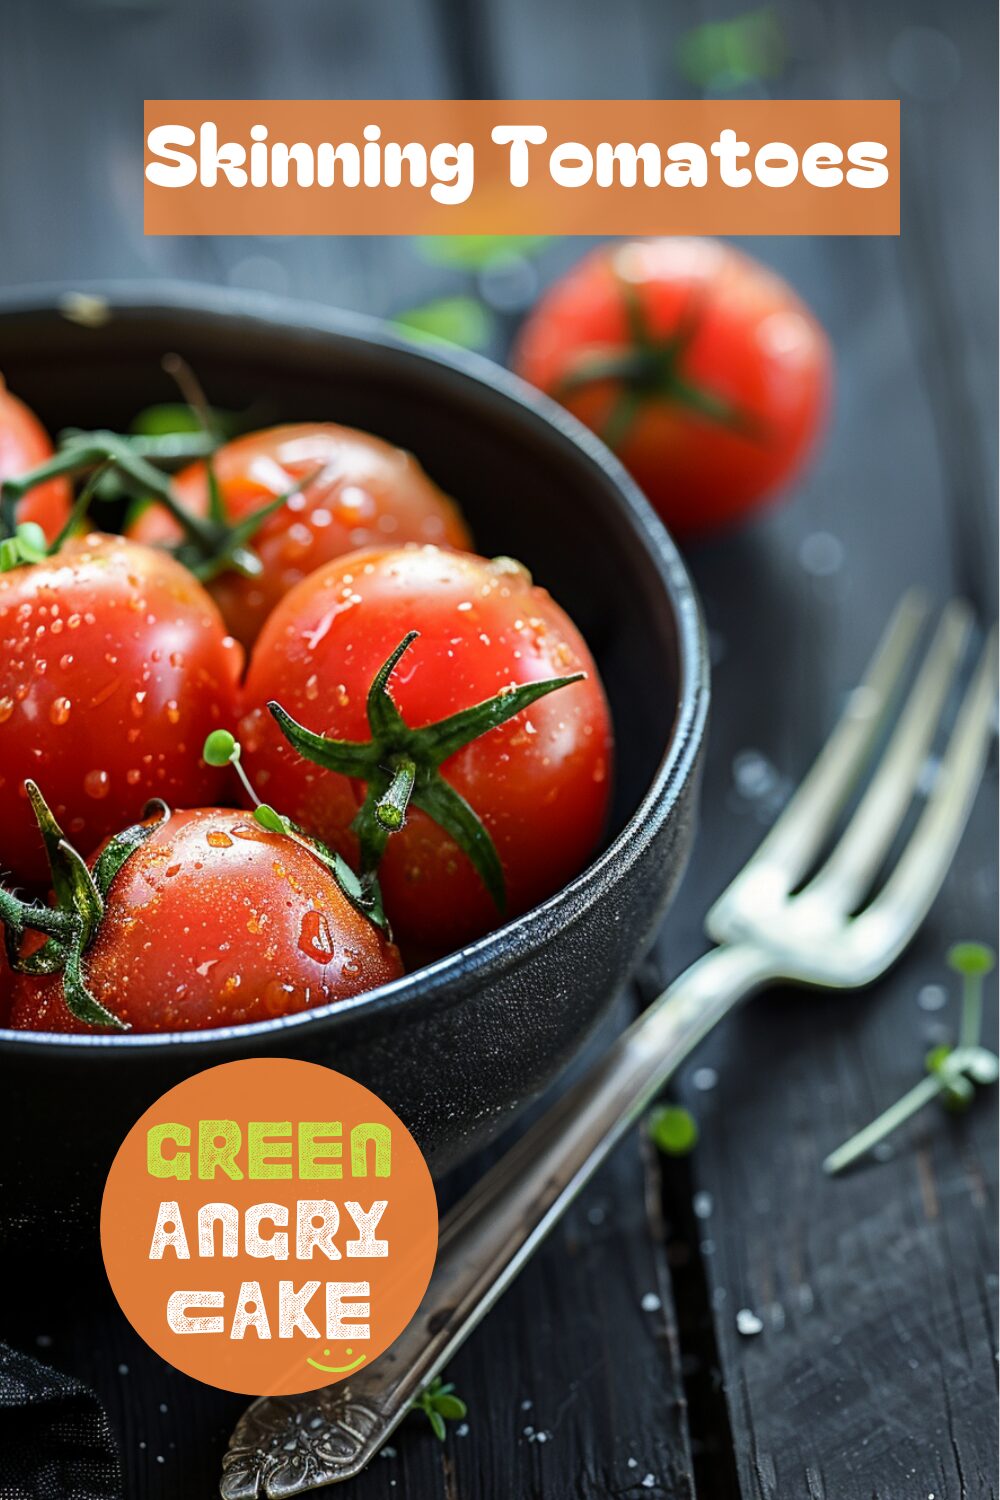
Skinning Tomato Techniques – How to Skin Tomatoes
Enhance your vegetable preparation skills with our guide on tomato skinning techniques. Learn how to skin tomatoes perfectly using simple steps. Our step-by-step instructions ensure you get the most out of your tomatoes, whether for sauces, soups, or salads.
Skinning Tomatoes
Equipment Needed:
- Heatproof bowl
- Fork
Step-by-Step Instructions for Tomato Skinning Techniques:
- Prep the Tomatoes: First, place the whole, fresh tomatoes into a heatproof bowl.
- Cover with Boiling Water: Cover the tomatoes with boiling water. Set aside for 30-60 seconds, or until the skins have split.
- Remove and Cool: Remove the tomatoes from the water using a fork. When they’re cool enough to handle, peel off the skins.
Tomatoes are a versatile ingredient in many dishes. Therefore, knowing how to skin tomatoes properly is essential to achieve the desired texture and appearance. With these tomato skinning techniques, you can easily prepare tomatoes for various recipes.
Helpful Hint:
- For easier peeling, make a small cross-cut on the bottom of each tomato before placing them in boiling water.
Alternative Uses for Skinned Tomatoes:
- Tomato Sauce: Use skinned tomatoes as a base for homemade tomato sauce.
- Tomato Soup: Blend skinned tomatoes with vegetable broth for a smooth tomato soup.
- Tomato Salad: Add skinned tomatoes to a fresh tomato salad with basil and mozzarella.
-
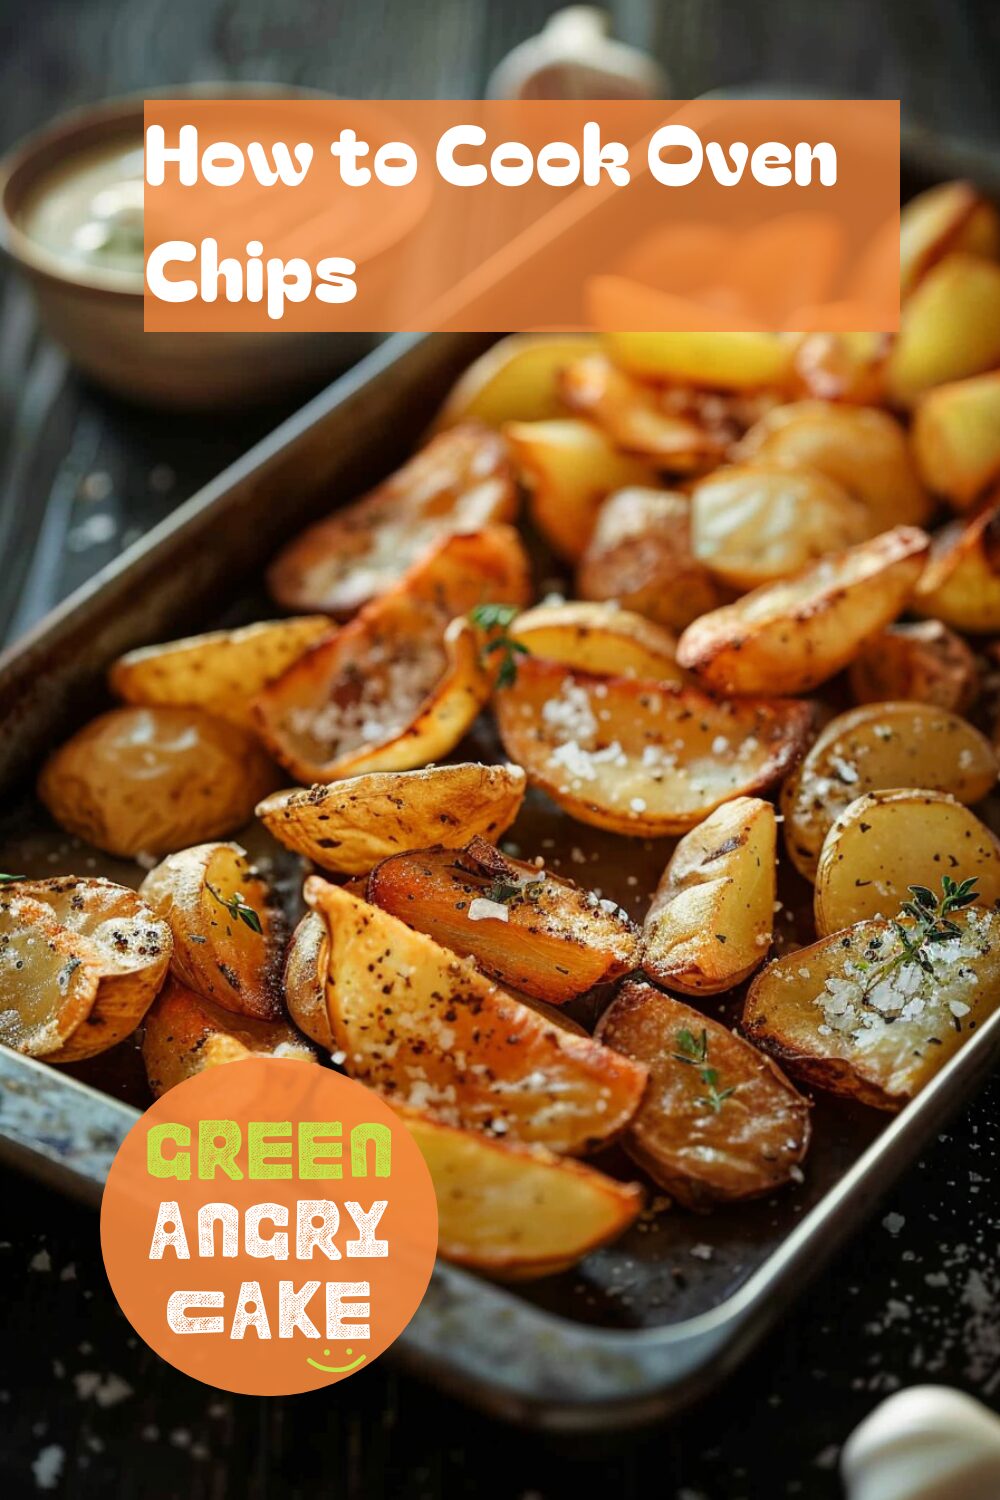
Perfect Oven Chips – Simple Cooking Methods
Enhance your snack preparation skills with our guide on oven chip preparation techniques. Learn how to cook oven chips perfectly using simple steps. Our step-by-step instructions ensure you get the most out of your potatoes, resulting in crispy, delicious chips.
How to Cook Oven Chips
Equipment Needed:
- Sharp knife
- Chopping board
- Saucepan
- Colander
- Baking tray
Step-by-Step Instructions for Oven Chip Preparation Techniques:
- Preheat the Oven for Oven Chip Preparation: First, preheat the oven to 200C/180C Fan/Gas 6.
- Prep the Potatoes: Peel and slice two large potatoes into fairly thick chips.
- Boil the Chips: Put the sliced potatoes in a pan and cover with boiling water. Cook for 5 minutes, then drain them in a colander.
- Prepare for Baking: Drizzle a baking tray with olive oil and add the chips. Season with salt and pepper and mix to coat the chips in oil.
- Bake the Chips: Bake for 20–25 minutes, until the chips are golden and crispy.
Oven chips are a healthier alternative to fried chips and make a delicious snack or side dish. Therefore, knowing how to cook oven chips properly is essential to achieve the perfect texture and flavor. With these oven chip preparation techniques, you can make crispy, tasty chips easily.
Helpful Hint:
- For added flavor, sprinkle the chips with paprika or garlic powder before baking.
Alternative Uses for Oven Chips:
- Loaded Oven Chips: Top oven chips with cheese, bacon, and green onions for a loaded version.
- Oven Chip Sandwich: Use oven chips in a sandwich for a crunchy texture and added flavor.
- Oven Chip Salad: Add oven chips to a salad for a unique and delicious twist.
-
Perfect Caramelised Onions – Simple Cooking Methods
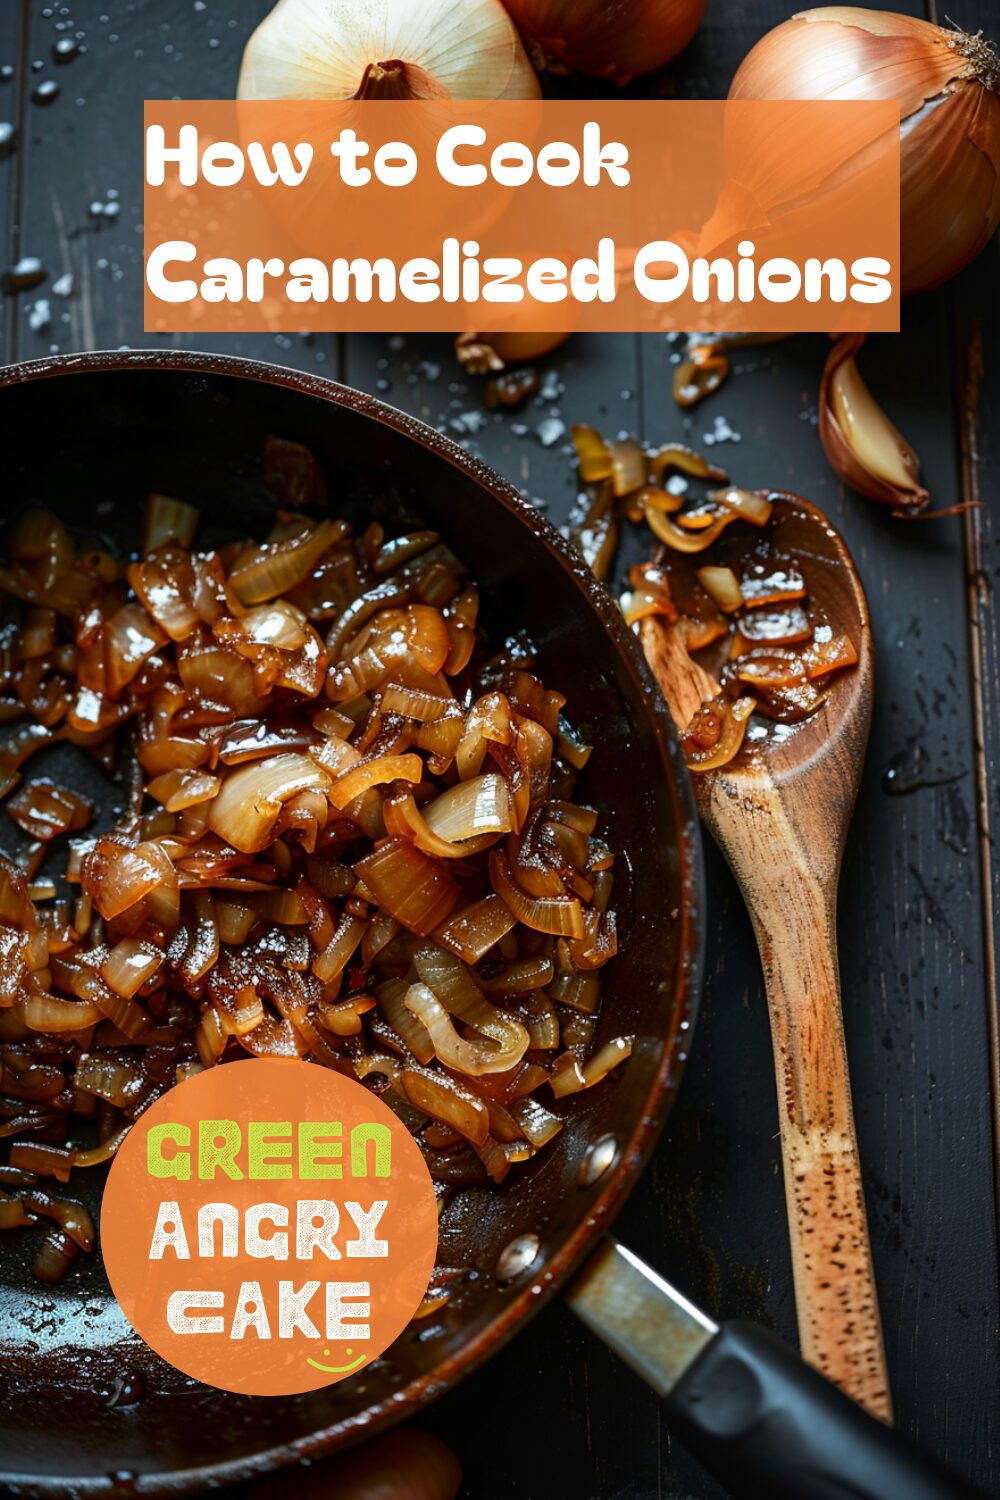
Enhance your cooking skills with our guide on caramelized onion preparation techniques. Learn how to cook caramelized onions perfectly using simple steps. Our step-by-step instructions ensure you get the most out of your onions, whether for gravies, chutneys, tarts, or as a topping.
How to Cook Caramelized Onions
Equipment Needed:
- Sharp knife
- Chopping board
- Frying pan
- Wooden spoon
Step-by-Step Instructions for Caramelized Onion Preparation Techniques:
- Prep the Onions: First, peel the onion and cut it in half. Slice each piece finely into half-moons. The thinner the slices, the quicker they will cook.
- Heat the Oil: Warm a tablespoon of olive oil in a frying pan on low heat. Test if the oil is hot by putting a slice of onion in the pan. As soon as it starts to sizzle, add the rest of the onion and a pinch of salt. Stir with a wooden spoon.
- Cook the Onions: Cook slowly for 15–20 minutes, stirring regularly, until the onions are soft, translucent, and golden brown in color. If the onions stick to the pan, loosen them with a splash of water and a good stir.
- Cool and Store: The caramelised onions can be cooled and stored in a sealed container in the fridge for up to 2 days.
Caramelised onions are a versatile ingredient that adds depth and sweetness to many dishes. Therefore, knowing how to cook caramelised onions properly is essential to achieve the perfect flavor and texture. With these caramelised onion preparation techniques, you can make a delicious addition to your recipes easily.
Helpful Hint:
- For extra sweetness, you can add a teaspoon of sugar to the onions while cooking.
Alternative Uses for Caramelized Onions:
- Gravy: Add caramelized onions to gravy for a rich, savory flavor.
- Chutney: Mix caramelised onions with vinegar and spices to make a tasty chutney.
- Tarts: Use caramelised onions as a filling for savory tarts.
- Topping: Serve caramelised onions on top of sausages or burgers for a delicious topping.
-
Tomato De-seeding Techniques – Step-by-Step Guide
Enhance your vegetable preparation skills with our guide on tomato de-seeding techniques. Learn how to de-seed tomatoes perfectly using simple steps. Our step-by-step instructions ensure you get the most out of your tomatoes, whether for sauces, salads, or garnishes.
De-seeding Tomatoes
Equipment Needed:
- Sharp knife
- Teaspoon
Step-by-Step Instructions for Tomato De-seeding Techniques:
- For Sauces: If making a sauce, cut the tomatoes in half horizontally and squeeze out the seeds.
- For Chopped Dishes: If making a dish that requires the tomato flesh to be chopped later, cut the tomatoes in half horizontally and scoop out the seeds using a teaspoon.
- For Display Dishes: If making a dish where the de-seeded tomatoes will be on display, cut the tomatoes in half vertically, then cut them in half again into quarters. Carefully cut out the seeds and core using a sharp knife.
Tomatoes are a versatile ingredient in many dishes. Therefore, knowing how to de-seed tomatoes properly is essential to achieve the desired texture and appearance. With these tomato de-seeding techniques, you can easily prepare tomatoes for various recipes.
Helpful Hint:
- Save the seeds and juice for adding to soups or stocks for extra flavor.
Alternative Uses for De-seeded Tomatoes:
- Tomato Salad: Use de-seeded tomatoes in a fresh tomato salad with basil and mozzarella.
- Salsa: Mix de-seeded tomatoes with onions, cilantro, and lime juice for a vibrant salsa.
- Stuffed Tomatoes: Fill de-seeded tomatoes with a mixture of herbs, cheese, and breadcrumbs for a tasty appetizer.
-
How to Roast Vegetables – Easy Roasting Techniques
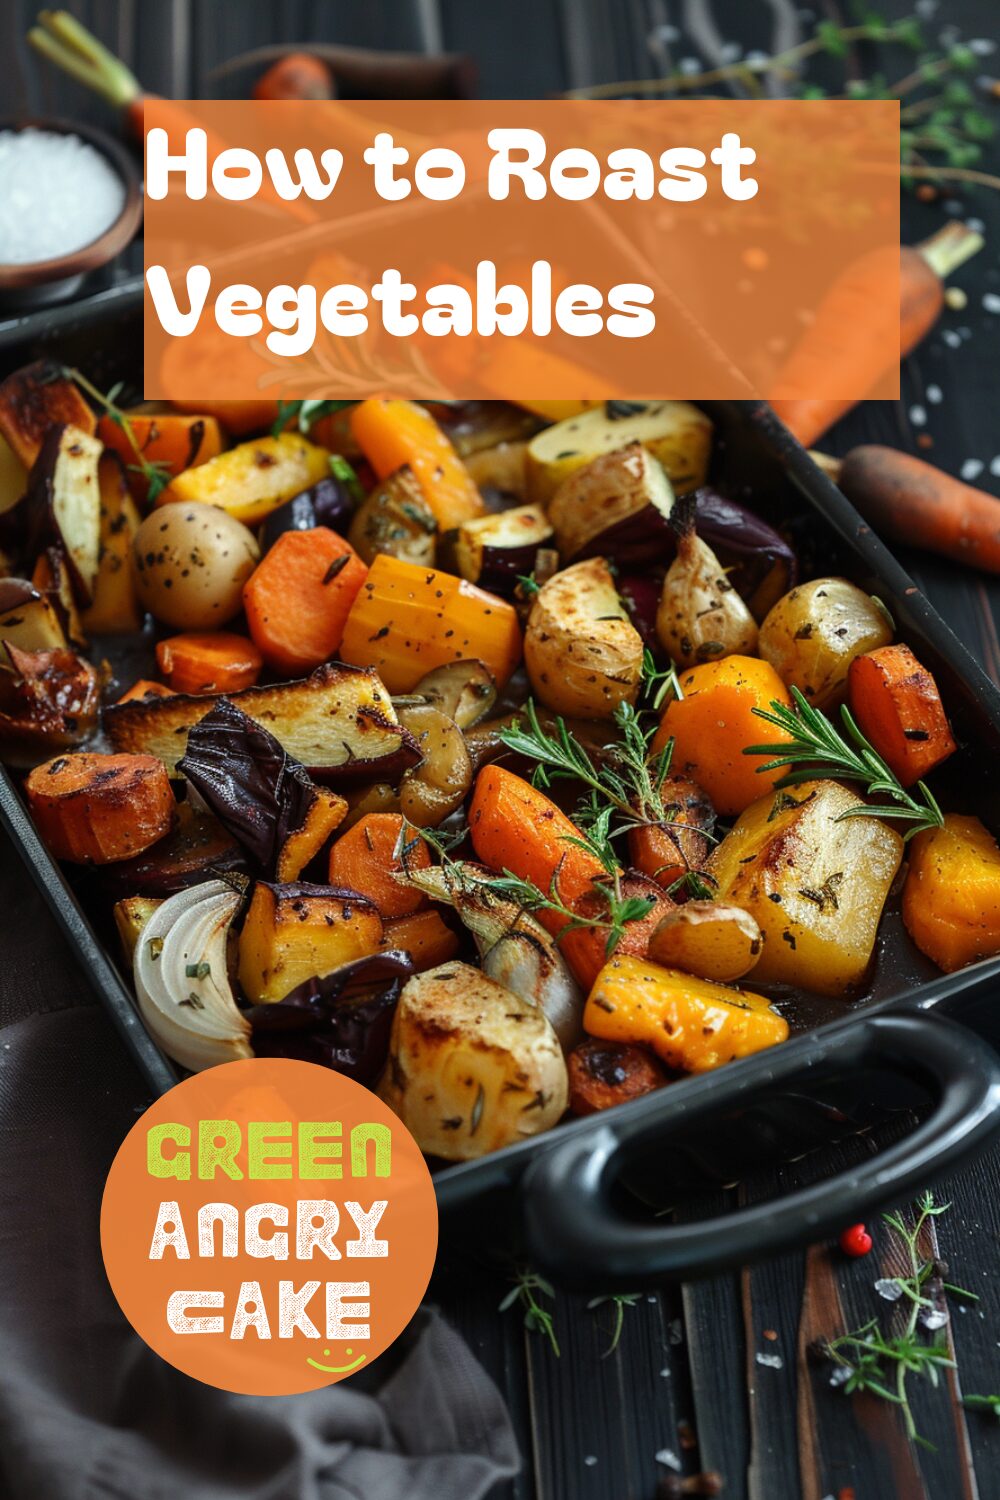
Enhance your cooking skills with our guide on vegetable roasting techniques. Learn how to roast vegetables perfectly using simple steps. Our step-by-step instructions ensure you get the most out of your vegetables, whether as a side dish or a main course.
How to Roast Vegetables
Equipment Needed:
- Knife
- Chopping board
- Roasting dish
- Oven
Step-by-Step Instructions for Vegetable Roasting Techniques:
- Prepare the Vegetables: First, prepare the butternut squash by chopping off any tough skin. Scrub or peel root vegetables like parsnips. You can also use other vegetables such as carrots, celeriac, or sweet potatoes.
- Cut to Size: Vegetables roast at different speeds, so cut them to the right size to ensure they all cook evenly. Soft vegetables like aubergines cook faster, so cut these larger. Hard vegetables like parsnips take longer to cook, so chop them finer.
- Arrange in Roasting Dish: Place the prepared vegetables in a single layer in a roasting dish. Add some robust herbs such as thyme or rosemary and a few pinches of salt and pepper to taste.
- Add Garlic for Flavor: A few cloves of garlic, left whole in their skins, can be roasted with the vegetables to enhance the flavor. You can also use them to make a sweet roasted garlic paste to spread on toast or add to dressings.
- Coat with Oil: Pour a glug of vegetable or olive oil over the vegetables and use your hands to ensure they are completely coated.
- Roast the Vegetables: Root vegetables will cook in 40-50 minutes in a fairly hot oven – 180-200C, or 350-400F. Soft vegetables like peppers, aubergines, onions, and tomatoes roasted at higher temperatures will have lovely charred edges.
Roasted vegetables are a simple and versatile dish. Using a mixture of different vegetables will give a good balance of tastes and textures. Therefore, knowing how to roast vegetables properly is essential for achieving the perfect flavor and texture.
Helpful Hint:
- For extra flavor, drizzle a bit of balsamic vinegar over the vegetables before roasting.
Alternative Uses for Roasted Vegetables:
- Roasted Vegetable Salad: Toss roasted vegetables with fresh greens and a light vinaigrette for a delicious salad.
- Vegetable Soup: Blend roasted vegetables with vegetable broth to make a hearty soup.
- Roasted Vegetable Sandwich: Use roasted vegetables as a filling for a flavorful sandwich or wrap.
-
Perfectly Cut Pineapple – Simple Pineapple Prep
Enhance your fruit preparation skills with our guide on pineapple cutting techniques. Learn how to cut a pineapple perfectly using simple steps. Our step-by-step instructions ensure you get the most out of your pineapple, whether for snacking or adding to recipes.
How to Cut a Pineapple
Equipment Needed:
- Chopping board
- Serrated knife
- Small sharp knife (optional)
Step-by-Step Instructions for Pineapple Cutting Techniques:
- Slice Off the Top and Bottom: First, slice off the top and bottom of the pineapple.
- Remove the Skin: Put the pineapple cut side down on the board so it’s stable, and slice away the skin from top to bottom.
- Optional – Remove the Eyes: You can leave it like this, or cut out the little brown spiky ‘eyes’ by following the diagonal lines with a sharp knife all the way around the pineapple.
- Cut into Quarters: Cut the peeled pineapple in half down the middle, and then in half again to make quarters.
- Remove the Core: Take one quarter and slice off the woody core which runs through the center of the pineapple. You will be able to see where this is as the fibers of the fleshy pineapple run diagonally out from the tougher core.
- Slice the Pineapple: Once the core is removed, put the quarter cut side down on the board and slice into pieces as thick or thin as you like. Repeat this core removal and slicing process with the remaining 3 quarters, and serve.
Pineapple is a delicious and versatile fruit that can be enjoyed in many ways. Therefore, knowing how to cut a pineapple properly is essential to make the most of this tropical fruit. With these pineapple cutting techniques, you can easily prepare pineapple for various dishes.
Helpful Hint:
- For a decorative presentation, you can leave the top leaves on one half of the pineapple and use it as a serving dish.
Alternative Uses for Cut Pineapple:
- Fruit Salad: Add freshly cut pineapple to a fruit salad for a tropical twist.
- Smoothies: Blend pineapple with other fruits for a refreshing smoothie.
- Grilled Pineapple: Grill pineapple slices and serve them as a side dish or dessert.
-
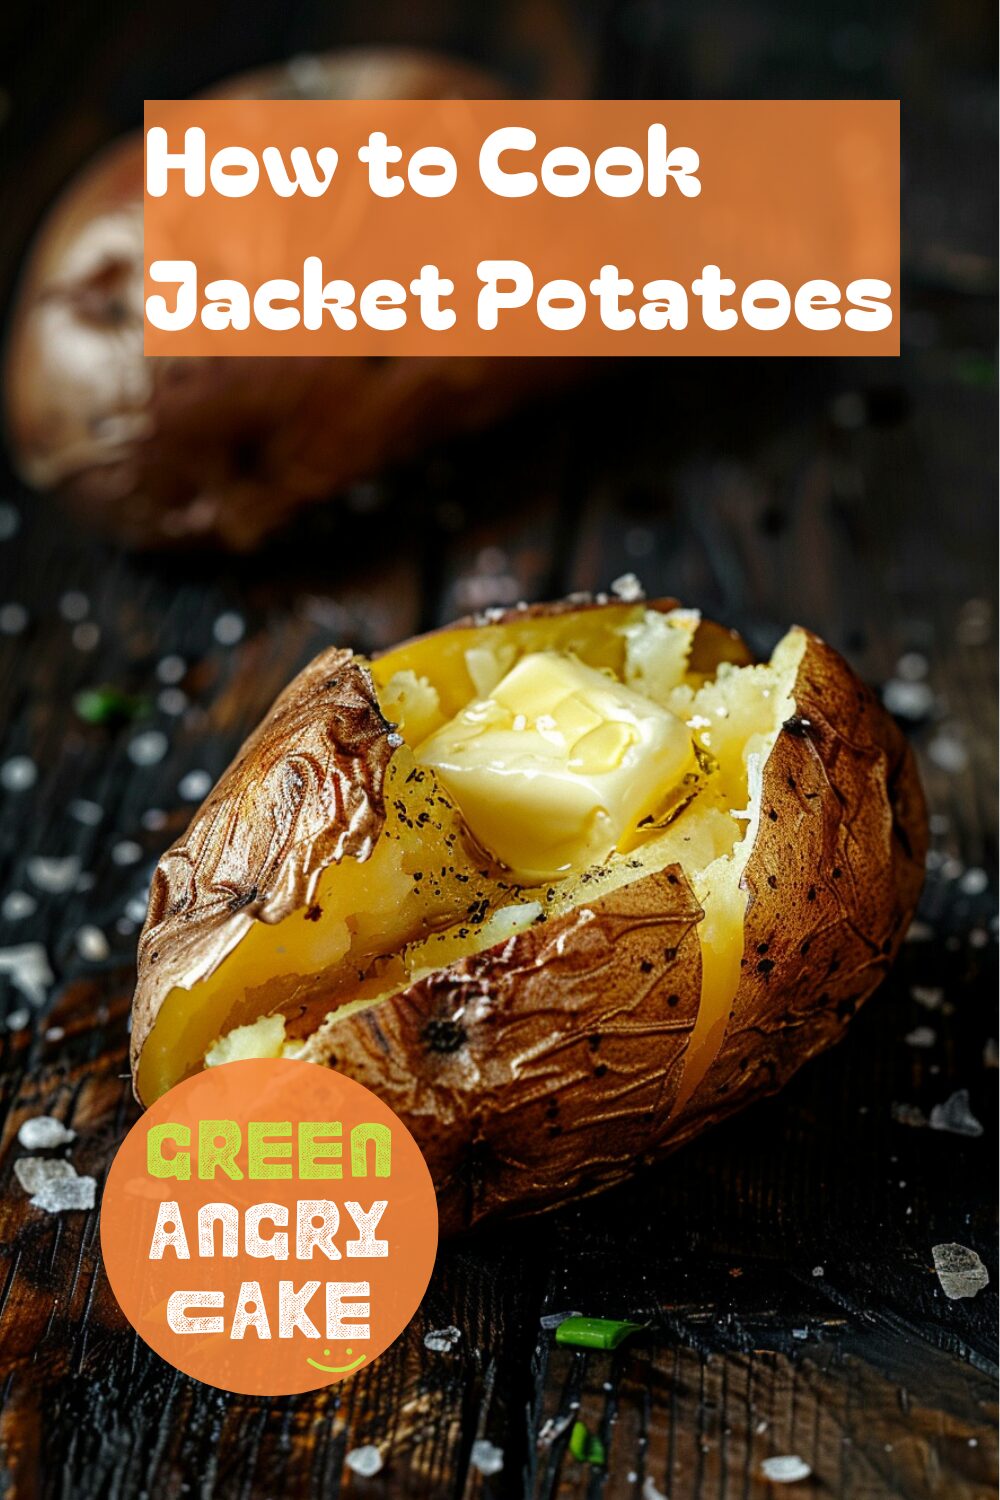
Perfect Jacket Potatoes – Crispy Outside, Fluffy Inside
Enhance your potato cooking skills with our guide on jacket potato preparation techniques. Learn how to cook jacket potatoes perfectly using simple steps. Our step-by-step instructions ensure you get the most out of your potatoes, whether for a meal or a side dish.
How to Cook Jacket Potatoes
Equipment Needed:
- Knife
- Oven
Step-by-Step Instructions for Jacket Potato Preparation Techniques:
- Preheat the Oven: First, preheat the oven to 200C/180C Fan/Gas 6.
- Prep the Potato: Next, prick the skin of the potato a couple of times all over. This stops it from bursting while cooking.
- Oil and Salt the Potato: Rub the potato skin with about 1 tablespoon of oil. Sprinkle over a pinch of salt.
- Bake the Potato: Put the potato directly on to the shelf in the oven and bake for 1 hour for a small to medium potato, or up to 1 hour 20 minutes for a larger potato. It’s best to check after 1 hour. You want a crispy golden skin and a soft, fluffy inside.
- Serve the Potato: Remove the potato from the oven and make a cross cut. Serve with a generous knob of butter and the fillings of your choice.
Jacket potatoes are a delicious and versatile dish that can be enjoyed in many ways. Therefore, knowing how to cook jacket potatoes properly is essential to achieve the perfect texture and flavor. With these jacket potato preparation techniques, you can make a tasty meal easily.
Helpful Hint:
- For extra flavor, you can add your favorite herbs or spices to the oil before rubbing it on the potato.
Alternative Uses for Jacket Potatoes:
-
Chopping Chillies – Easy Chilli Preparation
Enhance your spice preparation skills with our guide on chilli preparation techniques. Learn how to chop chillies perfectly using simple steps. Our step-by-step instructions ensure you get the most out of your chillies, whether for cooking or garnishing.
Chopping Chillies
Equipment Needed:
- Chopping board
- Sharp knife
Step-by-Step Instructions for Chilli Preparation Techniques:
- Slice the Chilli: First, place the chilli on a chopping board. Use a sharp knife to cut the flesh from around the stalk, turning the chilli as you go.
- Remove Seeds and Membranes: Next, remove and discard any seeds and the inner membranes (the hottest parts of the chilli), if desired.
- Chop Further: Finally, chop the chilli further into smaller pieces if needed for your recipe
Chillies add a burst of heat and flavor to many dishes. Therefore, knowing how to chop chillies properly is essential to make the most of this spicy ingredient. With these chilli preparation techniques, you can easily prepare chillies for various recipes.
Helpful Hint:
- Wear gloves while handling chillies to avoid skin irritation, and wash your hands thoroughly afterward.
Alternative Uses for Chopped Chillies:
- Salsas: Add chopped chillies to salsas for an extra kick.
- Marinades: Mix chopped chillies into marinades for meats and vegetables.
- Garnishes: Use chopped chillies as a garnish for soups, stews, and salads.
-
Easy Knife Skills Guide – Essential Cooking Techniques
Knife Skills Explained
Enhance your kitchen skills with our guide on knife preparation techniques. Learn essential knife skills using simple steps. Our step-by-step instructions ensure you master these techniques, making your cooking experience smoother and more efficient.
Equipment Needed:
- Knife
- Cutting board
Step-by-Step Instructions for Knife Preparation Techniques:
- Butterflying a Chicken Breast: First, slice a chicken breast partially in half horizontally and open it like a book. You might stuff this cavity with cream cheese or garlic butter.
- Chiffonade: To chiffonade means to slice leafy vegetables such as spinach into very thin strips. Roll the leaves up together, like a cigar, and slice the ends off very finely. You might want to do this for salads and stir-fries.
- Coring: You can core apples or pears by cutting the fruit in quarters and chopping out the seeds and woody center. You can also core vegetables such as cabbage or fennel that have a woody center but no seeds.
- Cubing: If a recipe requires you to cube an ingredient, cut them into around ½ inch cubes, like large dice. You can cube vegetables such as carrots and potatoes, fruit such as apples and pears, but also meat and fish. You might do this when making recipes such as a curry or pie.
- Dicing: Dicing is similar to cubing but smaller. Chop ingredients into the shape of small dice. This works well for pasty fillings and chunky soups.
- Julienne Slicing: Julienne is when you slice ingredients, such as carrots and cucumber, into matchstick shapes. They are thin and long with straight ends. You might do this for salads, sandwiches, and stir-fries.
- Mincing Garlic or Onions: If a recipe asks you to mince garlic or onions, chop them very finely. Some people find it easiest to chop into slices lengthways and then slice horizontally until tiny dice. Others find it easier to use a grater.
- Scoring: Scoring means to partially cut through in lines. You can score pastry, such as the top of a pie for decoration, or pork skin to make crackling. Scoring can also create more surface area for marinades or help fat render.
Understanding these common knife skills can greatly improve your cooking techniques. Knowing what these terms mean and how to apply them will make following recipes much easier and more enjoyable.
Helpful Hint:
- Keep your knives sharp for better control and safety while cutting.
Alternative Uses for Knife Skills:
- Cooking Classes: Use this guide as a reference in cooking classes to help students learn essential knife skills.
- Recipe Development: Refer to these terms when developing new recipes to ensure clear and accurate instructions.
- Culinary Education: Incorporate these knife skills into culinary education materials for beginner chefs.
-
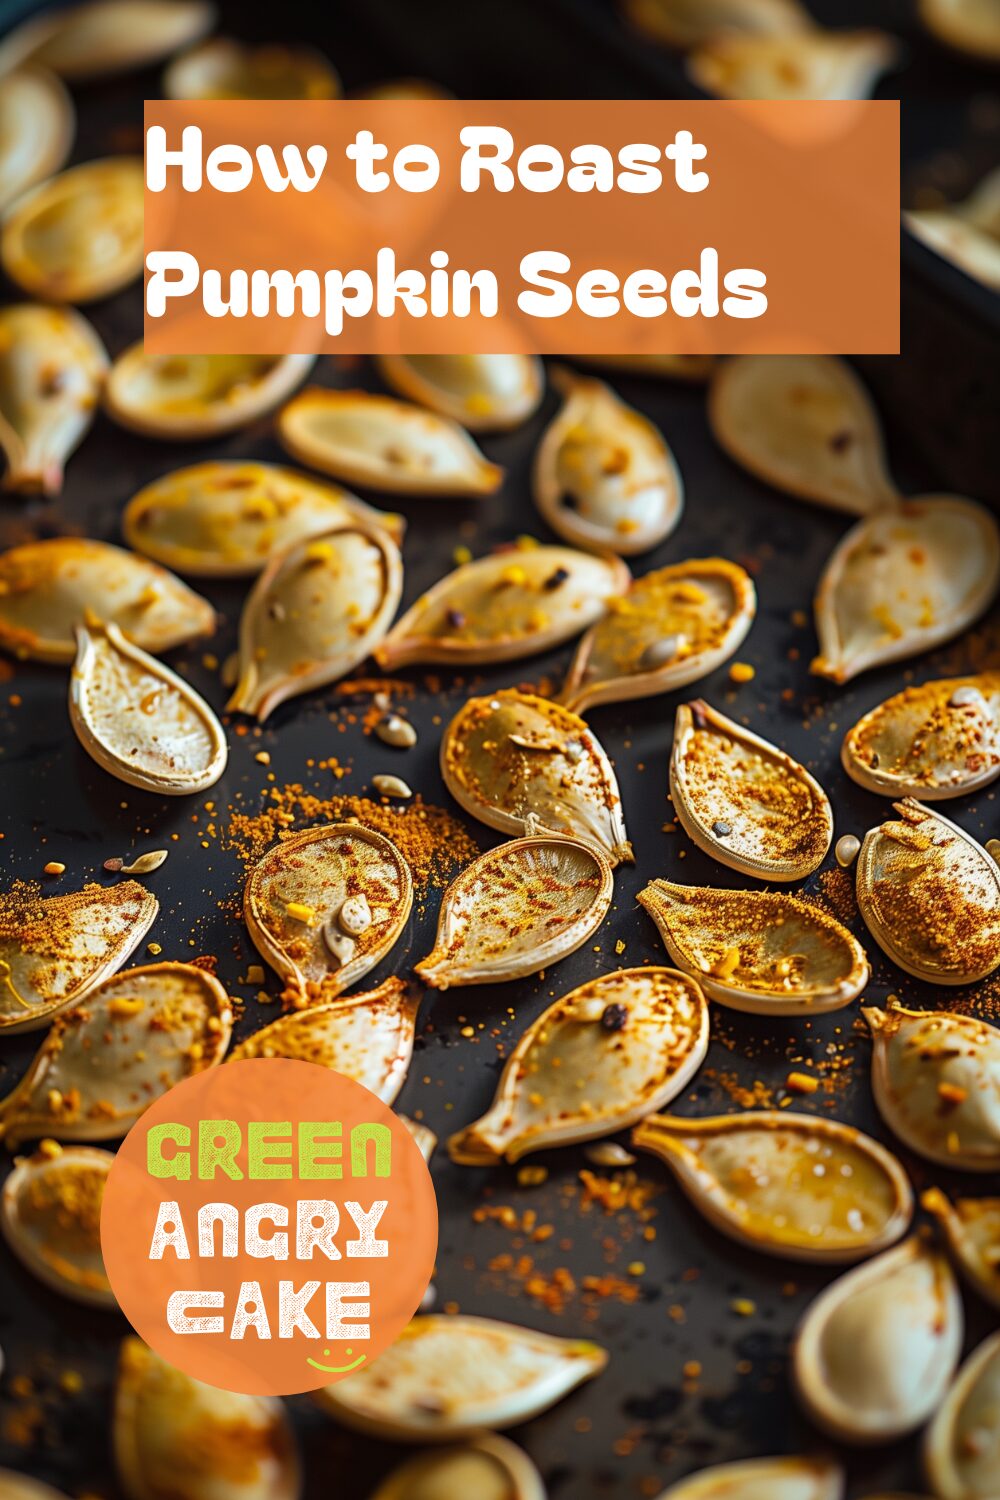
Perfectly Roasted Pumpkin Seeds – Step-by-Step Guide
How to Roast Pumpkin Seeds
Introduction:
Enhance your snack preparation skills with our guide on pumpkin seed roasting techniques. Learn how to roast pumpkin seeds perfectly using simple steps. Our step-by-step instructions ensure you get the most out of your pumpkin seeds, whether as a healthy snack or a crunchy topping.
Equipment Needed:
- Spoon
- Large bowl
- Colander
- Baking tray
- Kitchen paper
Step-by-Step Instructions for Pumpkin Seed Roasting Techniques:
- Scoop Out the Seeds: First, scoop out the seeds from a pumpkin or squash and place them in a bowl of cold water. This makes it easier to pull the seeds away from the stringy pumpkin pith.
- Rinse and Drain: Next, place the seeds in a colander to allow them to drain a little. Tip the seeds onto a baking tray lined with kitchen paper and pat dry.
- Preheat the Oven: Preheat the oven to 200C/180C Fan/Gas 6.
- Prepare for Roasting: Remove the kitchen paper and spread the seeds out evenly on the baking tray (or use two trays if necessary, so the seeds are well spread out). Drizzle the seeds with oil, sprinkle with salt or seasoning mix, and give them a good stir to ensure they are all coated.
- Roast the Seeds: Roast the seeds in the oven for 15–20 minutes, stirring them halfway through, until the seeds are toasted and golden brown.
- Cool and Serve: Leave the seeds to cool on the tray. They will crisp up as they cool, so don’t try to eat them too soon! Once cooled, pour the roasted pumpkin seeds into a bowl to serve.
Roasted pumpkin seeds are a delicious and nutritious snack. Therefore, knowing how to roast pumpkin seeds properly is essential for achieving the perfect crunch and flavor. With these pumpkin seed roasting techniques, you can make a tasty treat easily.
Helpful Hint:
- For extra flavor, try adding spices like paprika, garlic powder, or cinnamon before roasting.
Alternative Uses for Roasted Pumpkin Seeds:
- Salad Topping: Sprinkle roasted pumpkin seeds over salads for a crunchy texture.
- Soup Garnish: Add roasted pumpkin seeds as a garnish for soups.
- Trail Mix: Mix roasted pumpkin seeds with dried fruits and nuts for a homemade trail mix.


![A slice of California roll avocado toast with avocado, crab, cucumber, seaweed, and sesame seeds on a [blue/orange/green/yellow/red] plate on a dark, black wooden texture surface.](https://www.greenangrycake.com/wp-content/uploads/2024/07/Cooking-Terms-Made-Simple-59-500x330.jpg)

