-
Easy Boiled Eggs – Step-by-Step Guide
Enhance your breakfast preparation skills with our guide on egg boiling techniques. Learn how to boil eggs perfectly using simple steps. Our step-by-step instructions ensure you get the most out of your eggs, achieving your desired level of doneness every time.
How to Boil an Egg
Equipment Needed:
- Saucepan
- Egg cup (optional)
Step-by-Step Instructions for Egg Boiling Techniques:
- Prep the Eggs: Start with eggs that are at room temperature to best predict the cooking time and minimize cracking.
- Boil the Eggs: For a soft-boiled egg, lower the egg into gently boiling water with a slotted spoon. Allow:
- 5 minutes for a runny egg
- 6 minutes for jammy
- 7 minutes for fudgy
- 10 minutes for hard
- Cool the Eggs: If not serving right away, once cooked, plunge the hard-boiled egg into plenty of cold water for one minute. Drain and cover with more cold water. This will prevent the egg from over-cooking in its residual heat. Cracking the shell with the back of a spoon during cooling will also make the egg easier to peel.
Boiling eggs is a quick and versatile method to prepare eggs for breakfast or as an ingredient in various dishes. Therefore, knowing how to boil eggs properly is essential to achieve the perfect texture and flavor. With these egg boiling techniques, you can easily prepare eggs to your preferred doneness.
Helpful Hint:
- For easier peeling, use slightly older eggs rather than fresh ones.
Alternative Uses for Boiled Eggs:
- Egg Salad: Use boiled eggs in a classic egg salad with mayonnaise and mustard.
- Deviled Eggs: Make deviled eggs by mixing the yolks with mayonnaise, mustard, and spices.
- Breakfast Bowl: Add boiled eggs to a breakfast bowl with avocado, spinach, and quinoa for a nutritious meal.
-
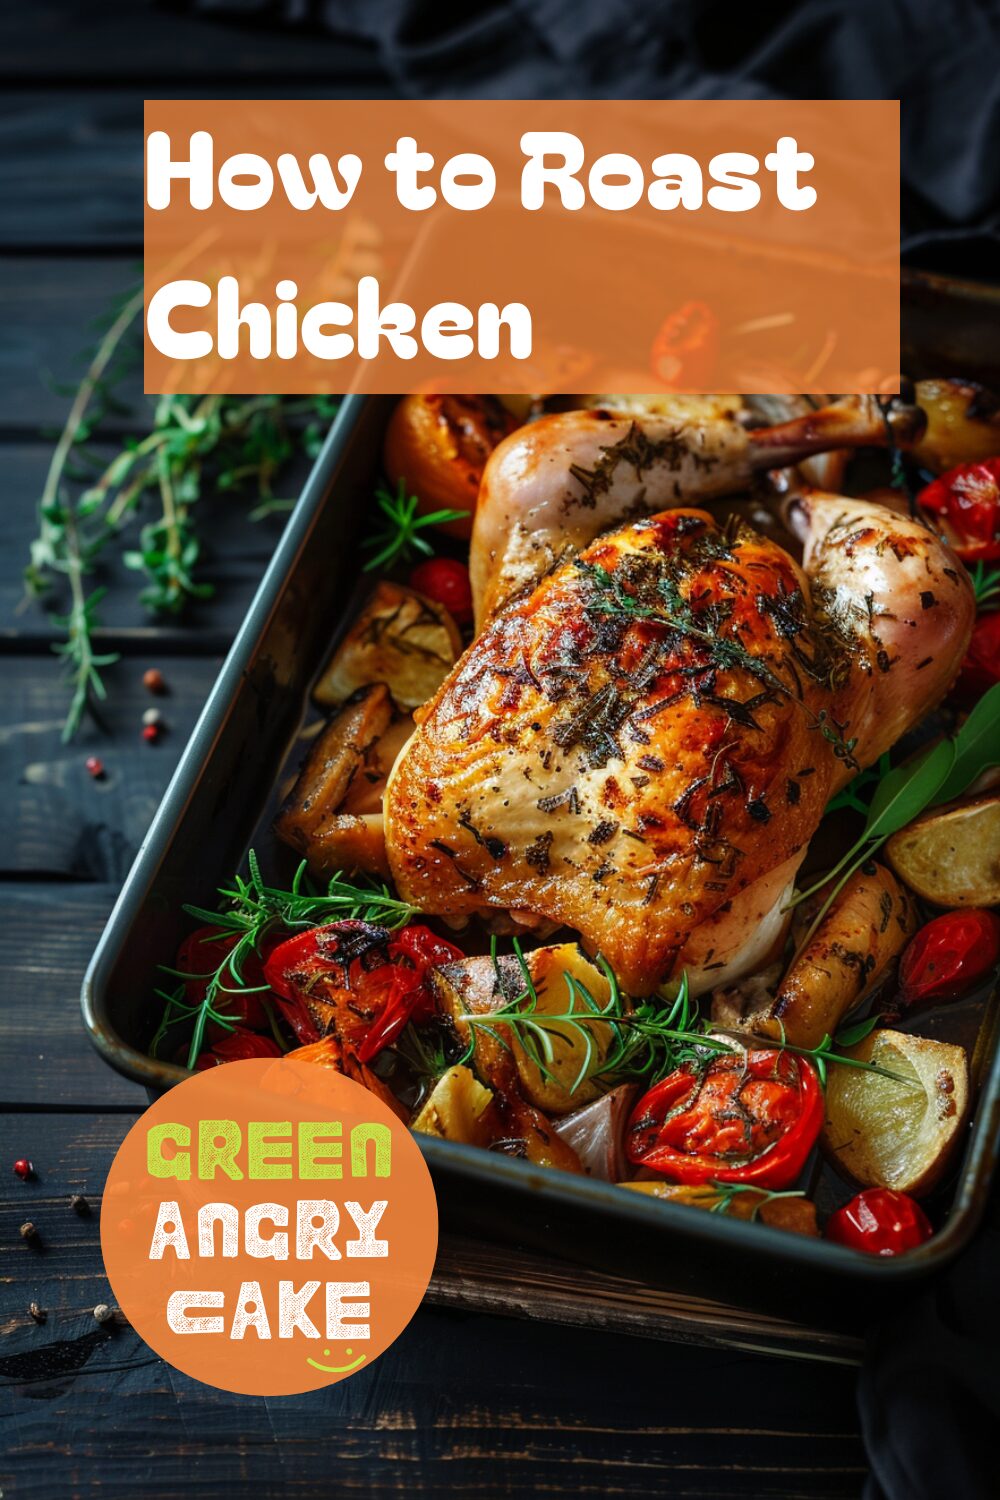
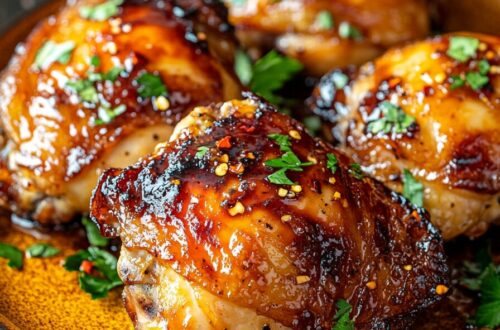
Roast Chicken Techniques – How to Roast Chicken
Enhance your cooking skills with our guide on roast chicken techniques. Learn how to roast chicken perfectly using simple steps. Our step-by-step instructions ensure you get the most out of your roast chicken, achieving a juicy, golden bird every time.
How to Roast Chicken
Equipment Needed:
- Roasting tin
- Kitchen scales
Step-by-Step Instructions for Roast Chicken Techniques:
- Prep the Chicken: The night before cooking, salt the chicken inside and out. Wrap the chicken in kitchen paper and put it in the fridge.
- Bring to Room Temperature: Remove the chicken from the fridge and leave it to come to room temperature.
- Stuff the Chicken: When stuffing the bird, leave an air gap between the stuffing and the top of the breast bone.
- Prepare a Trivet: Cut the wing tips from the chicken to make a trivet, which will help to stop the chicken burning.
- Weigh the Chicken: Weigh the chicken to determine the cooking time.
- Season and Prepare for Roasting: To make the chicken juicy and golden, rub butter all over it and sprinkle over a little lemon juice.
- Roast the Chicken: Cook at 200C/180C Fan/Gas 6 for the first 15 minutes, then reduce the temperature to 180C/160C Fan/Gas 4. Cook the chicken for 40 minutes per kilo or until cooked through.
- Rest the Chicken: Rest the chicken for 30 minutes before carving and serving.
Roasting chicken is a classic cooking technique that results in a delicious and satisfying meal. Therefore, knowing how to roast chicken properly is essential to achieve the perfect texture and flavor. With these roast chicken techniques, you can easily prepare a juicy, golden roast chicken for any occasion.
Helpful Hint:
- For extra flavor, stuff the chicken cavity with herbs, garlic, and lemon slices before roasting.
Alternative Uses for Roasted Chicken:
- Chicken Salad: Use roasted chicken pieces in a fresh salad for a delicious meal.
- Chicken Sandwiches: Add roasted chicken slices to sandwiches with your favorite toppings and sauces.
- Chicken Soup: Use roasted chicken pieces in a hearty soup with vegetables and herbs.
-
Easy Poached Eggs – Step-by-Step Guide
Terrified of egg poaching? Not sure how long to poach an egg for? Enhance your breakfast preparation skills with our guide on egg poaching techniques. Learn how to poach an egg perfectly every time using simple steps. Our step-by-step instructions ensure you get the most out of your eggs, achieving your desired level of doneness every time.
How to Poach an Egg
Equipment Needed:
- Saucepan
- Slotted spoon
- Fine tea strainer or sieve (optional)
Step-by-Step Instructions for Egg Poaching Techniques:
Vortex Method:
- Create the Vortex: Using the handle of a slotted spoon, swirl the simmering water to create a whirlpool or vortex. This will help the eggs to hold their shape. You can skip this step if you are cooking multiple eggs.
- Add the Eggs: Crack the eggs, one or two at a time, directly into the center of the whirlpool. Keep the water simmering so that the egg won’t stick to the bottom of the pan.
- Poach the Eggs: After 3 minutes, or when the egg white is cooked, remove them from the pan using the slotted spoon and set aside to drain on kitchen paper.
Tea Strainer Method:
- Prepare the Eggs: If your eggs aren’t really fresh or if you are cooking multiple eggs simultaneously in the same pan, you can remove the egg white that will cause straggly bits. Crack each egg into a fine tea strainer or sieve. Allow the runny egg white to drip through.
- Poach the Eggs: Carefully tip the egg from the sieve into the simmering water. Poach as usual.
Poached eggs are a versatile and delicious addition to many dishes. Therefore, knowing how to poach an egg properly is essential to achieve the perfect texture and flavor. With these egg poaching techniques, you can easily prepare poached eggs to your preferred doneness.
Helpful Hint:
- Add a teaspoon of vinegar to the simmering water to help the egg whites coagulate faster.
Alternative Uses for Poached Eggs:
- Eggs Benedict: Serve poached eggs on English muffins with ham and hollandaise sauce.
- Salad Topping: Add poached eggs to a fresh salad for a protein boost.
- Breakfast Bowl: Top a breakfast bowl with poached eggs, avocado, and sautéed greens for a nutritious meal.
-
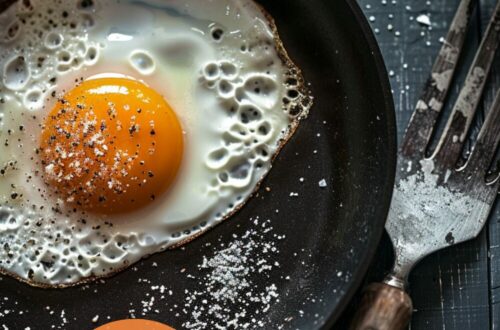
Easy Fried Eggs – Step-by-Step Guide
Enhance your breakfast preparation skills with our guide on egg frying techniques. Learn how to fry eggs perfectly using simple steps. Our step-by-step instructions ensure you get the most out of your eggs, achieving your desired level of doneness every time.
How to Fry Eggs
Equipment Needed:
- Frying pan
- Bowl (optional)
- Spatula
Step-by-Step Instructions for Egg Frying Techniques:
- Heat the Oil: Add a little oil to a frying pan and heat it over medium heat.
- Crack the Egg: Crack the egg directly into the frying pan for a natural shape, or for a rounder shape, crack the egg into a bowl and slide it into the hot oil.
- Cook the Egg: Cook the egg until it is done to your liking:
- For a set, firm white and partially runny yolk, cook for 2-3 minutes.
- For a soft yolk, cook for a little longer.
- For eggs “over easy,” flip the egg after three minutes to cook the yolk a little more.
Frying eggs is a quick and versatile method to prepare eggs for breakfast or as a topping for various dishes. Therefore, knowing how to fry eggs properly is essential to achieve the perfect texture and flavor. With these egg frying techniques, you can easily prepare eggs to your preferred doneness.
Helpful Hint:
- For extra flavor, sprinkle a pinch of salt and pepper on the egg while it cooks.
Alternative Uses for Fried Eggs:
- Egg Sandwich: Use fried eggs in a sandwich with bacon and cheese for a delicious breakfast.
- Egg Salad: Add fried eggs to a fresh salad for a protein boost.
- Egg Tacos: Top soft tacos with fried eggs, avocado, and salsa for a tasty meal.
-
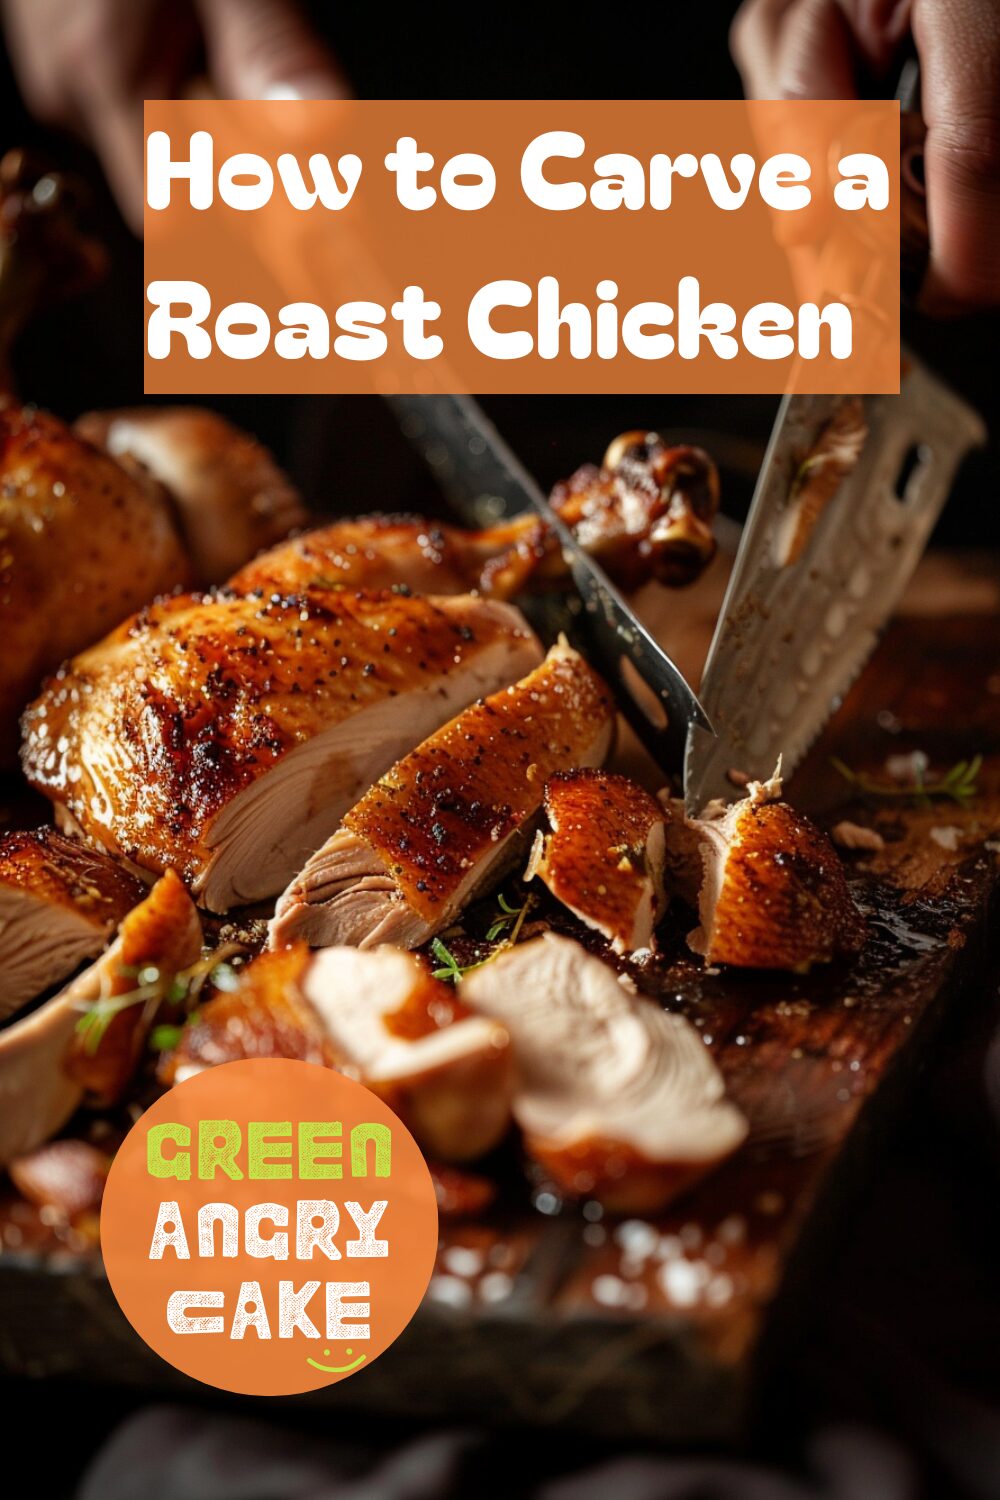
Roast Chicken Carving Techniques
Enhance your poultry preparation skills with our guide on roast chicken carving techniques. Learn how to carve a roast chicken perfectly using simple steps. Our step-by-step instructions ensure you get the most out of your roast chicken, making it easy to serve and enjoy.
How to Carve a Roast Chicken
Equipment Needed:
- Sharp carving knife
- Chopping board
Step-by-Step Instructions for Roast Chicken Carving Techniques:
- Prepare the Chicken: Place the cooked chicken on a chopping board.
- Remove the Legs: Cut through the skin between the legs and body. Pull the legs away from the body of the chicken. Cut through the joint between the leg and thigh and serve these separately.
- Remove the Oysters: Flip the chicken upside down and remove the juicy “oysters” – the meaty bits at the bottom of the bird. Chef’s treat.
- Cut Away the Wings: Cut away the wings.
- Carve the Breasts: Cut along the side of the breast bone and follow along the line of the wishbone at the bottom to free the top of each chicken breast. Use the knife to lift each breast away from the breast bone in one piece.
- Slice the Breasts: Carve the breast into slices with or without the skin.
Carving a roast chicken can make it easier to serve and ensures that everyone gets a portion of each part of the chicken. Therefore, knowing how to carve a roast chicken properly is essential for achieving the perfect presentation and making the most of your roast chicken. With these roast chicken carving techniques, you can easily carve and serve your chicken for any meal.
Helpful Hint:
- Let the chicken rest for a few minutes after roasting to allow the juices to redistribute, making it easier to carve and more flavorful.
Alternative Uses for Carved Roast Chicken:
- Chicken Salad: Use carved chicken pieces in a fresh salad for a delicious meal.
- Chicken Sandwiches: Add carved chicken slices to sandwiches with your favorite toppings and sauces.
- Chicken Soup: Use carved chicken pieces in a hearty soup with vegetables and herbs.
-
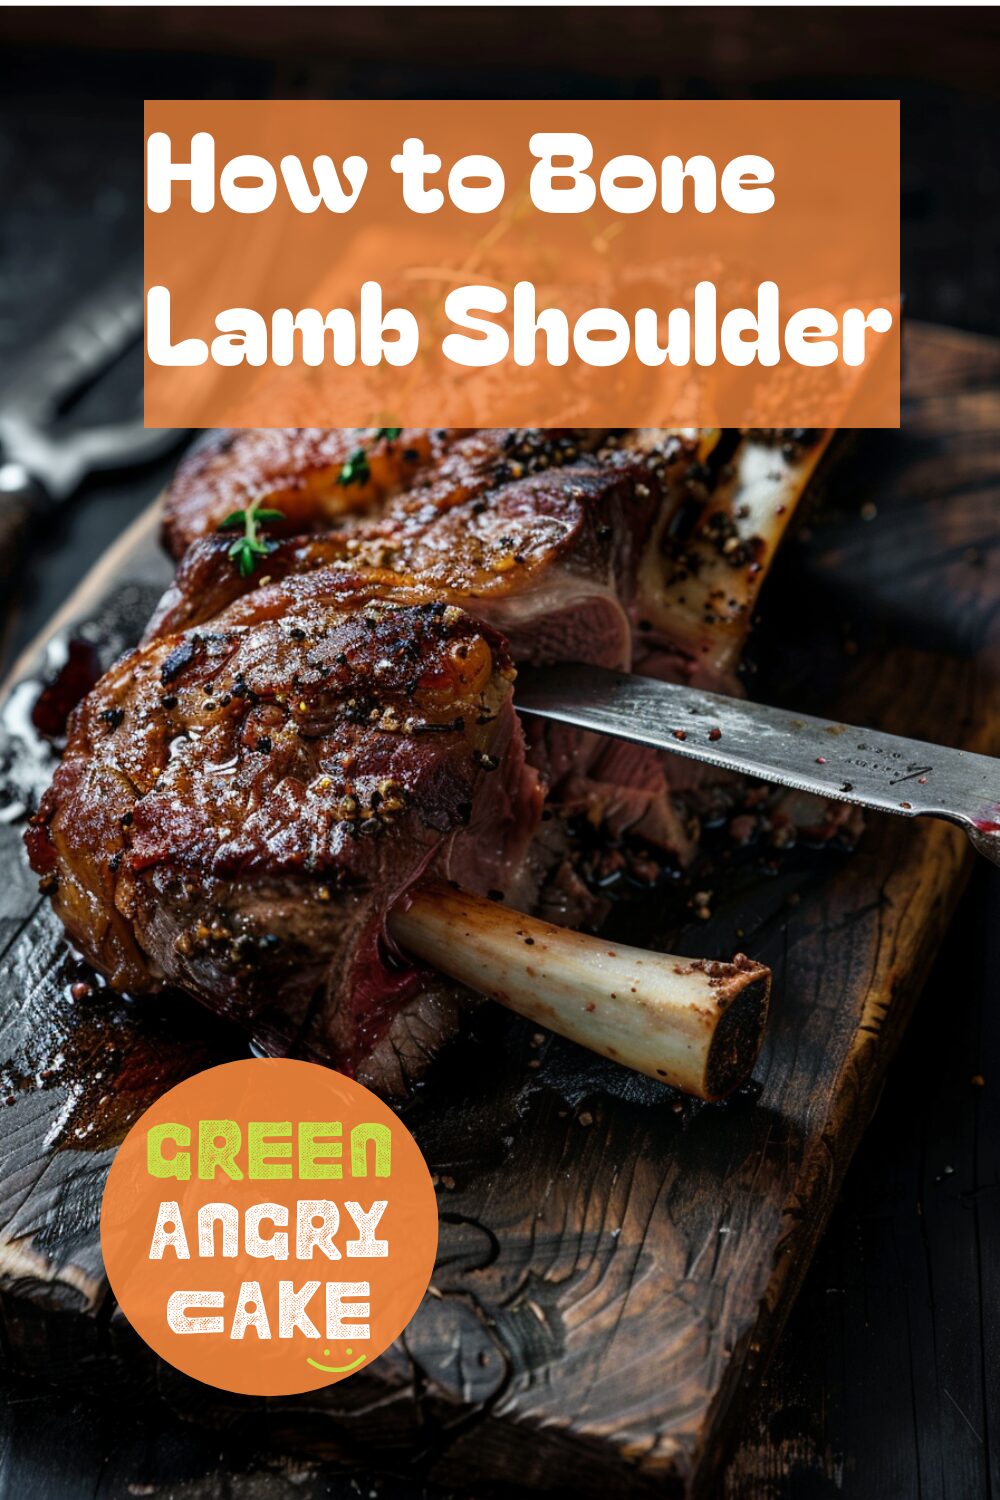
Easy Lamb Shoulder Boning – Step-by-Step Guide
Enhance your meat preparation skills with our guide on lamb shoulder boning techniques. Lamb shoulder is perfect for slow braising, slow-cooked curry, casserole, or making stock. Learn how to bone lamb shoulder perfectly using simple steps. Our step-by-step instructions ensure you get the most out of your lamb shoulder.
How to Bone Lamb Shoulder
Equipment Needed:
- Sharp, stiff knife
Step-by-Step Instructions for Lamb Shoulder Boning Techniques:
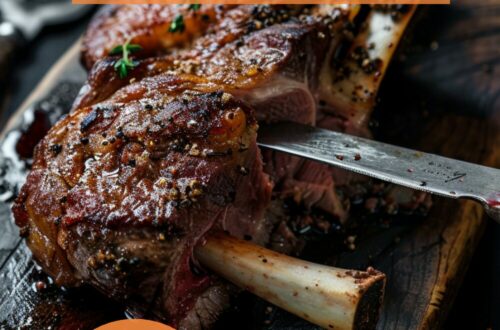
- Separate the Hock: With a sharp stiff knife, cut through to the joint where the hock piece (the leg) meets the shoulder. Cut away any sinew to reveal the joint and cut through it. Cut the hock away and remove it. The hock is not usually eaten, but it is excellent for making stock.
- Locate the Blade Bone: Find the edge of the blade bone, a large, flat, triangular-shaped bone. Use your fingers to feel where the blade bone is situated inside the meat.
- Reveal the Blade Bone: Cut down to reveal the blade bone, then steadily scrape away across the surface of the bone, separating it from the meat. Angle the knife so that the edge scrapes across the bone, not into the meat.
- Remove the Blade Bone: Once you have revealed the surface of the whole blade bone, cut down each of its long edges. Cut the thin end free of any connective tissue. A sharp knife should easily cut through this soft tissue. Now the blade bone should easily come away.
- Remove the Remaining Bone: Next, remove the large bone that ran from the hock to the blade. Cut down to the bone and run the knife along it, following the shape of the bone, to separate it from the meat.
- Trim the Fat: Finally, trim away any large pieces of fat from the remaining meat.
Lamb shoulder contains a lot of tissue and fat, making it perfect for dishes with long cooking times. Therefore, knowing how to bone lamb shoulder properly is essential to prepare it for various delicious recipes. With these lamb shoulder boning techniques, you can easily prepare lamb for slow braising, curry, casserole, or stock.
Helpful Hint:
- Use the removed bones to make a rich, flavorful stock that can be used in various dishes.
Alternative Uses for Boned Lamb Shoulder:
- Slow Braised Lamb: Use boned lamb shoulder for a tender and flavorful slow braised lamb dish.
- Lamb Curry: Add boned lamb shoulder to a slow-cooked curry for a rich and hearty meal.
- Lamb Casserole: Use boned lamb shoulder in a casserole with vegetables and herbs for a comforting dish.
-
Steak Doneness Guide – How to Cook a Steak
Enhance your steak cooking skills with our guide on steak cooking times and techniques. Learn how long to cook a steak perfectly using simple steps. Our step-by-step instructions ensure you get the most out of your steak, achieving your desired level of doneness every time.
How Long to Cook a Steak
Equipment Needed:
- A heavy-based (preferably cast iron) frying pan
- Digital probe thermometer (optional)
Step-by-Step Instructions for Steak Cooking Techniques:
- Preheat the Pan: Heat your heavy-based frying pan over high heat until very hot.
- Cook the Steak: As a rough guide, a 2cm/¾in thick steak will take:
- 3 minutes in total for rare
- 4–5 minutes in total for medium
- 7–8 minutes in total for well done
- Check the Temperature: A digital probe thermometer is a great tool for ensuring all the meat you cook is just right, especially for a big piece of steak for sharing or a thick steak. Internal temperatures are a more reliable test for doneness:
- The middle of the steak should be around 50C for rare
- 55C for medium-rare
- 60C for medium
- 70C for well done
Cooking steak to perfection can vary based on the thickness of the meat and personal taste. Therefore, knowing how long to cook a steak properly is essential for achieving the perfect texture and flavor. With these steak cooking techniques, you can easily cook steak to your preferred level of doneness.
Helpful Hint:
- Let the steak rest for a few minutes after cooking to allow the juices to redistribute for a more flavorful and tender result.
Alternative Uses for Steak:
- Steak Salad: Slice cooked steak thinly and serve it over a fresh salad for a delicious meal.
- Steak Sandwich: Use cooked steak slices in a sandwich with your favorite toppings and sauces.
- Steak Tacos: Add cooked steak to soft tacos with fresh salsa and guacamole for a tasty dish.
-
Scoring Skin Techniques – How to Score Duck Skin
Enhance your meat preparation skills with our guide on skin scoring techniques. Learn how to score duck skin perfectly using simple steps. Our step-by-step instructions ensure you get the most out of your duck breasts, allowing for better fat rendering and crispier skin.
Scoring Skin
Equipment Needed:
- Sharp knife
Step-by-Step Instructions for Skin Scoring Techniques:
- Prep the Duck Breast: First, place the duck breast skin-side up on a chopping board.
- Score the Skin: Run the knife down the skin of the duck at 5mm intervals. Then, run it across the skin to form a cross-hatch pattern. The cuts need to be deep enough to cut the skin but should not cut the meat below.
Scoring duck breasts aids the release (or ‘rendering’) of the layer of fat between the skin and the flesh. When the meat is cooked, the melted fat can be poured off and stored for other culinary uses, such as cooking roast potatoes. Therefore, knowing how to score duck skin properly is essential for achieving the perfect texture and flavor. With these skin scoring techniques, you can prepare duck breasts for various delicious dishes.
Helpful Hint:
- For extra flavor, rub salt and herbs into the scored skin before cooking.
Alternative Uses for Scored Skin:
- Roast Duck: Use scored duck breasts for a perfectly roasted duck with crispy skin.
- Duck Confit: Prepare scored duck breasts for a traditional duck confit.
- Crispy Duck Salad: Add crispy, scored duck skin to a fresh salad for added texture and flavor.
-
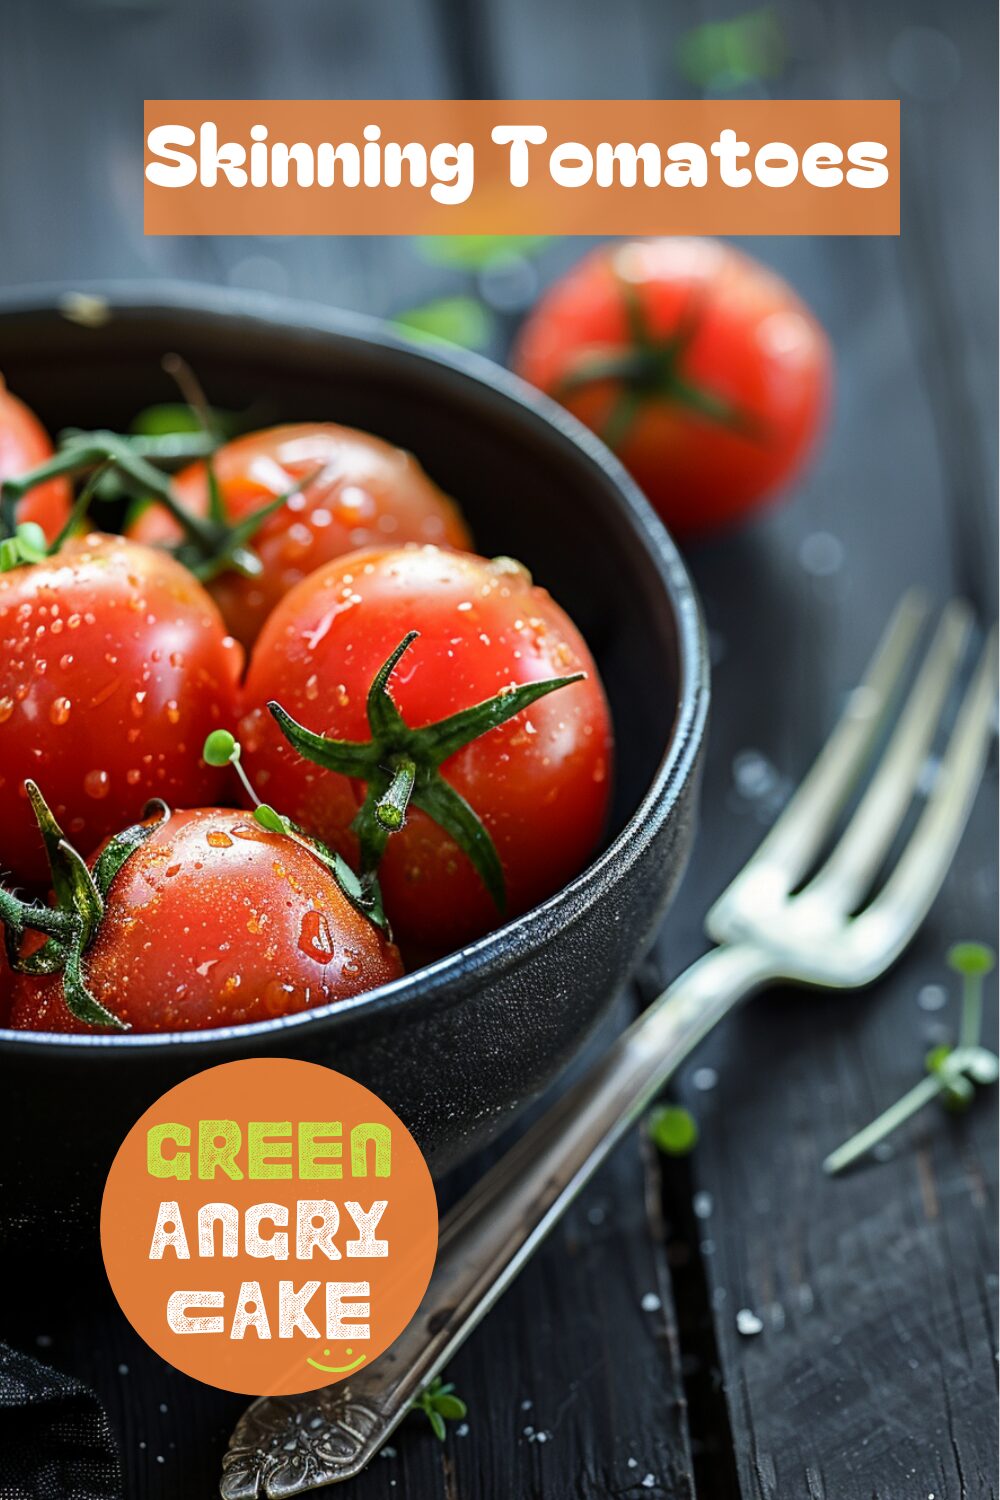
Skinning Tomato Techniques – How to Skin Tomatoes
Enhance your vegetable preparation skills with our guide on tomato skinning techniques. Learn how to skin tomatoes perfectly using simple steps. Our step-by-step instructions ensure you get the most out of your tomatoes, whether for sauces, soups, or salads.
Skinning Tomatoes
Equipment Needed:
- Heatproof bowl
- Fork
Step-by-Step Instructions for Tomato Skinning Techniques:
- Prep the Tomatoes: First, place the whole, fresh tomatoes into a heatproof bowl.
- Cover with Boiling Water: Cover the tomatoes with boiling water. Set aside for 30-60 seconds, or until the skins have split.
- Remove and Cool: Remove the tomatoes from the water using a fork. When they’re cool enough to handle, peel off the skins.
Tomatoes are a versatile ingredient in many dishes. Therefore, knowing how to skin tomatoes properly is essential to achieve the desired texture and appearance. With these tomato skinning techniques, you can easily prepare tomatoes for various recipes.
Helpful Hint:
- For easier peeling, make a small cross-cut on the bottom of each tomato before placing them in boiling water.
Alternative Uses for Skinned Tomatoes:
- Tomato Sauce: Use skinned tomatoes as a base for homemade tomato sauce.
- Tomato Soup: Blend skinned tomatoes with vegetable broth for a smooth tomato soup.
- Tomato Salad: Add skinned tomatoes to a fresh tomato salad with basil and mozzarella.
-
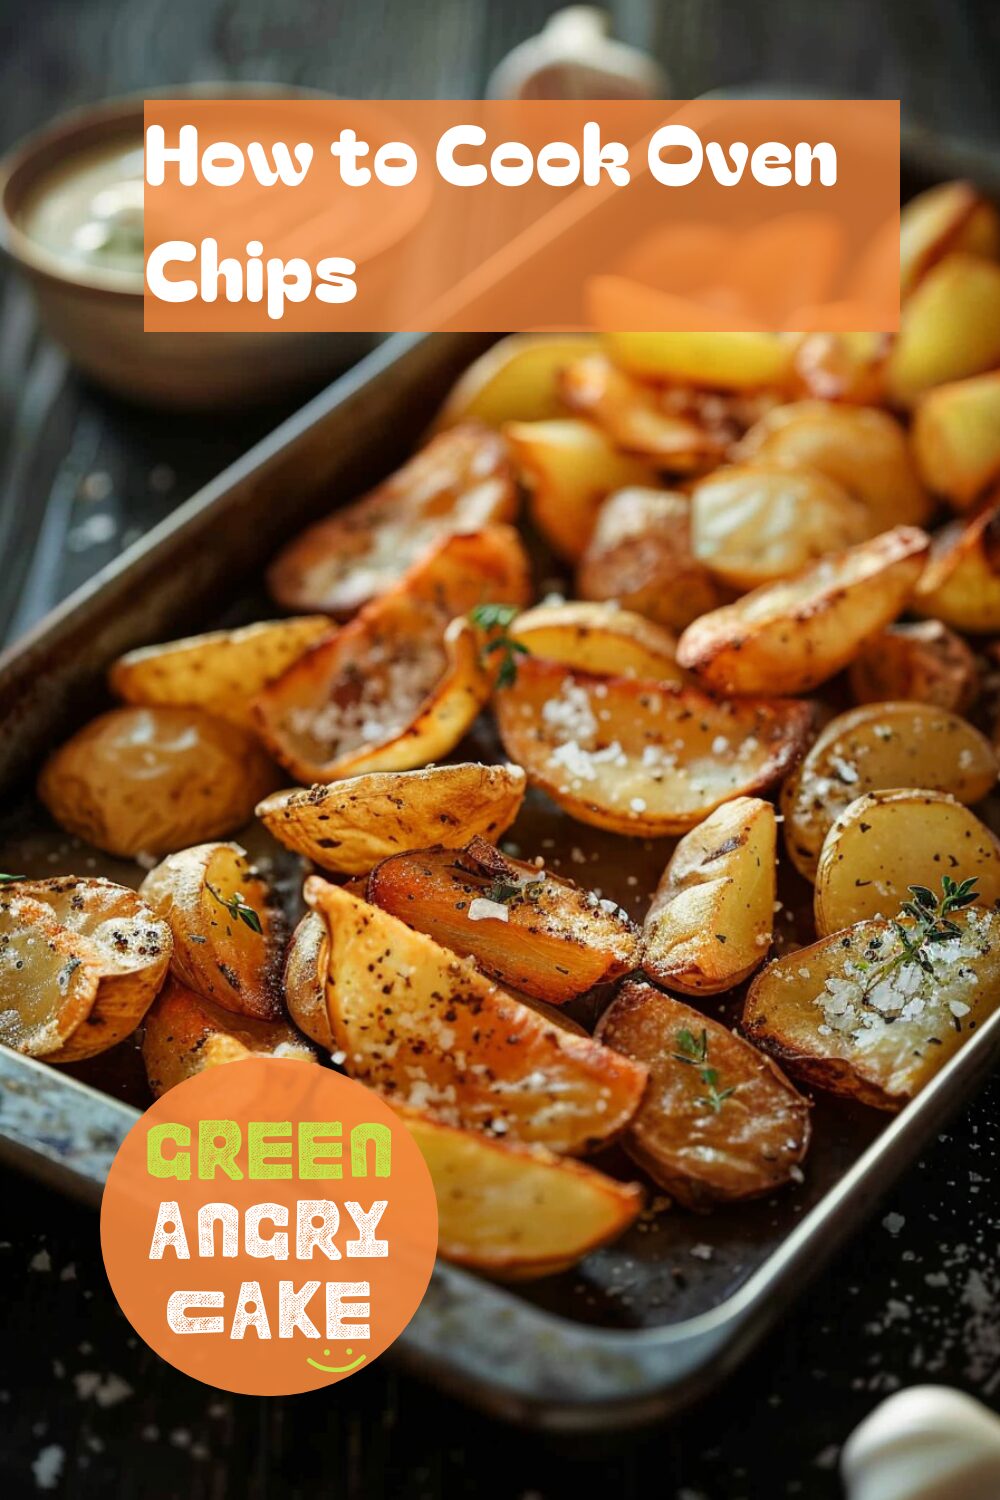
Perfect Oven Chips – Simple Cooking Methods
Enhance your snack preparation skills with our guide on oven chip preparation techniques. Learn how to cook oven chips perfectly using simple steps. Our step-by-step instructions ensure you get the most out of your potatoes, resulting in crispy, delicious chips.
How to Cook Oven Chips
Equipment Needed:
- Sharp knife
- Chopping board
- Saucepan
- Colander
- Baking tray
Step-by-Step Instructions for Oven Chip Preparation Techniques:
- Preheat the Oven for Oven Chip Preparation: First, preheat the oven to 200C/180C Fan/Gas 6.
- Prep the Potatoes: Peel and slice two large potatoes into fairly thick chips.
- Boil the Chips: Put the sliced potatoes in a pan and cover with boiling water. Cook for 5 minutes, then drain them in a colander.
- Prepare for Baking: Drizzle a baking tray with olive oil and add the chips. Season with salt and pepper and mix to coat the chips in oil.
- Bake the Chips: Bake for 20–25 minutes, until the chips are golden and crispy.
Oven chips are a healthier alternative to fried chips and make a delicious snack or side dish. Therefore, knowing how to cook oven chips properly is essential to achieve the perfect texture and flavor. With these oven chip preparation techniques, you can make crispy, tasty chips easily.
Helpful Hint:
- For added flavor, sprinkle the chips with paprika or garlic powder before baking.
Alternative Uses for Oven Chips:
- Loaded Oven Chips: Top oven chips with cheese, bacon, and green onions for a loaded version.
- Oven Chip Sandwich: Use oven chips in a sandwich for a crunchy texture and added flavor.
- Oven Chip Salad: Add oven chips to a salad for a unique and delicious twist.
